Prepare the CycleOps main server on VMware ESXi: create the virtual machine, install Ubuntu Server 26.04 LTS, and run the CycleOps installer.
Ubuntu Server 26.04.1 LTS · VMware ESXi 7.0 U2+
Step 1
Prerequisites
This guide covers building the server that runs the CycleOps platform, from an empty ESXi host to a verified Ubuntu Server 26.04.1 LTS installation. Have the following ready before you start:
A VMware ESXi host on version 7.0 U2 or later, and an account allowed to create virtual machines.
Free datastore space that matches the disk size you select in the sizing table below.
The ubuntu-26.04.1-live-server-amd64.iso image (2.73 GB) uploaded to a datastore.
A static IP address, subnet, default gateway, and DNS server addresses for the server.
HTTP access (TCP 80) from the server to archive.ubuntu.com, or the address of your proxy.
HTTPS access (TCP 443) from the server to ghcr.io, pkg-containers.githubusercontent.com, api.github.com, and registry-1.docker.io.
The firstinstall.sh installer, the version tag, and the two access tokens provided by the CycleOps team.
The download starts in the background. If it does not, select download now on the confirmation page.
Check that the file is named ubuntu-26.04.1-live-server-amd64.iso and is 2.73 GB. Use the verify your download link on the same page to compare the SHA256 checksum.
In ESXi Host Client, go to Storage → your datastore → Datastore browser → Upload and upload the image.
In the installer, move with the arrow keys and Tab, toggle an option with Space, and confirm with Enter.
Step 2
Installation parameters
These are the values used throughout this guide. The network values are examples; replace them with the values for your own network.
Parameter
Value
Note
Virtual machine name
CycleOps-Main
Compatibility
ESXi 7.0 U2 virtual machine
Guest OS
Linux / Ubuntu Linux (64-bit)
vCPU
16
See sizing below
Memory
32 GB
See sizing below
Disk
500 GB
SCSI controller: VMware Paravirtual
Network adapter
VMXNET 3
Port group: LAN
Hostname
cycleops-main
Administrator user
coadmin
Member of sudo
Network interface
ens192
Subnet
10.0.1.0/24
Example value
IP address
10.0.1.190
Example value
Gateway
10.0.1.1
Example value
DNS servers
8.8.8.8, 8.8.4.4
Example value; use your internal DNS if you have one
Partition: swap
8 GB
Partition: /
ext4, all remaining space
Main server sizing
Choose resources from your license package and the number of managed agents. Each cell is vCPU · RAM · disk. Values are recommendations; use SSD storage.
Agents
Standard
Pro
Enterprise
100
4 · 16 GB · 150 GB
4 · 16 GB · 200 GB
8 · 24 GB · 300 GB
250
4 · 16 GB · 200 GB
8 · 24 GB · 300 GB
8 · 24 GB · 400 GB
500
8 · 24 GB · 300 GB
8 · 32 GB · 400 GB
12 · 32 GB · 500 GB
1000
8 · 32 GB · 400 GB
12 · 32 GB · 500 GB
16 · 48 GB · 750 GB
2500
16 · 48 GB · 750 GB
20 · 56 GB · 900 GB
24 · 64 GB · 1 TB
The screenshots in this guide use 16 vCPU, 32 GB RAM, and a 500 GB disk. Enter the values for your own package and agent count in step 3.5.
Step 3
Create the virtual machine
The virtual machine is created with the five-page New virtual machine wizard in ESXi Host Client.
3.1 Start the wizard
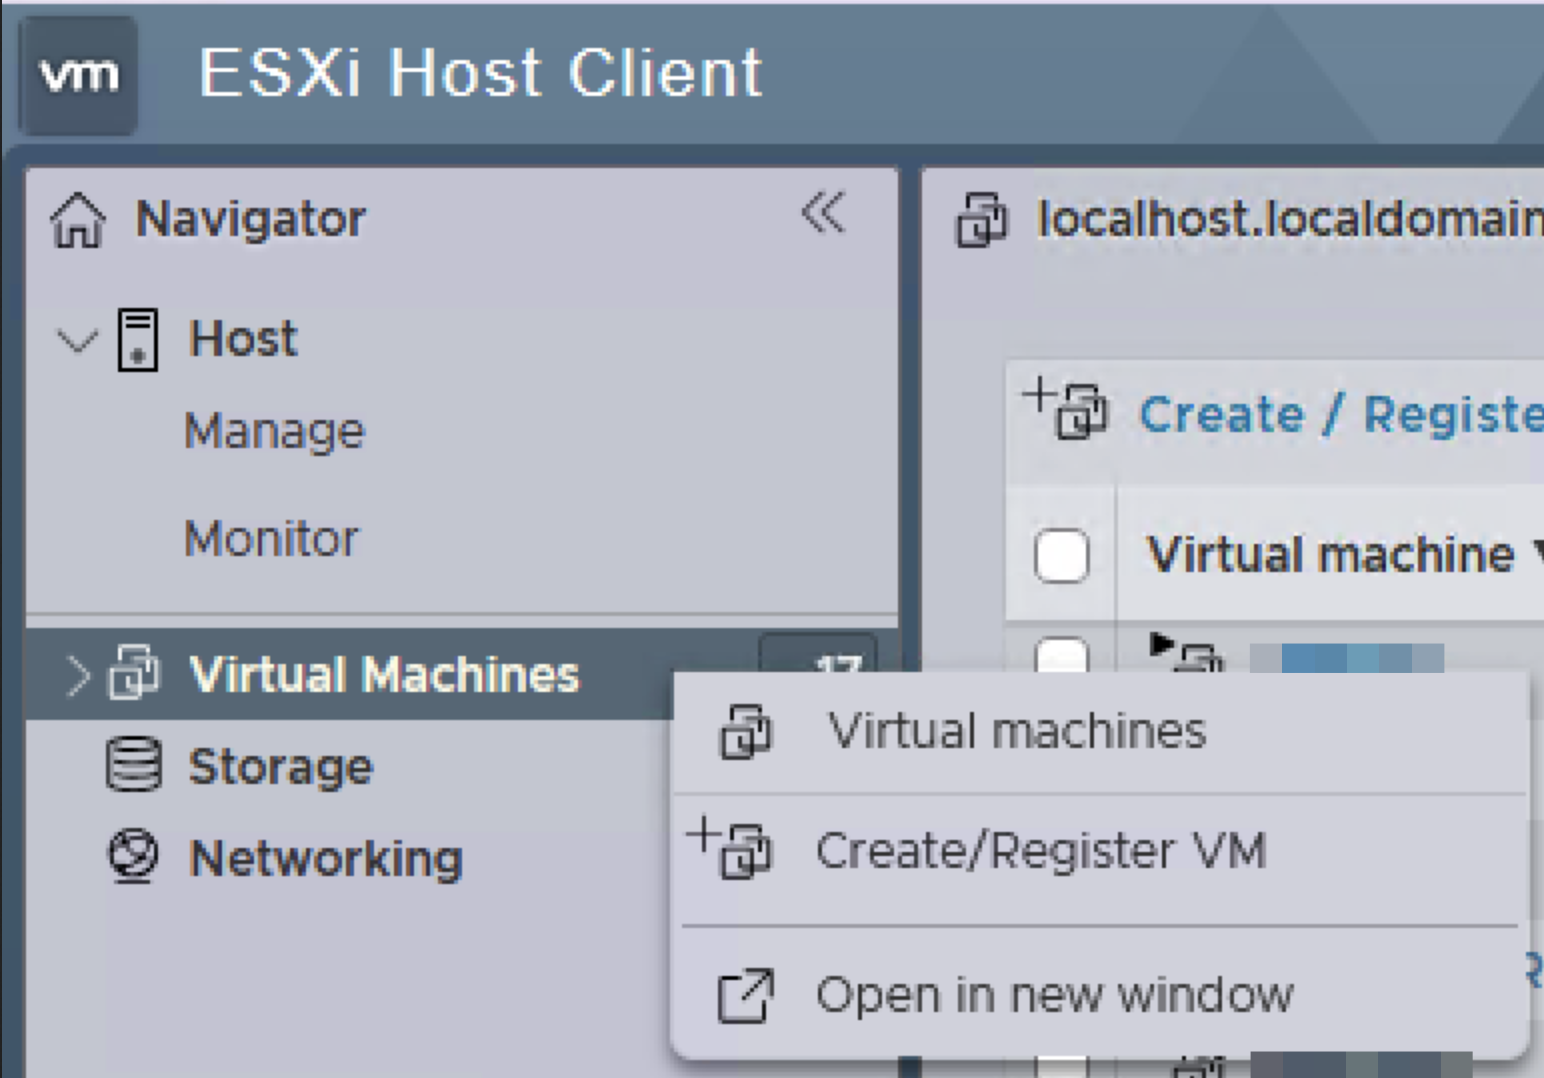
Sign in to ESXi Host Client. In the Navigator, right-click Virtual Machines and select Create/Register VM.
Create/Register VM in the Navigator menu
3.2 Select the creation type
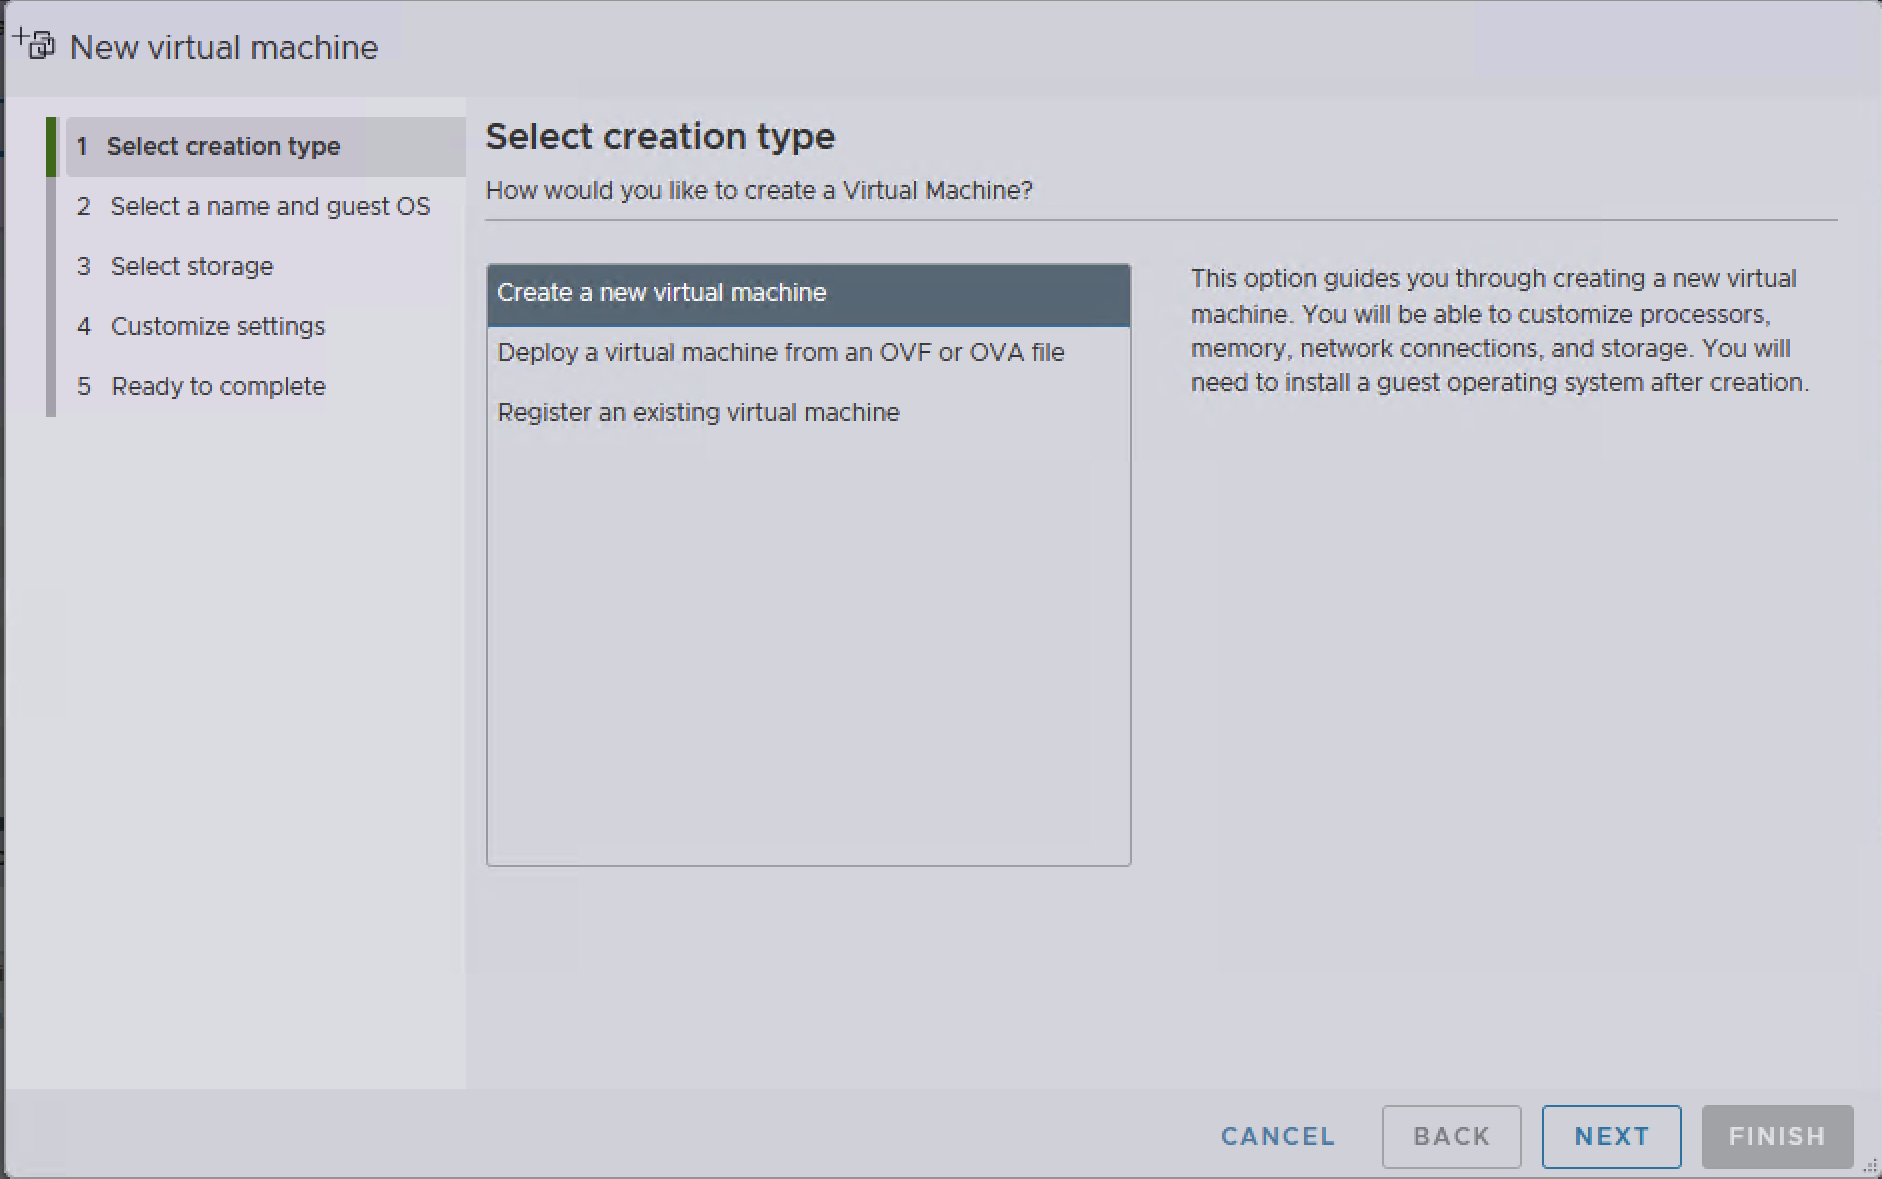
Select Create a new virtual machine and continue with NEXT.
Select creation type
3.3 Set the name and guest OS
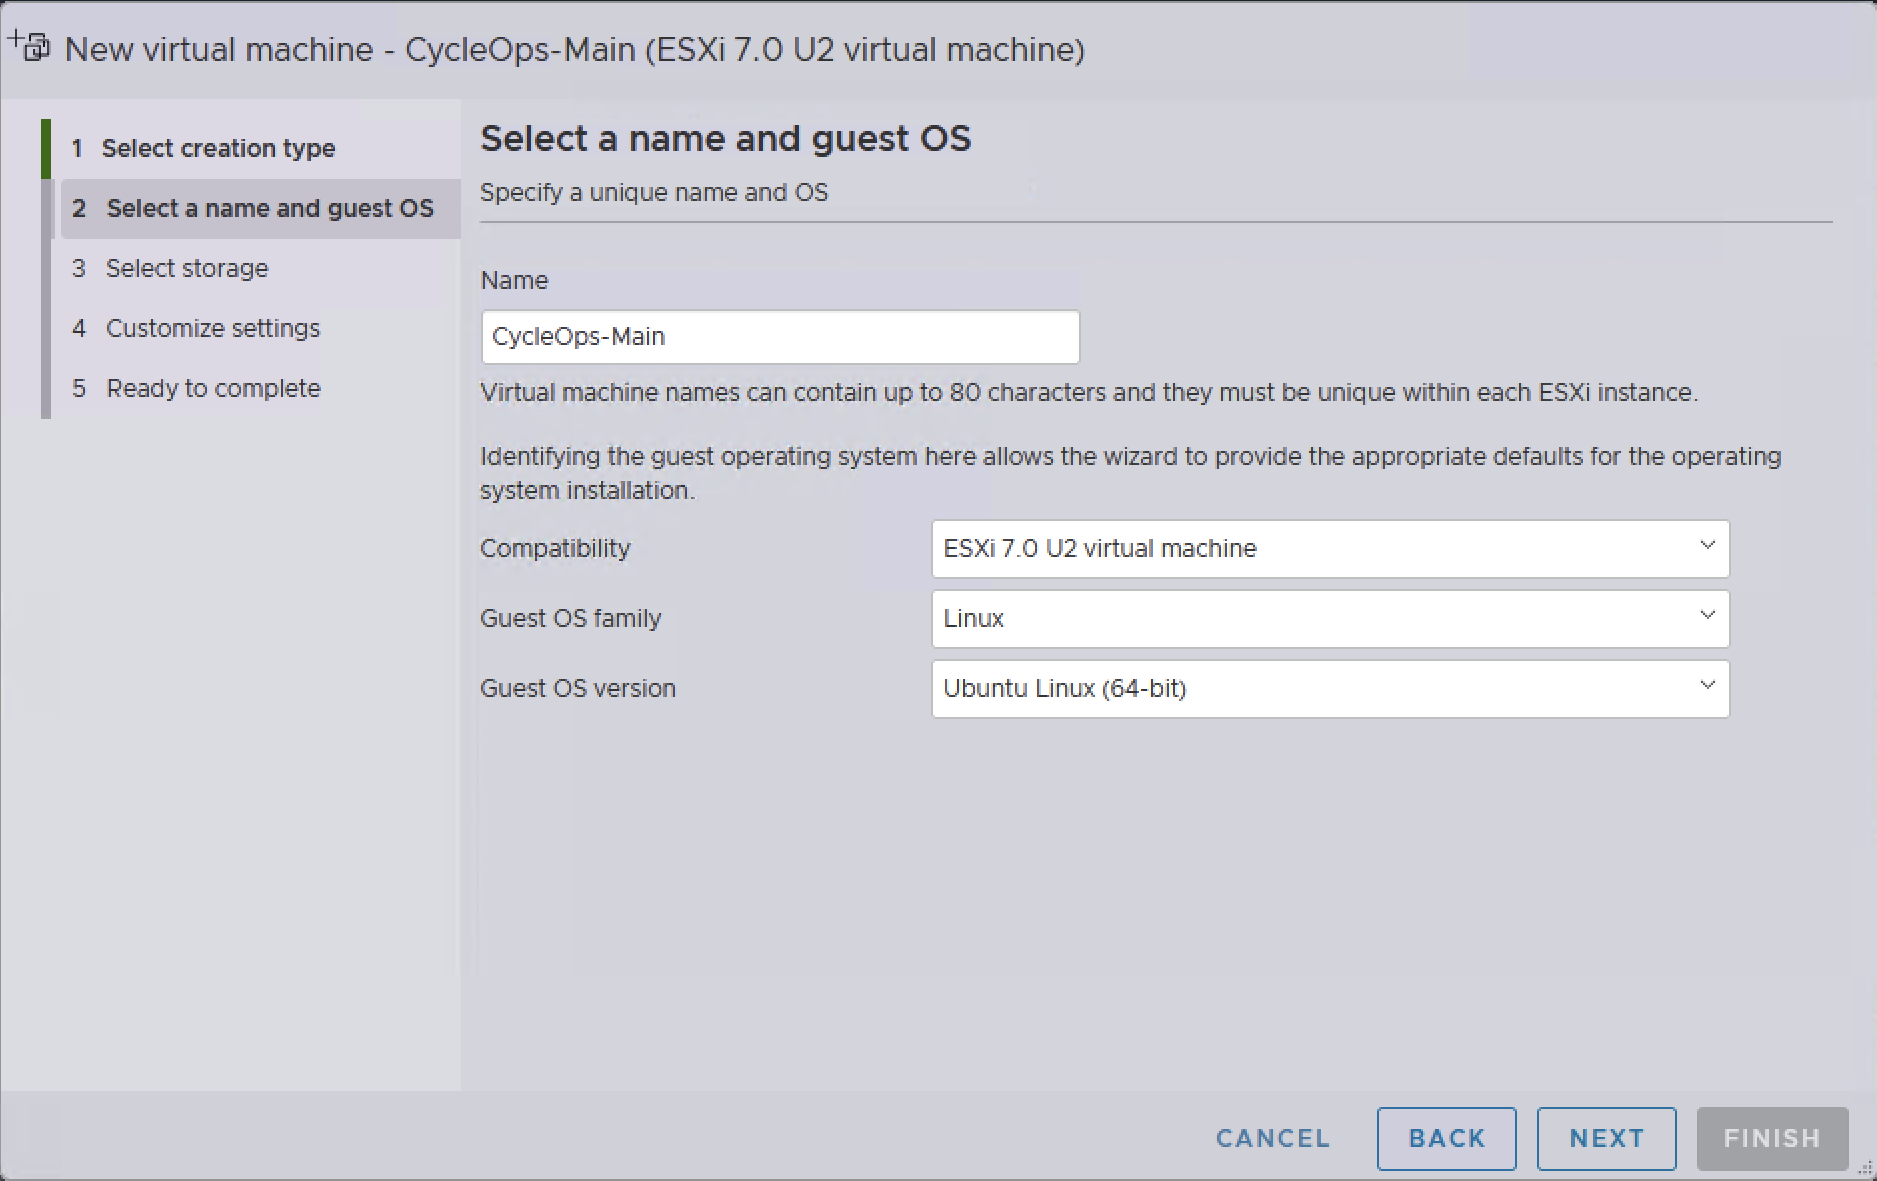
Enter CycleOps-Main as the name. Select ESXi 7.0 U2 virtual machine for Compatibility, Linux for Guest OS family, and Ubuntu Linux (64-bit) for Guest OS version.
Select a name and guest OS
3.4 Select the datastore
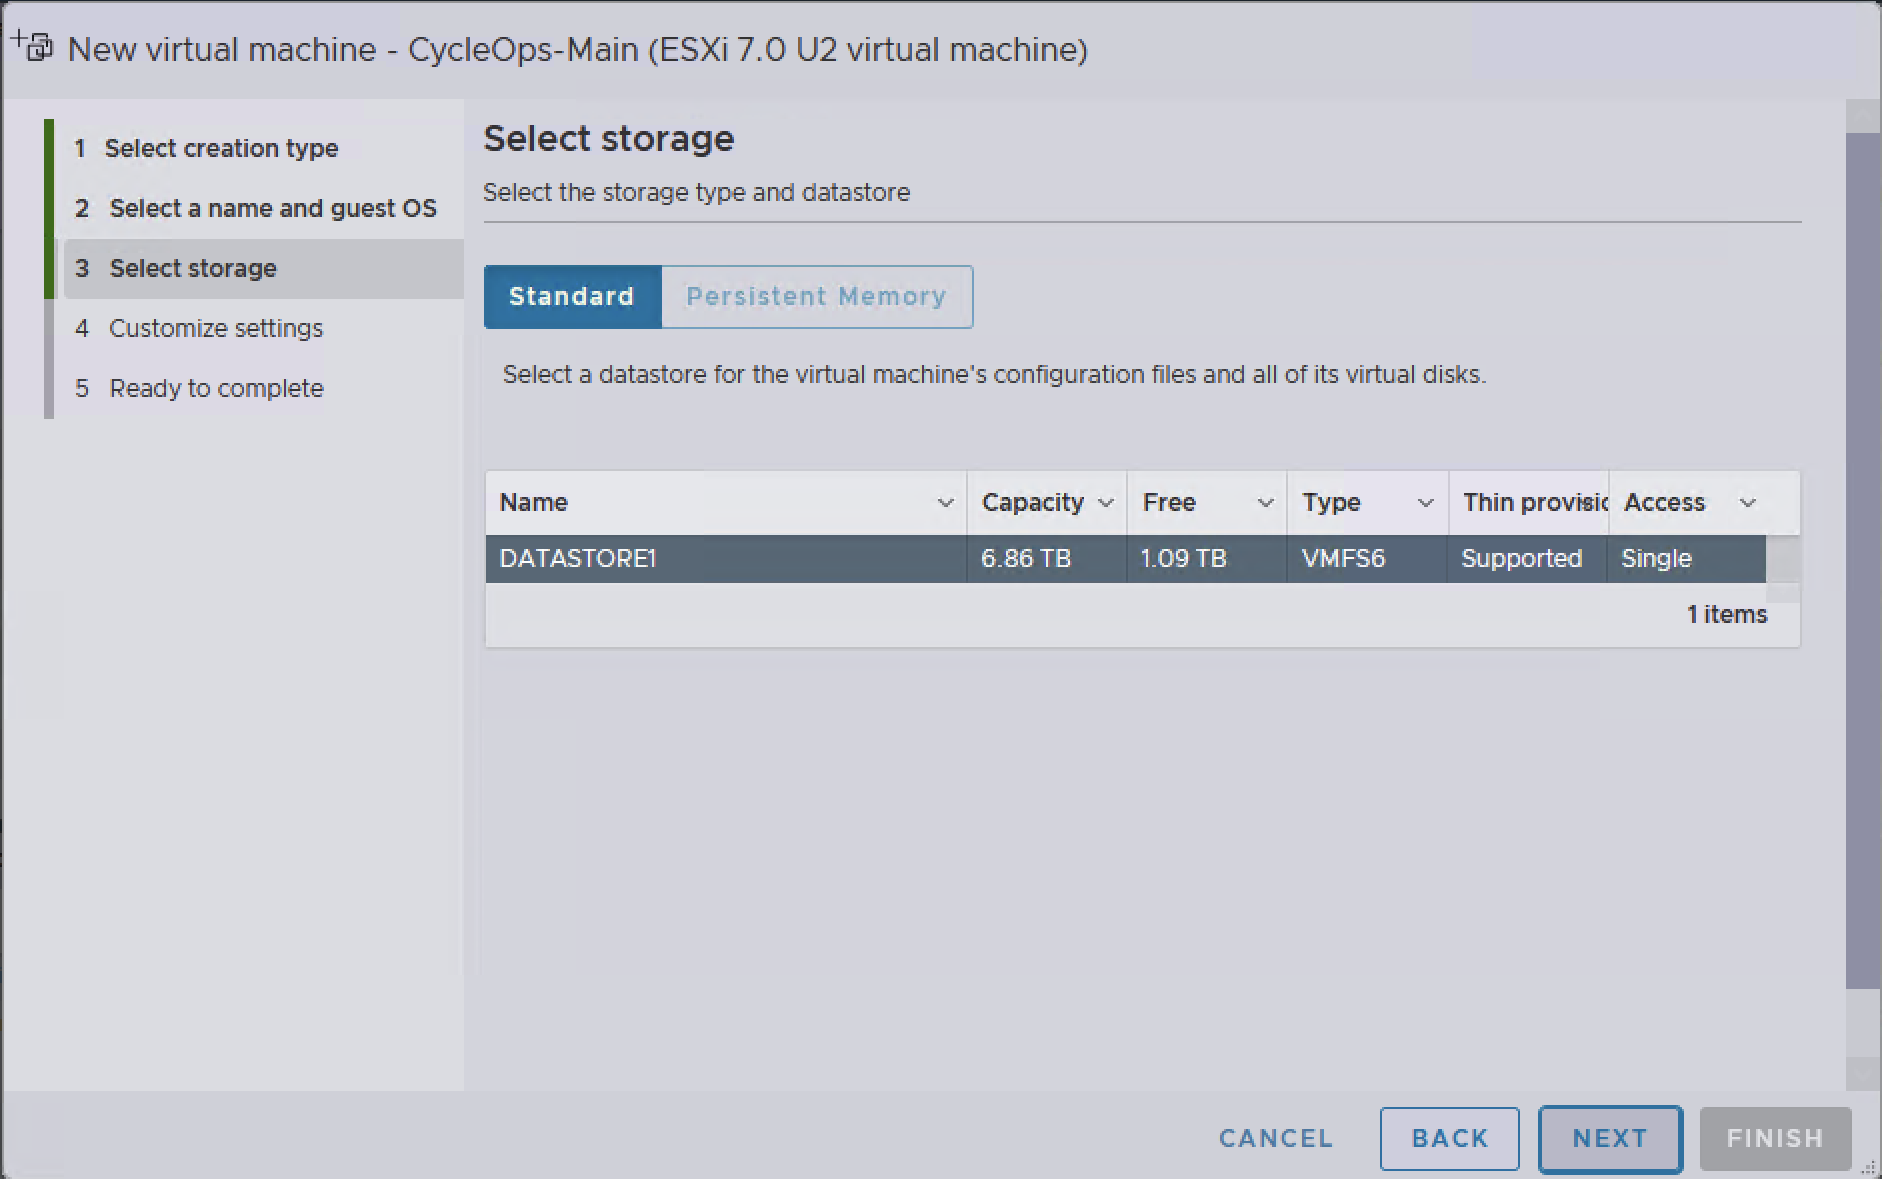
Select the datastore that will hold the virtual machine files. It needs enough free space for the disk size you chose.
Select storage
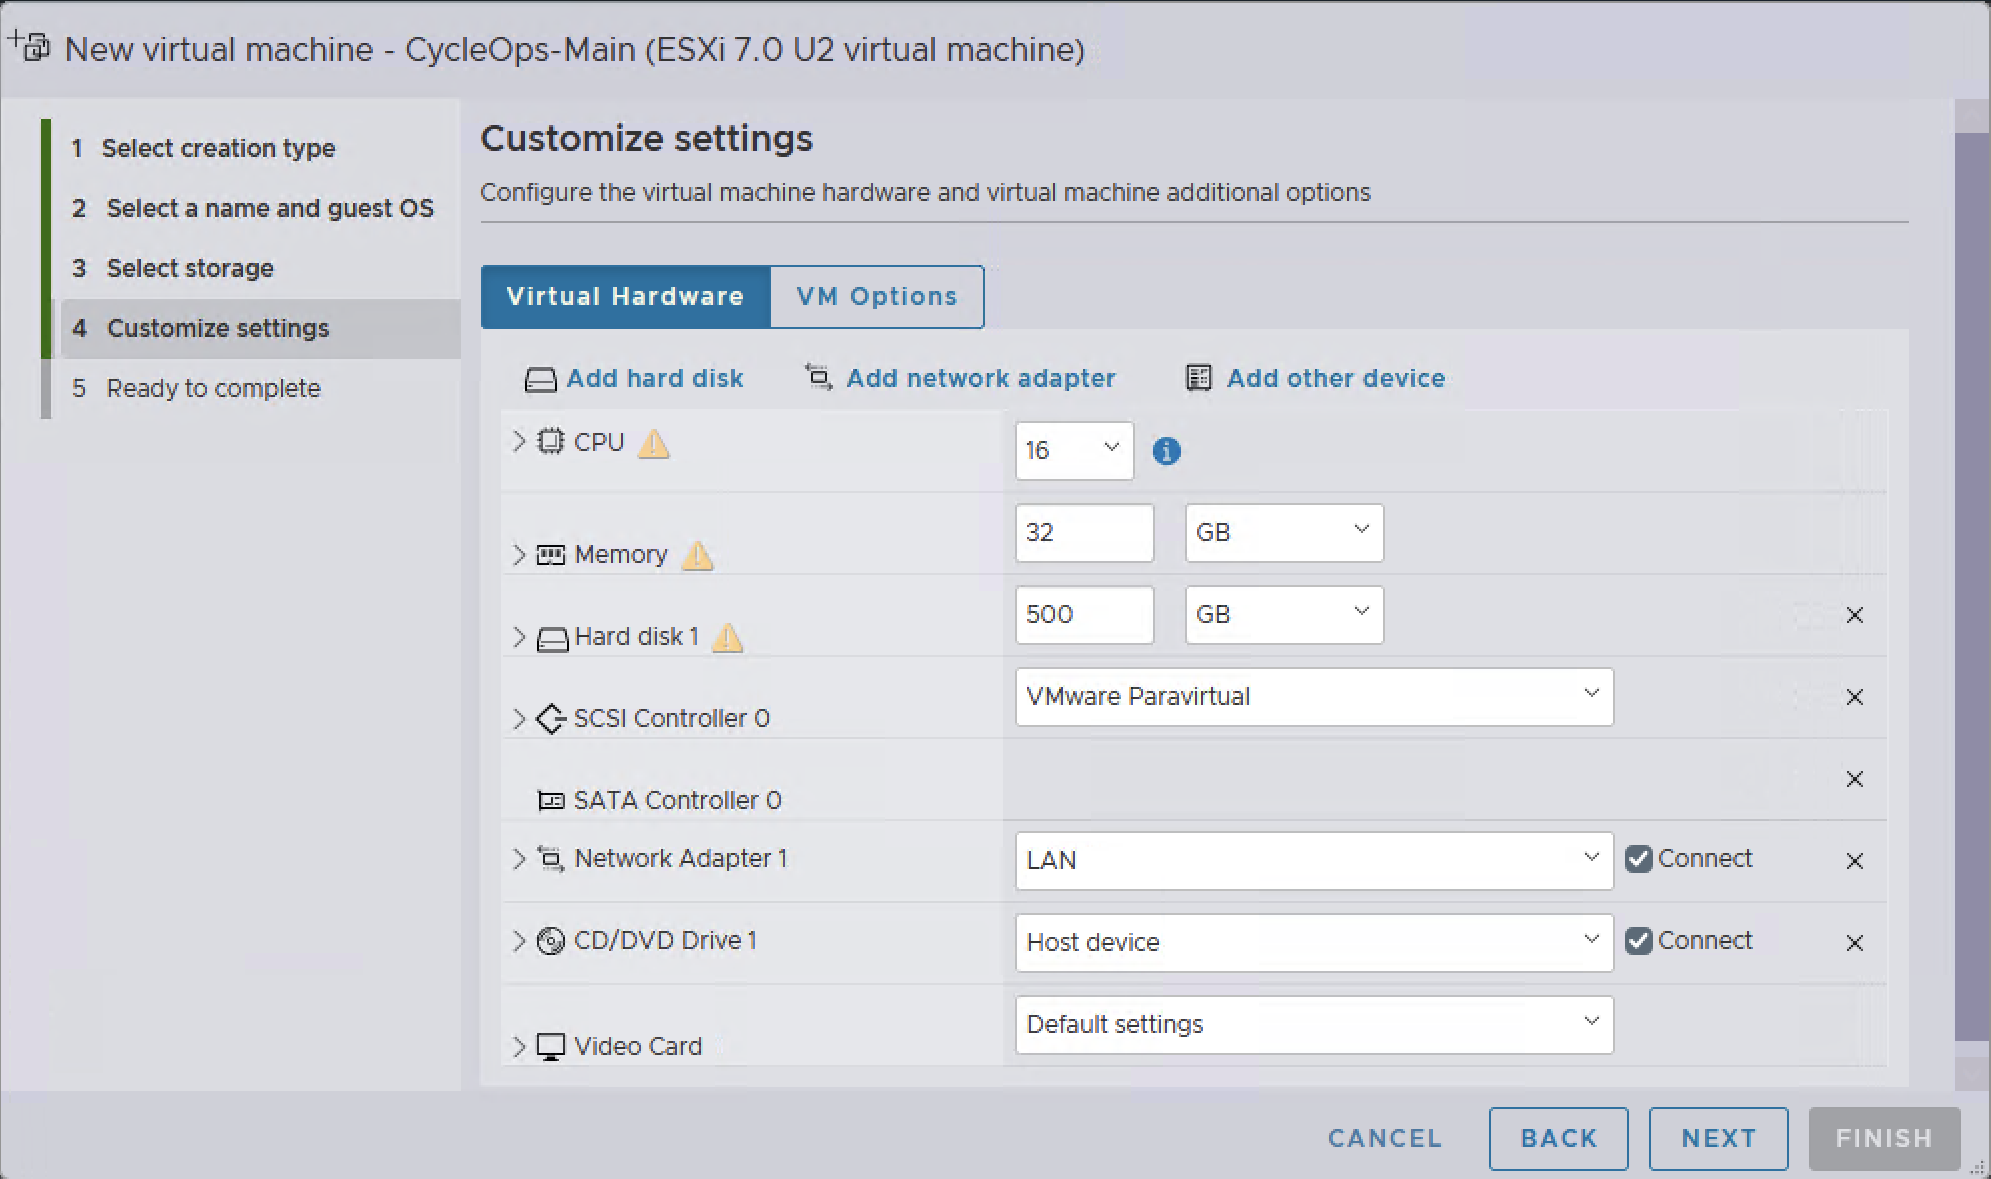
3.5 Configure the hardware
On the Virtual Hardware tab, set CPU, Memory, and Hard disk 1 to your sizing values. Keep SCSI Controller 0 on VMware Paravirtual, and select the port group the server connects to for Network Adapter 1.
CPU, memory, and disk values in Customize settings
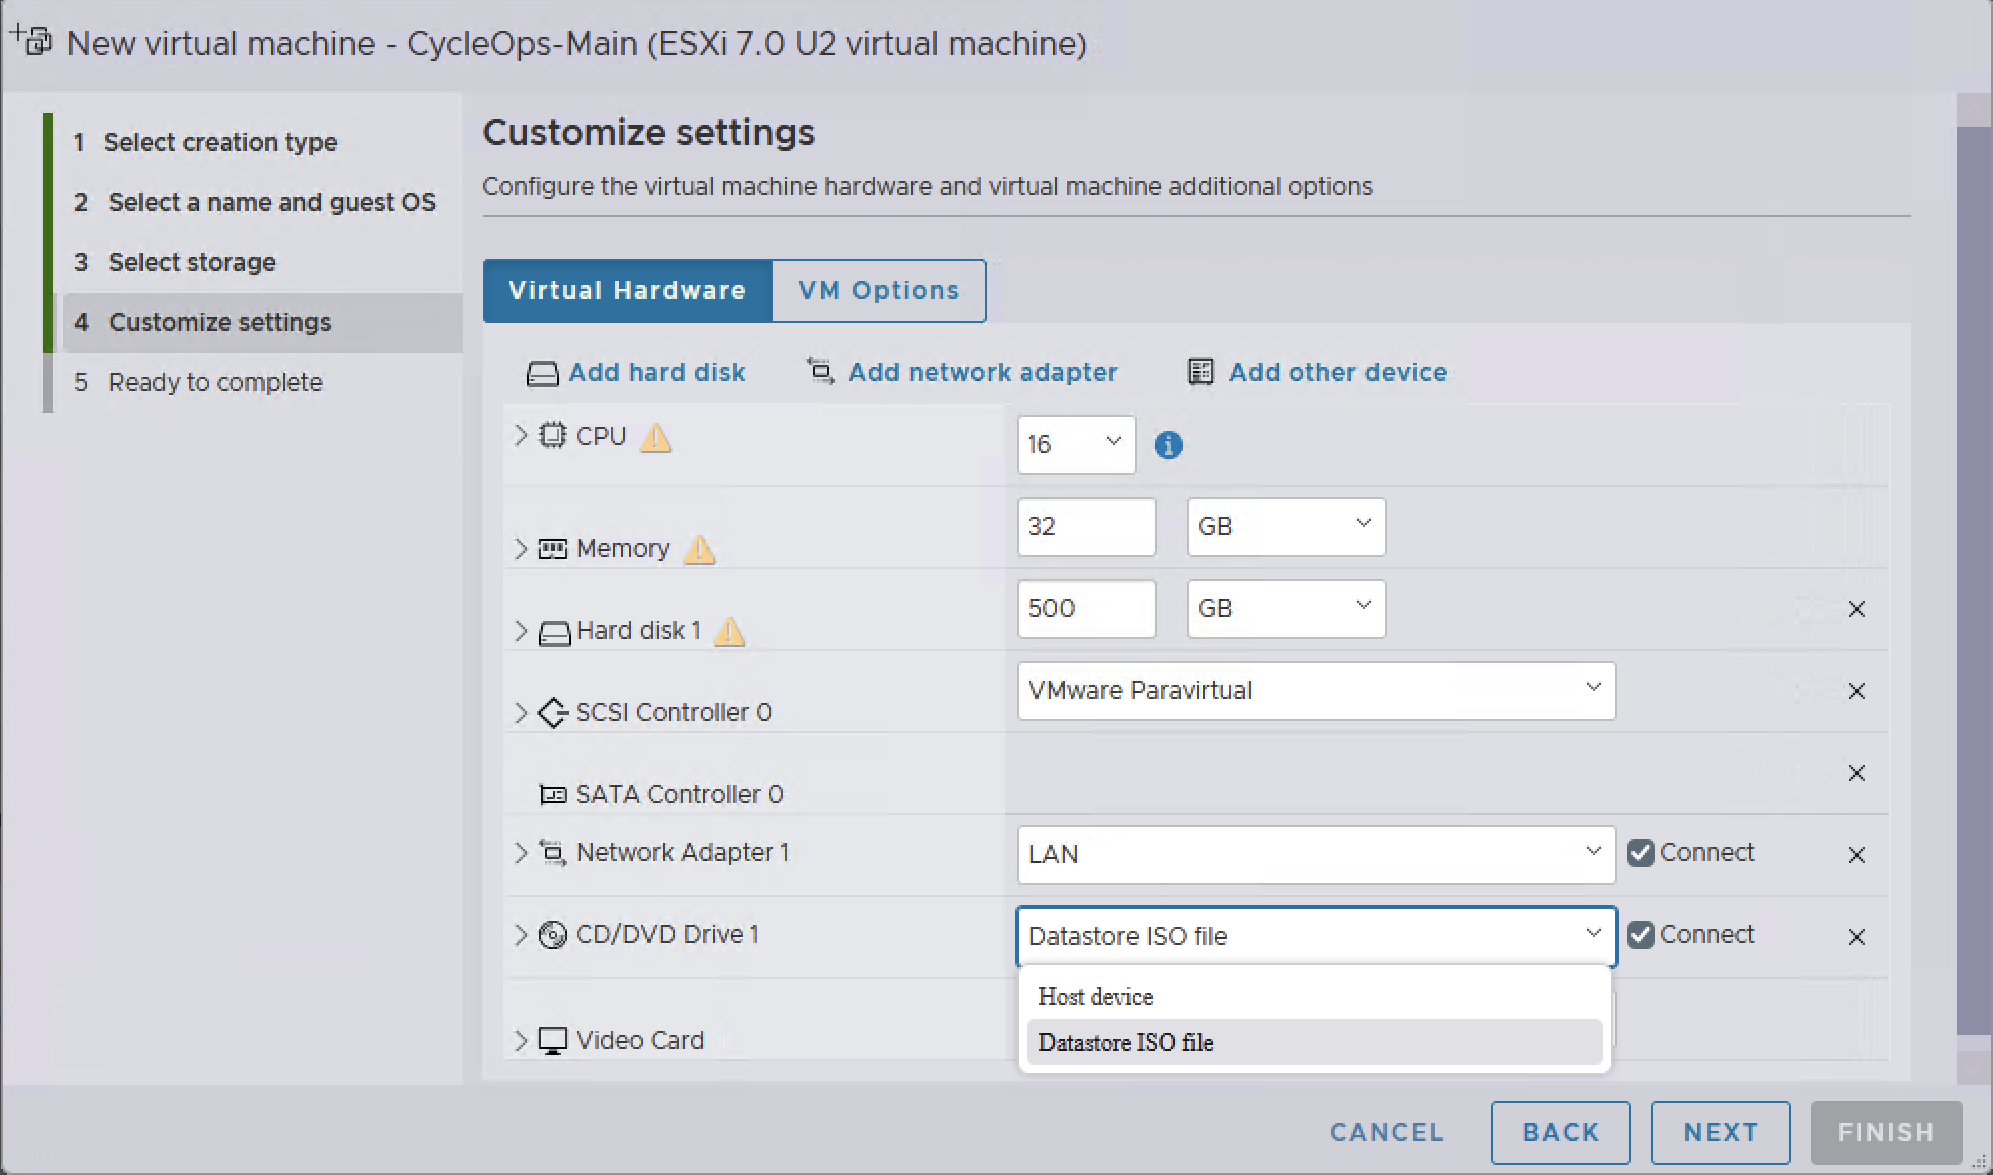
3.6 Attach the installation image
In the CD/DVD Drive 1 row, select Datastore ISO file. In the Datastore browser, locate ubuntu-26.04.1-live-server-amd64.iso and confirm with SELECT.
Selecting Datastore ISO file for CD/DVD Drive 1
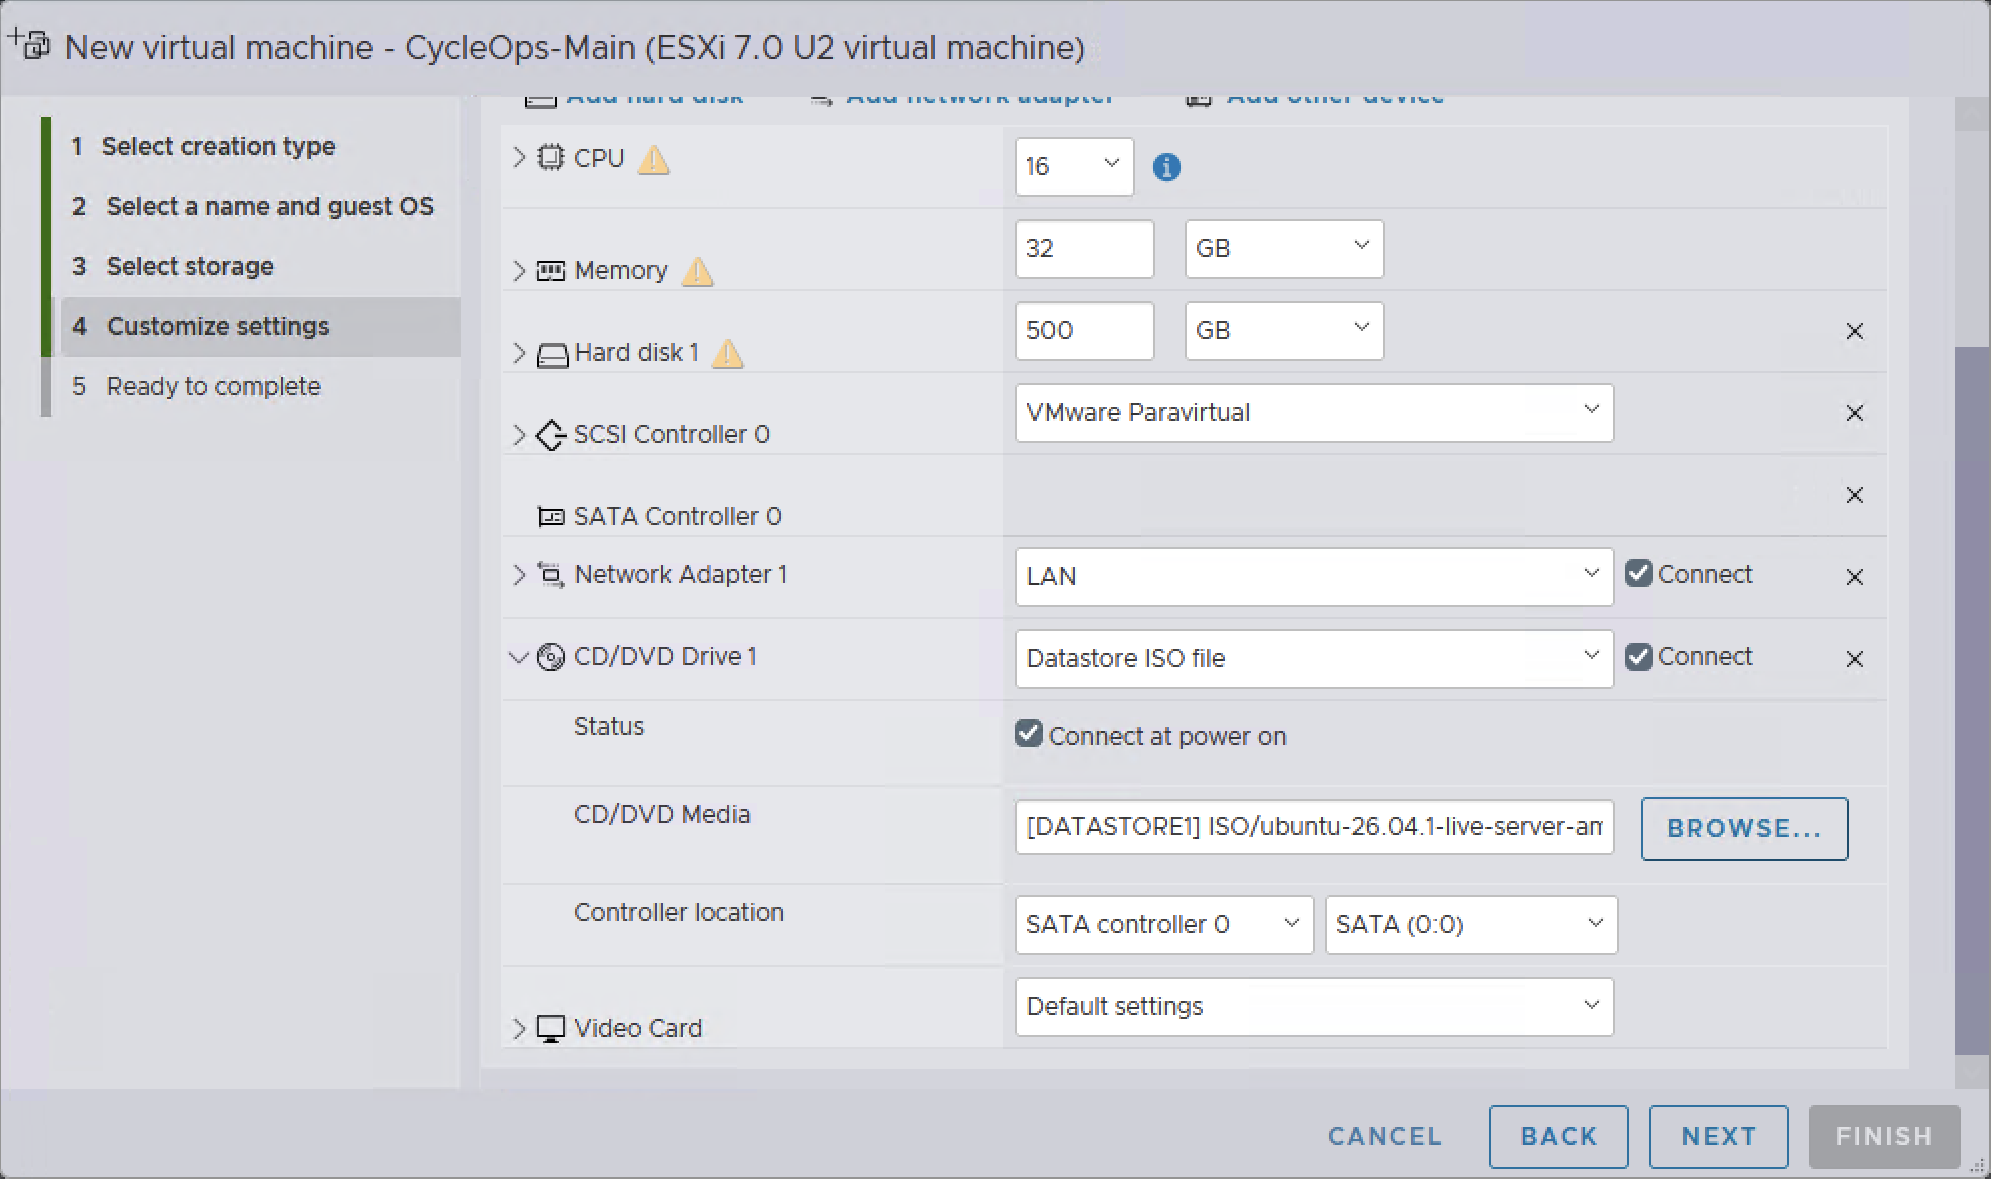
Expand CD/DVD Drive 1 and confirm that Connect at power on is checked and the image path appears under CD/DVD Media. Continue with NEXT.
Image path under CD/DVD Media with Connect at power on checked
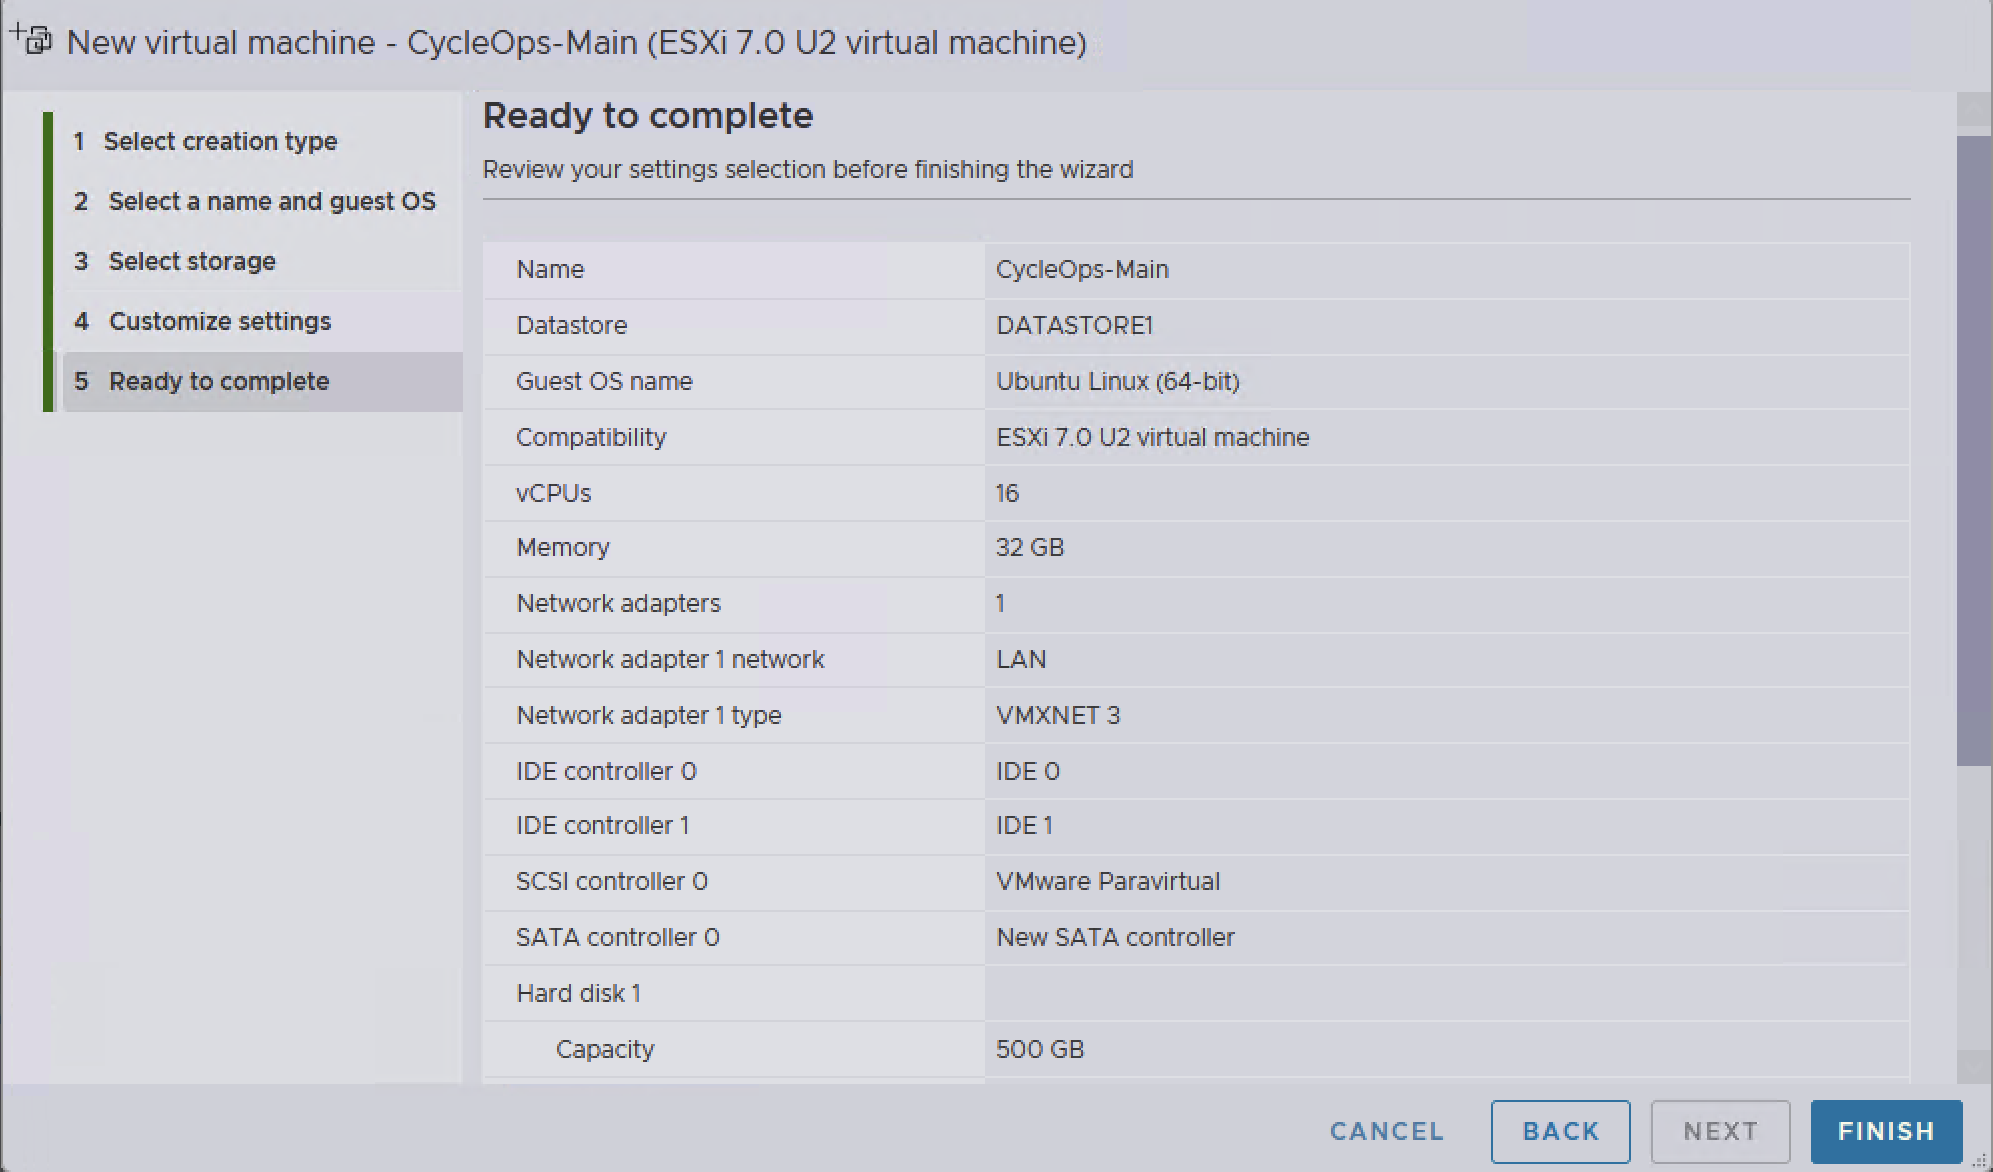
3.7 Review and finish
Compare the summary on the Ready to complete page with your parameters, then create the virtual machine with FINISH.
Ready to complete summary
3.8 Power on
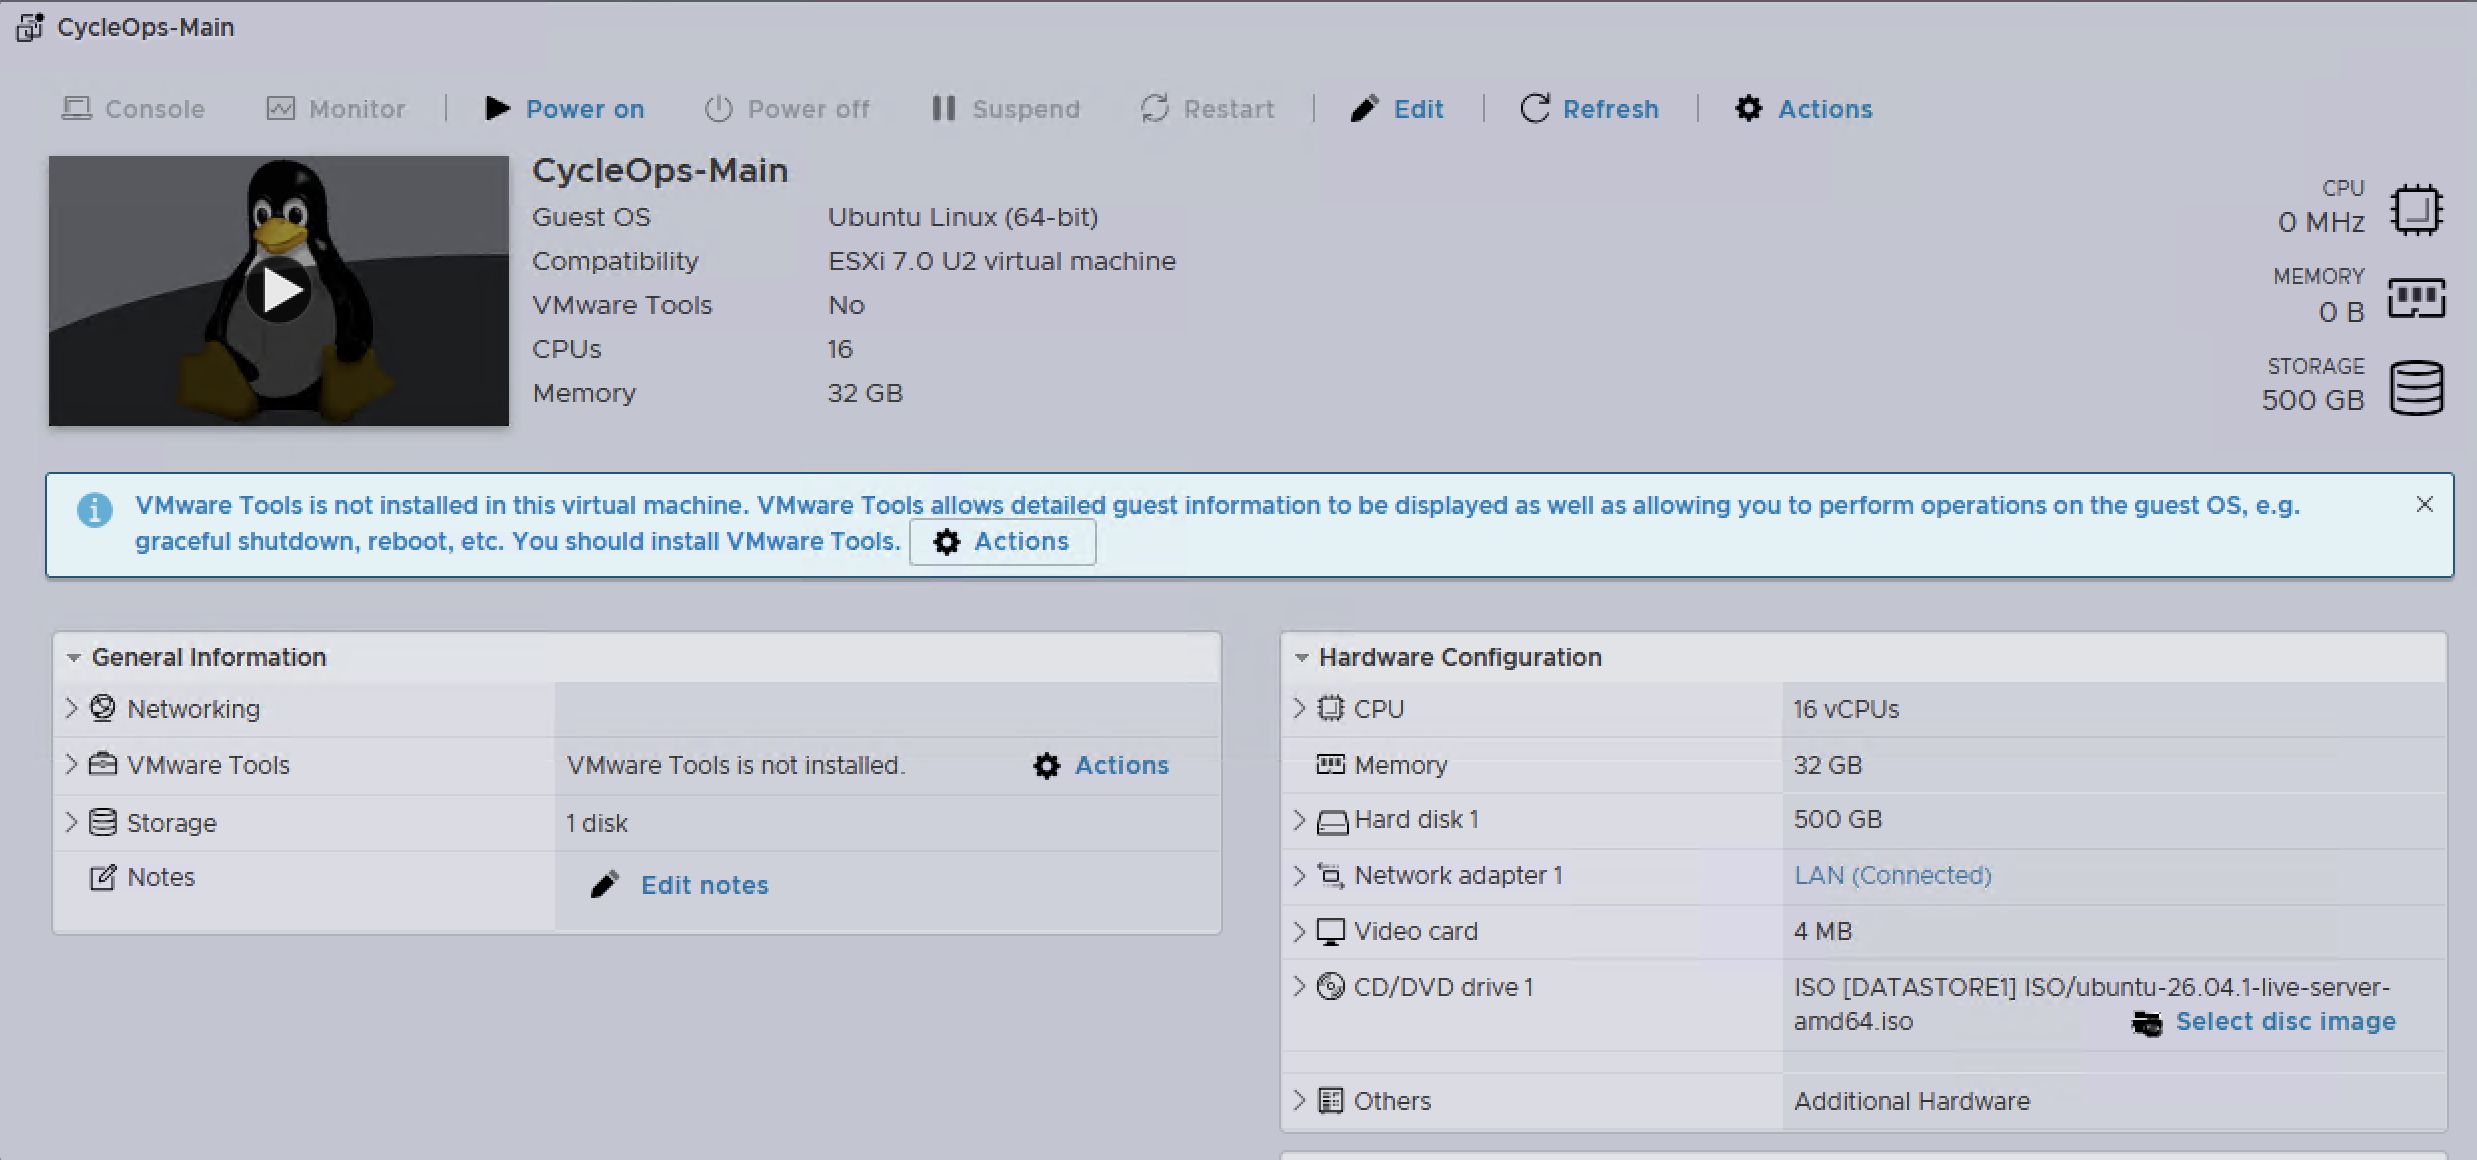
Open CycleOps-Main from the virtual machine list, select Power on, and open the Console. The "VMware Tools is not installed" notice is expected at this stage.
CycleOps-Main summary with the Power on buttonStep 4
Install Ubuntu Server 26.04
The operating system is installed from the virtual machine console with the Ubuntu installer.
4.1 Start the installer
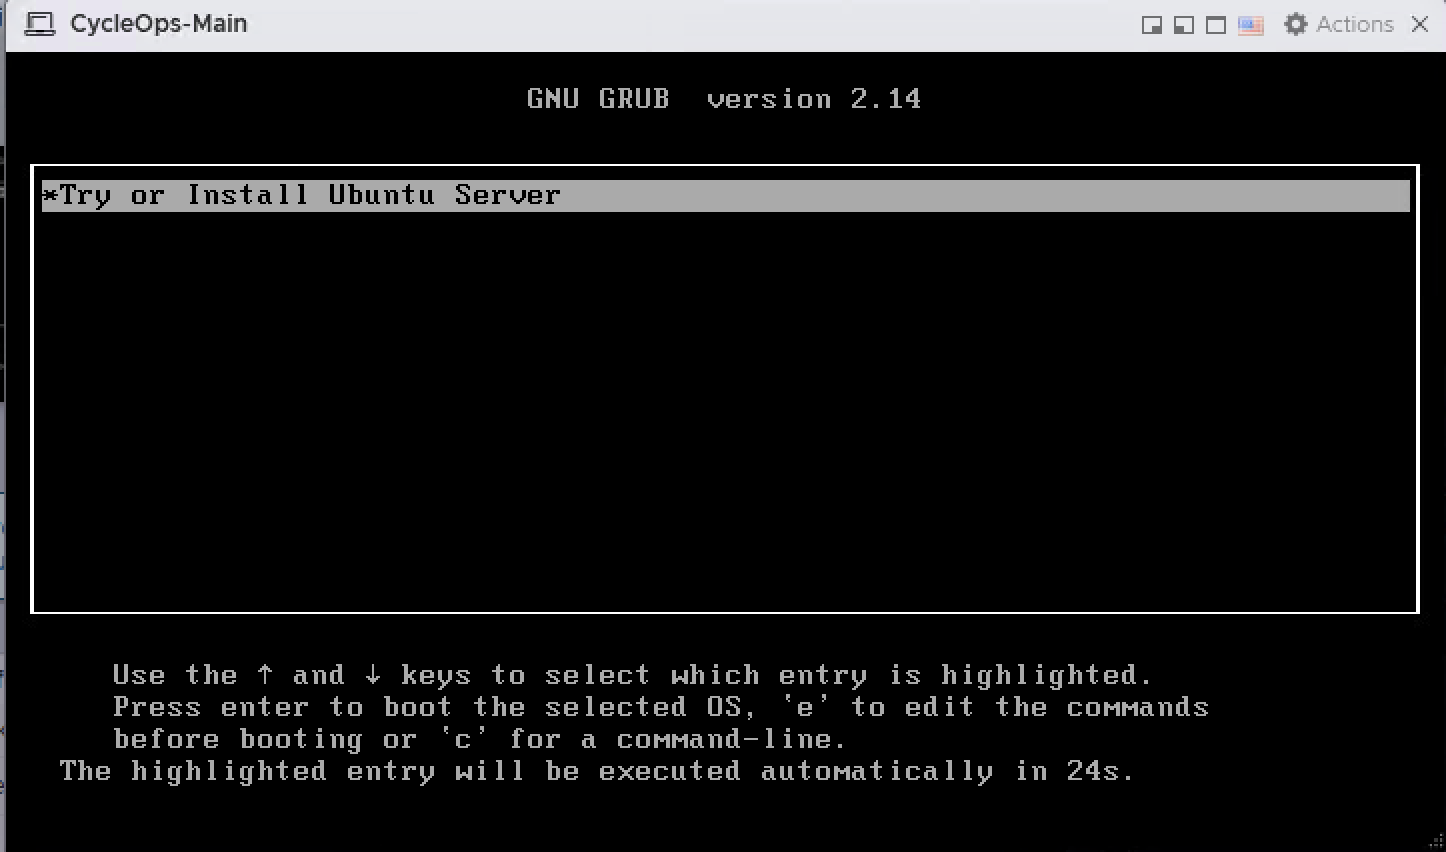
With Try or Install Ubuntu Server highlighted in the GRUB menu, press Enter. Loading the installer can take a minute or two.
Try or Install Ubuntu Server in the GRUB menu
4.2 Language and keyboard
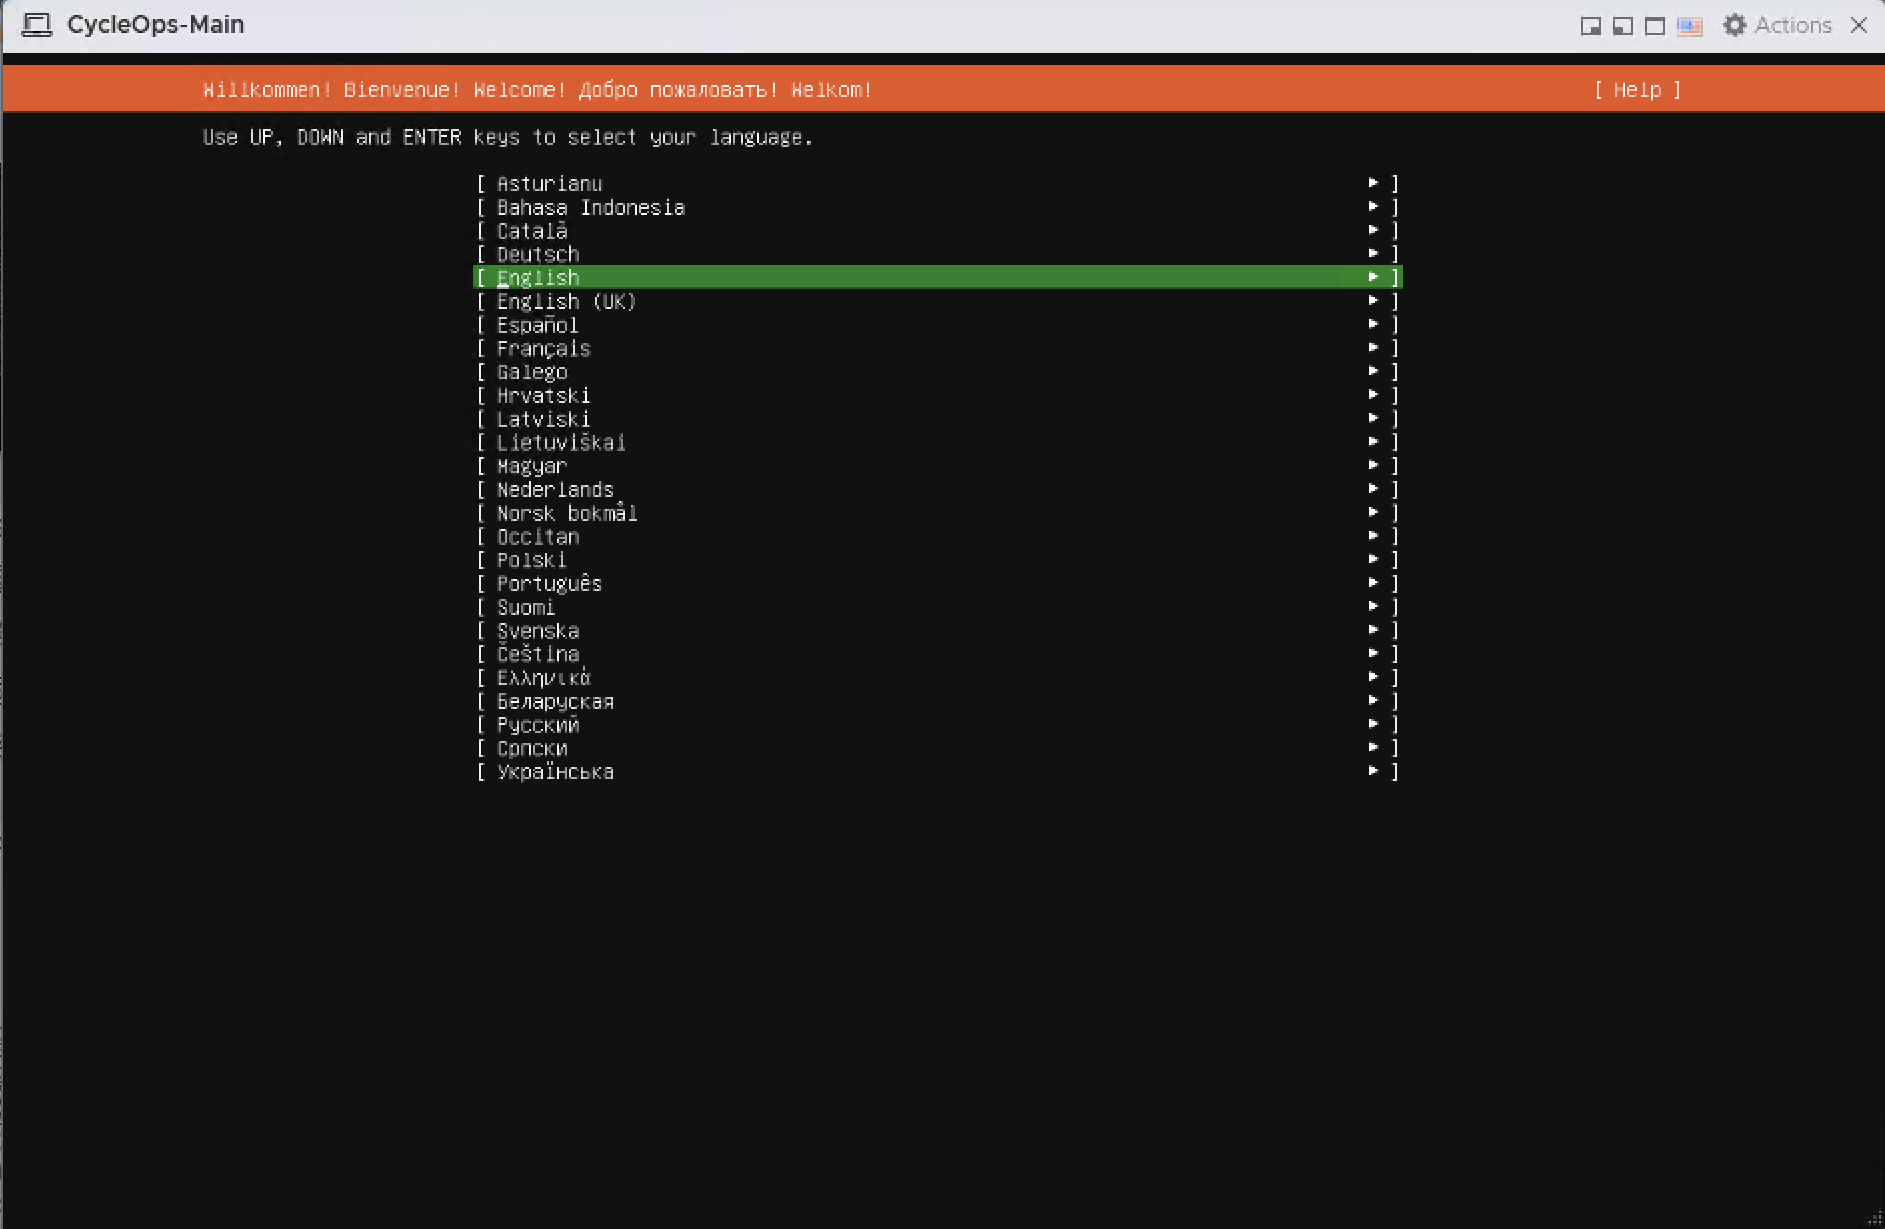
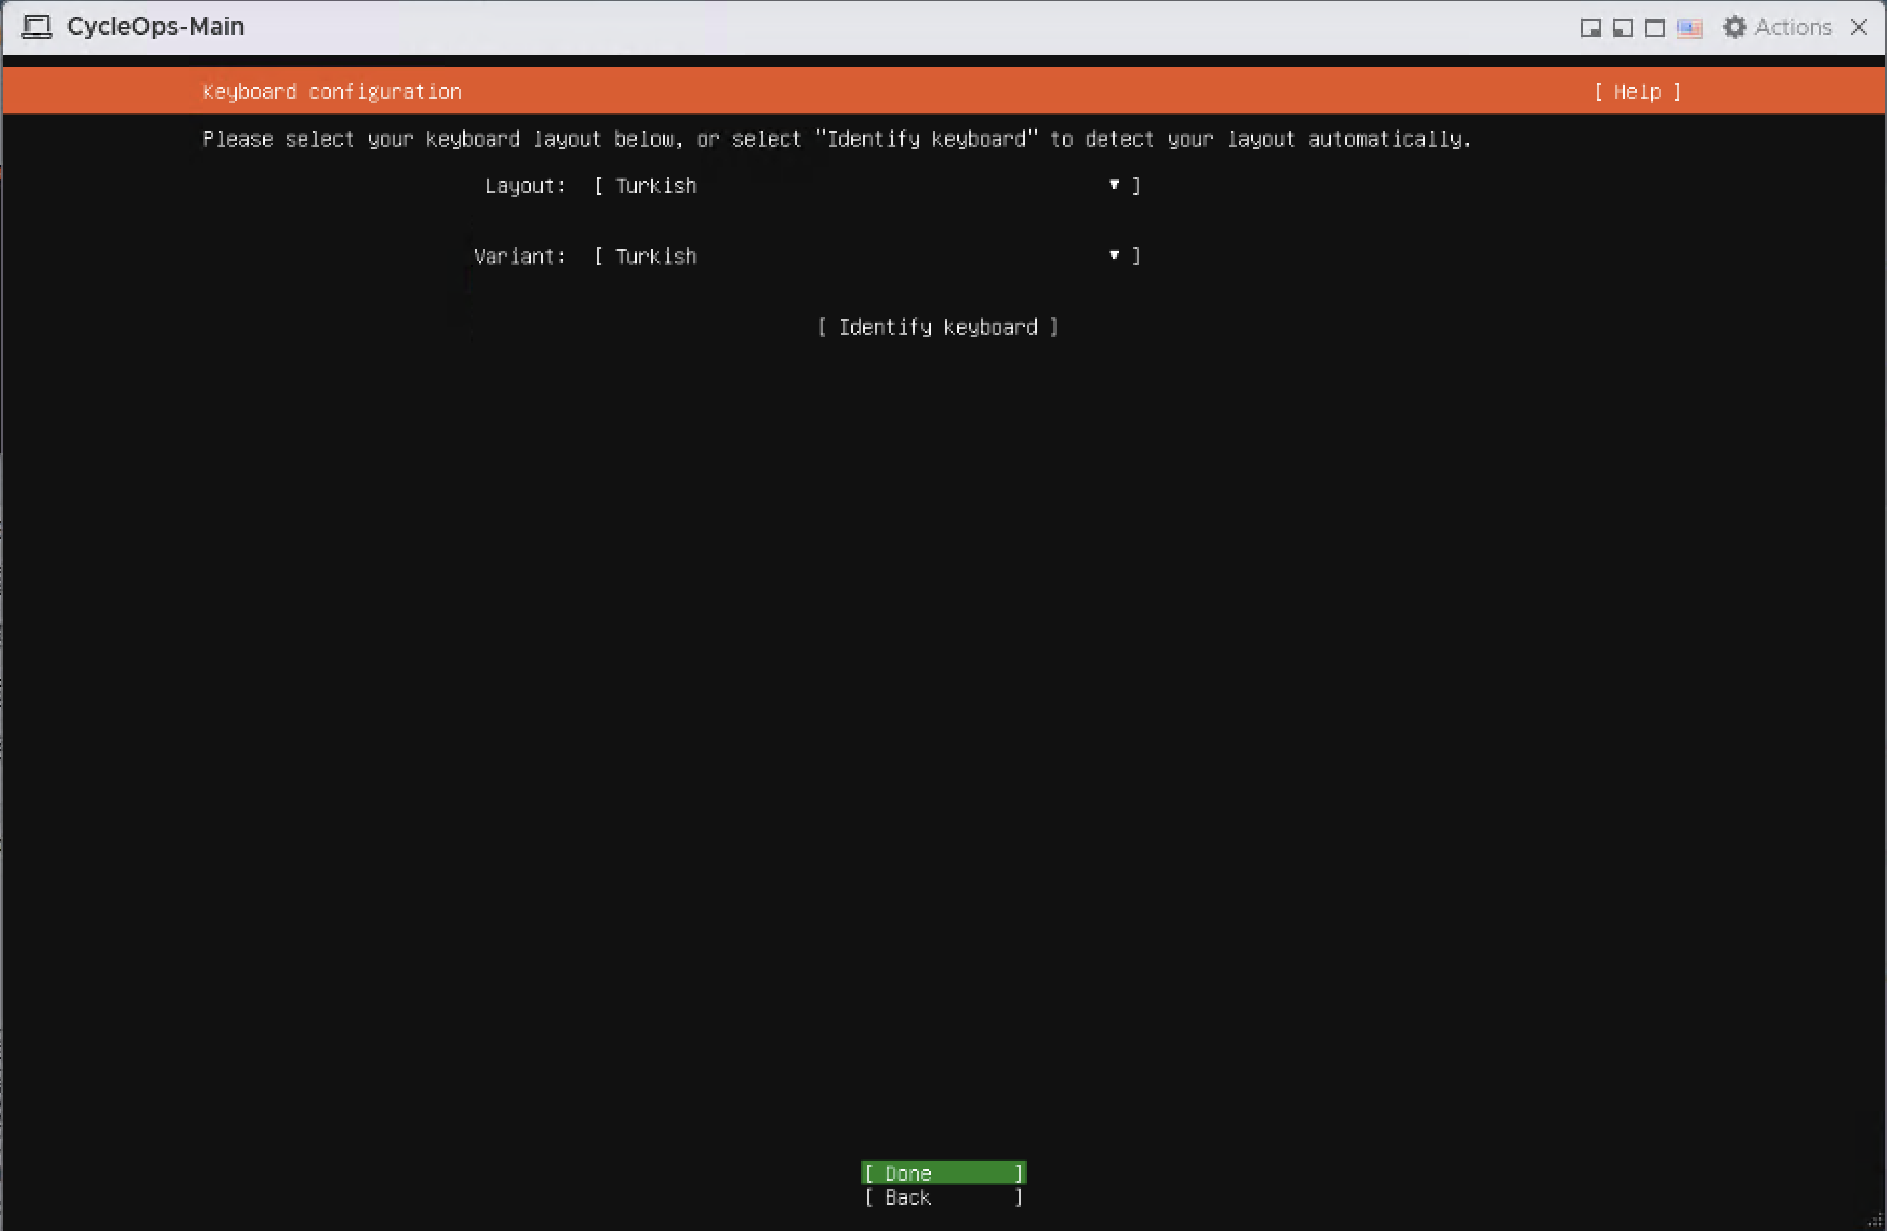
Select English as the language. On the keyboard page, select the layout that matches your keyboard and continue with Done.
Language selectionKeyboard configuration
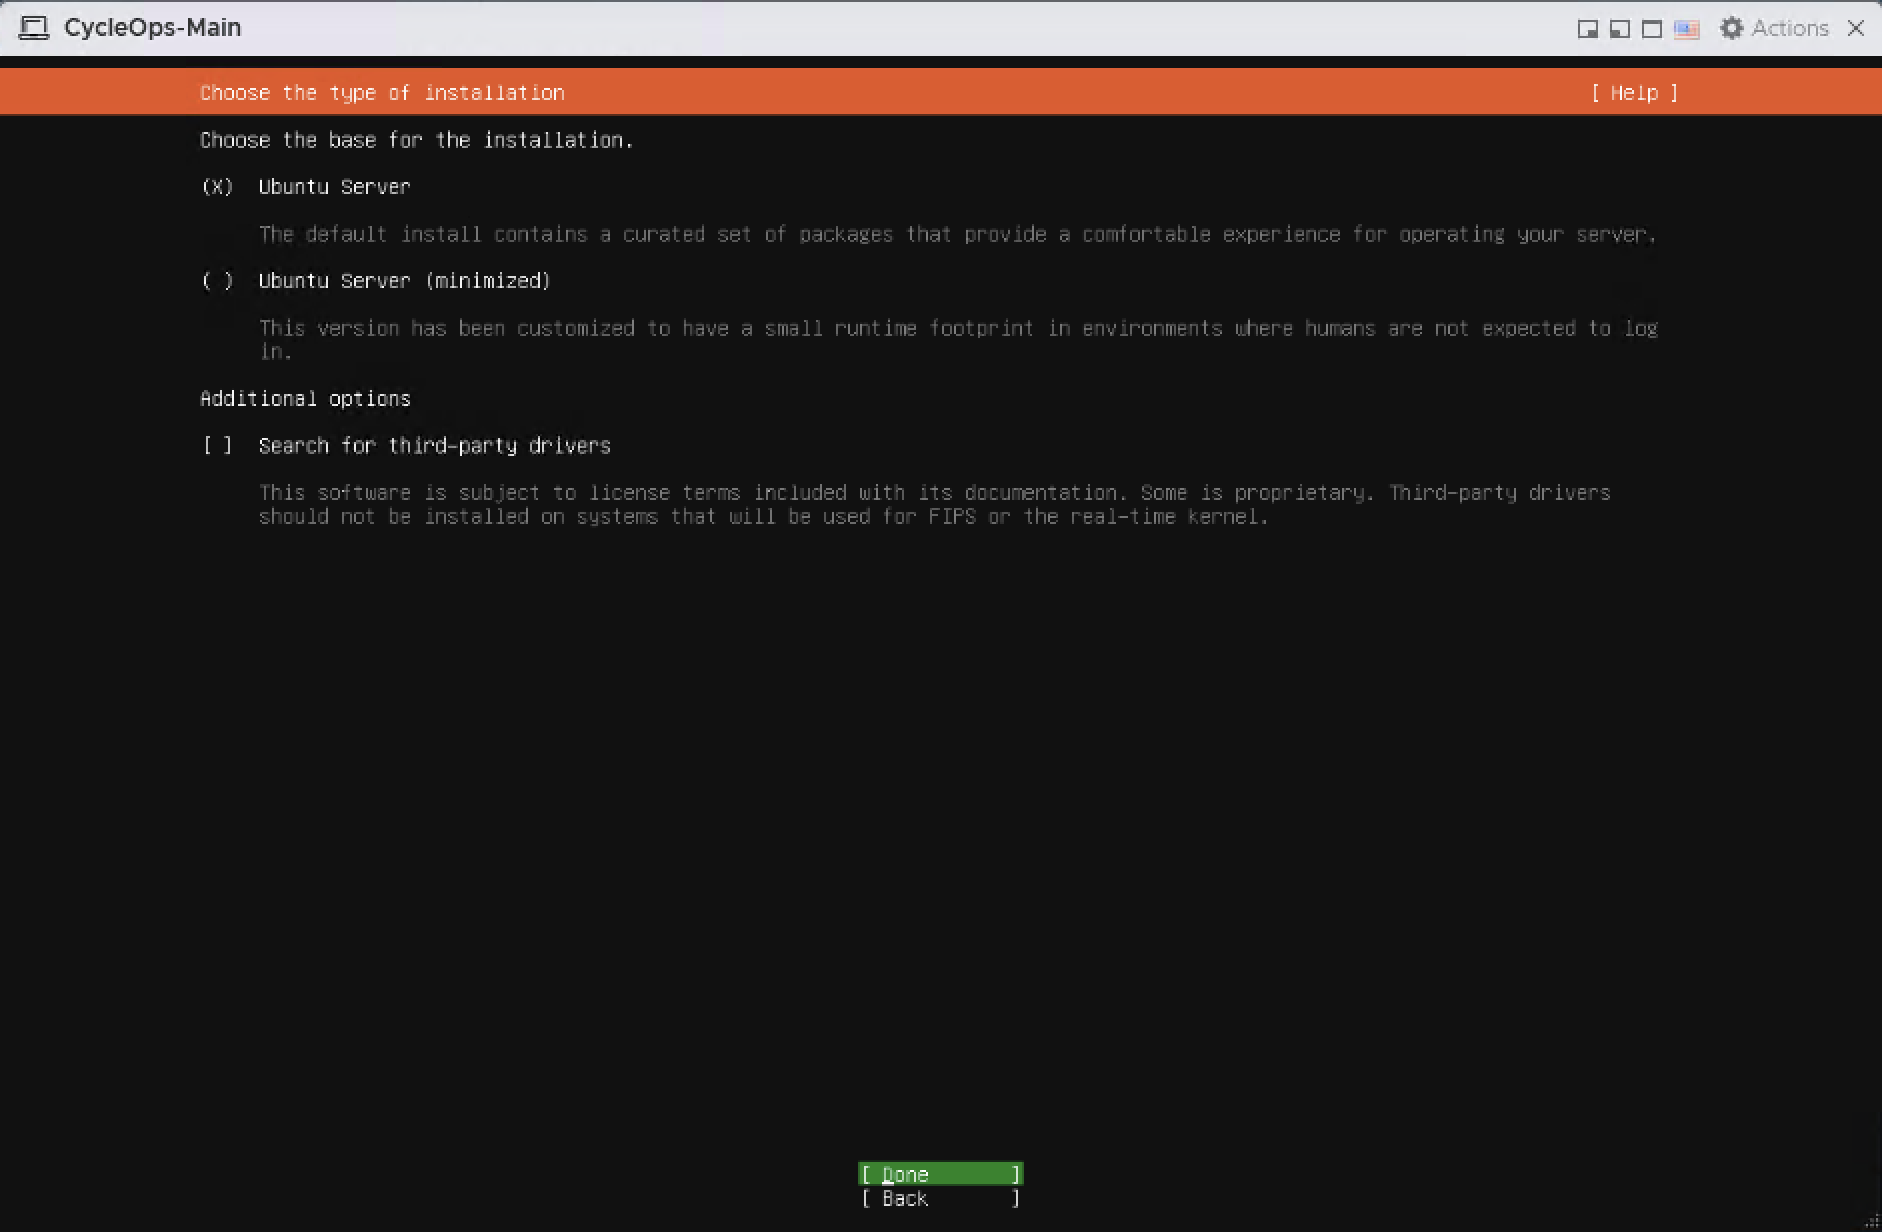
4.3 Installation type
Keep Ubuntu Server selected. Leave "Search for third-party drivers" unchecked and continue with Done.
Choose the type of installation
4.4 Network configuration
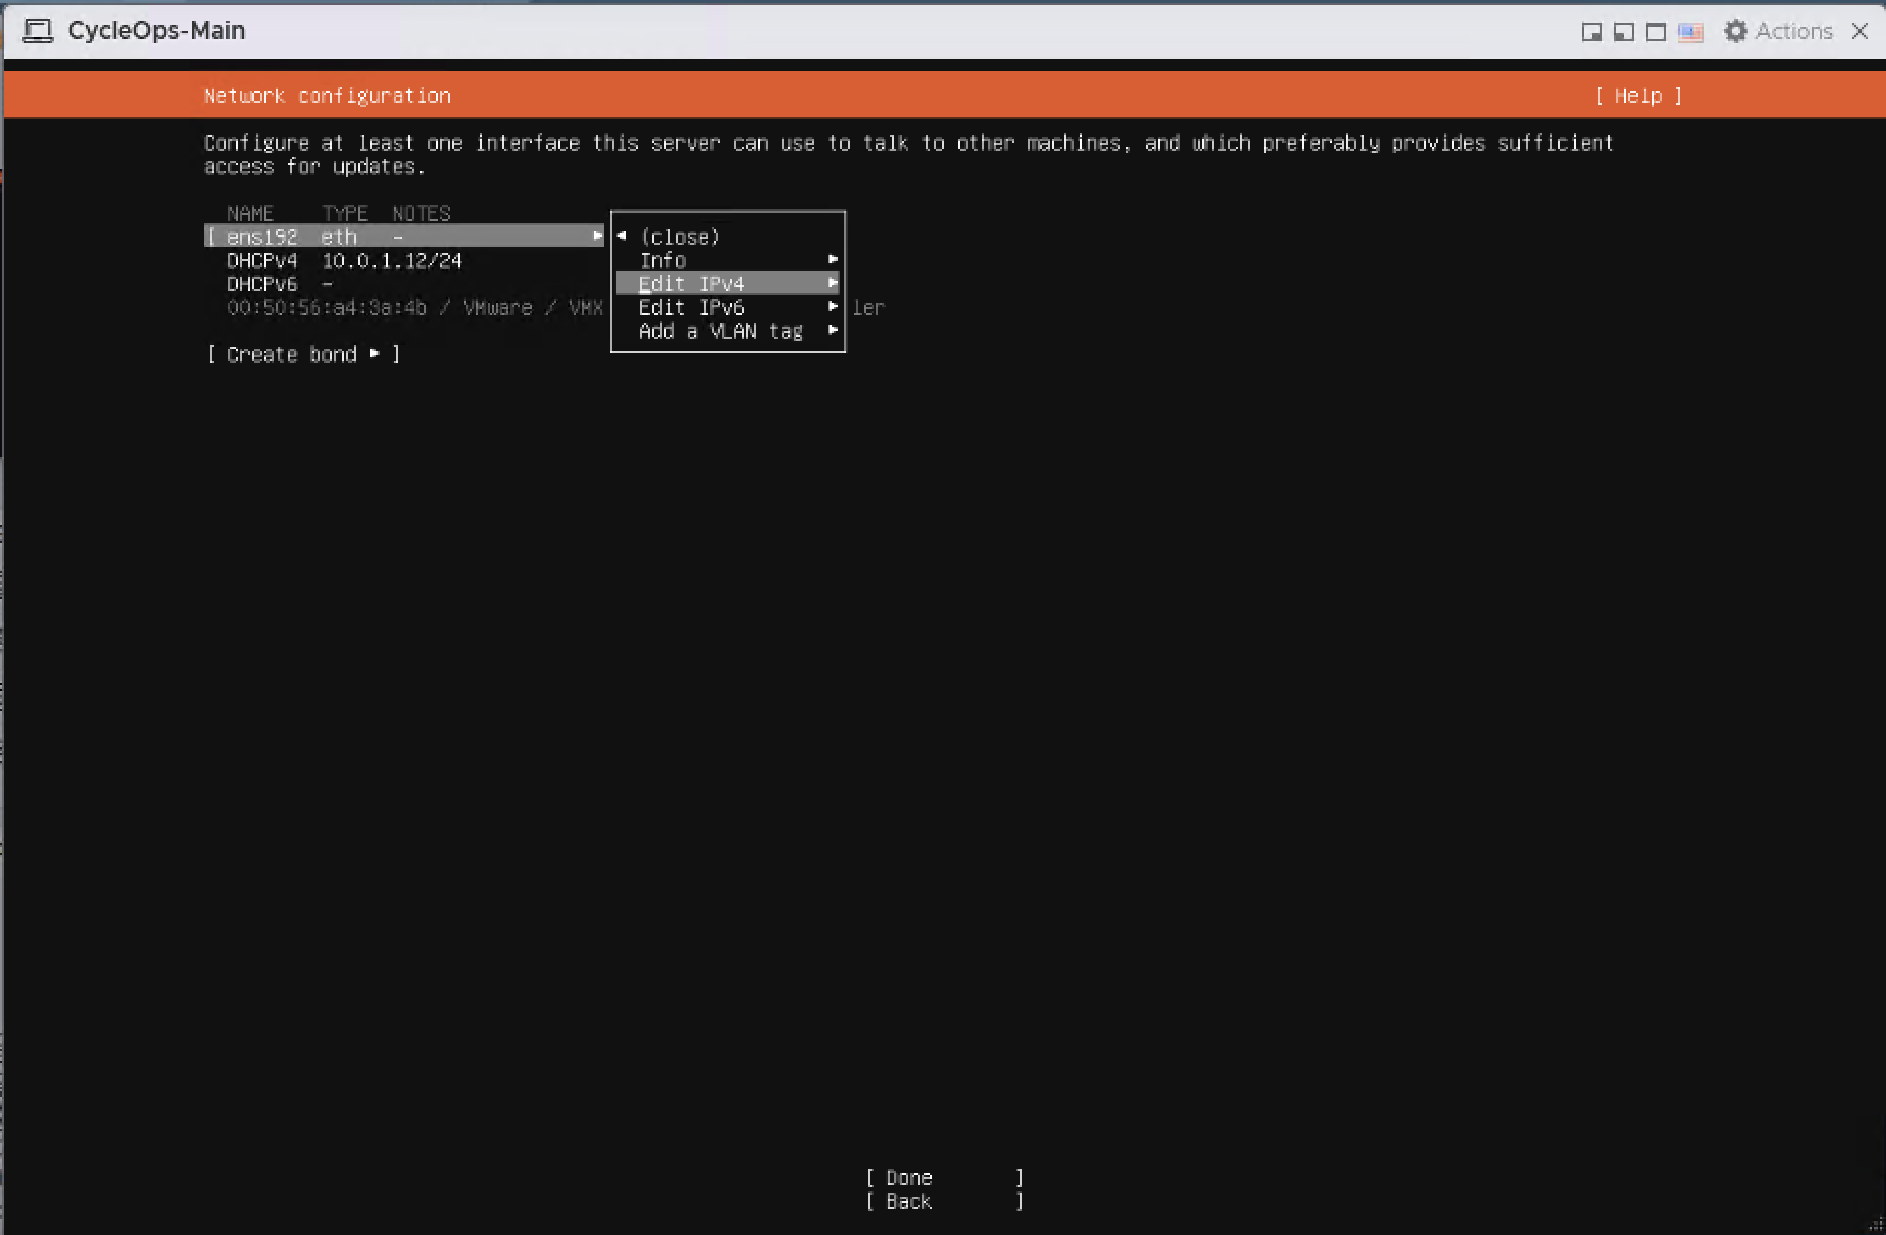
On the Network configuration page, highlight the ens192 interface, press Enter, and select Edit IPv4.
Edit IPv4 on the ens192 interface
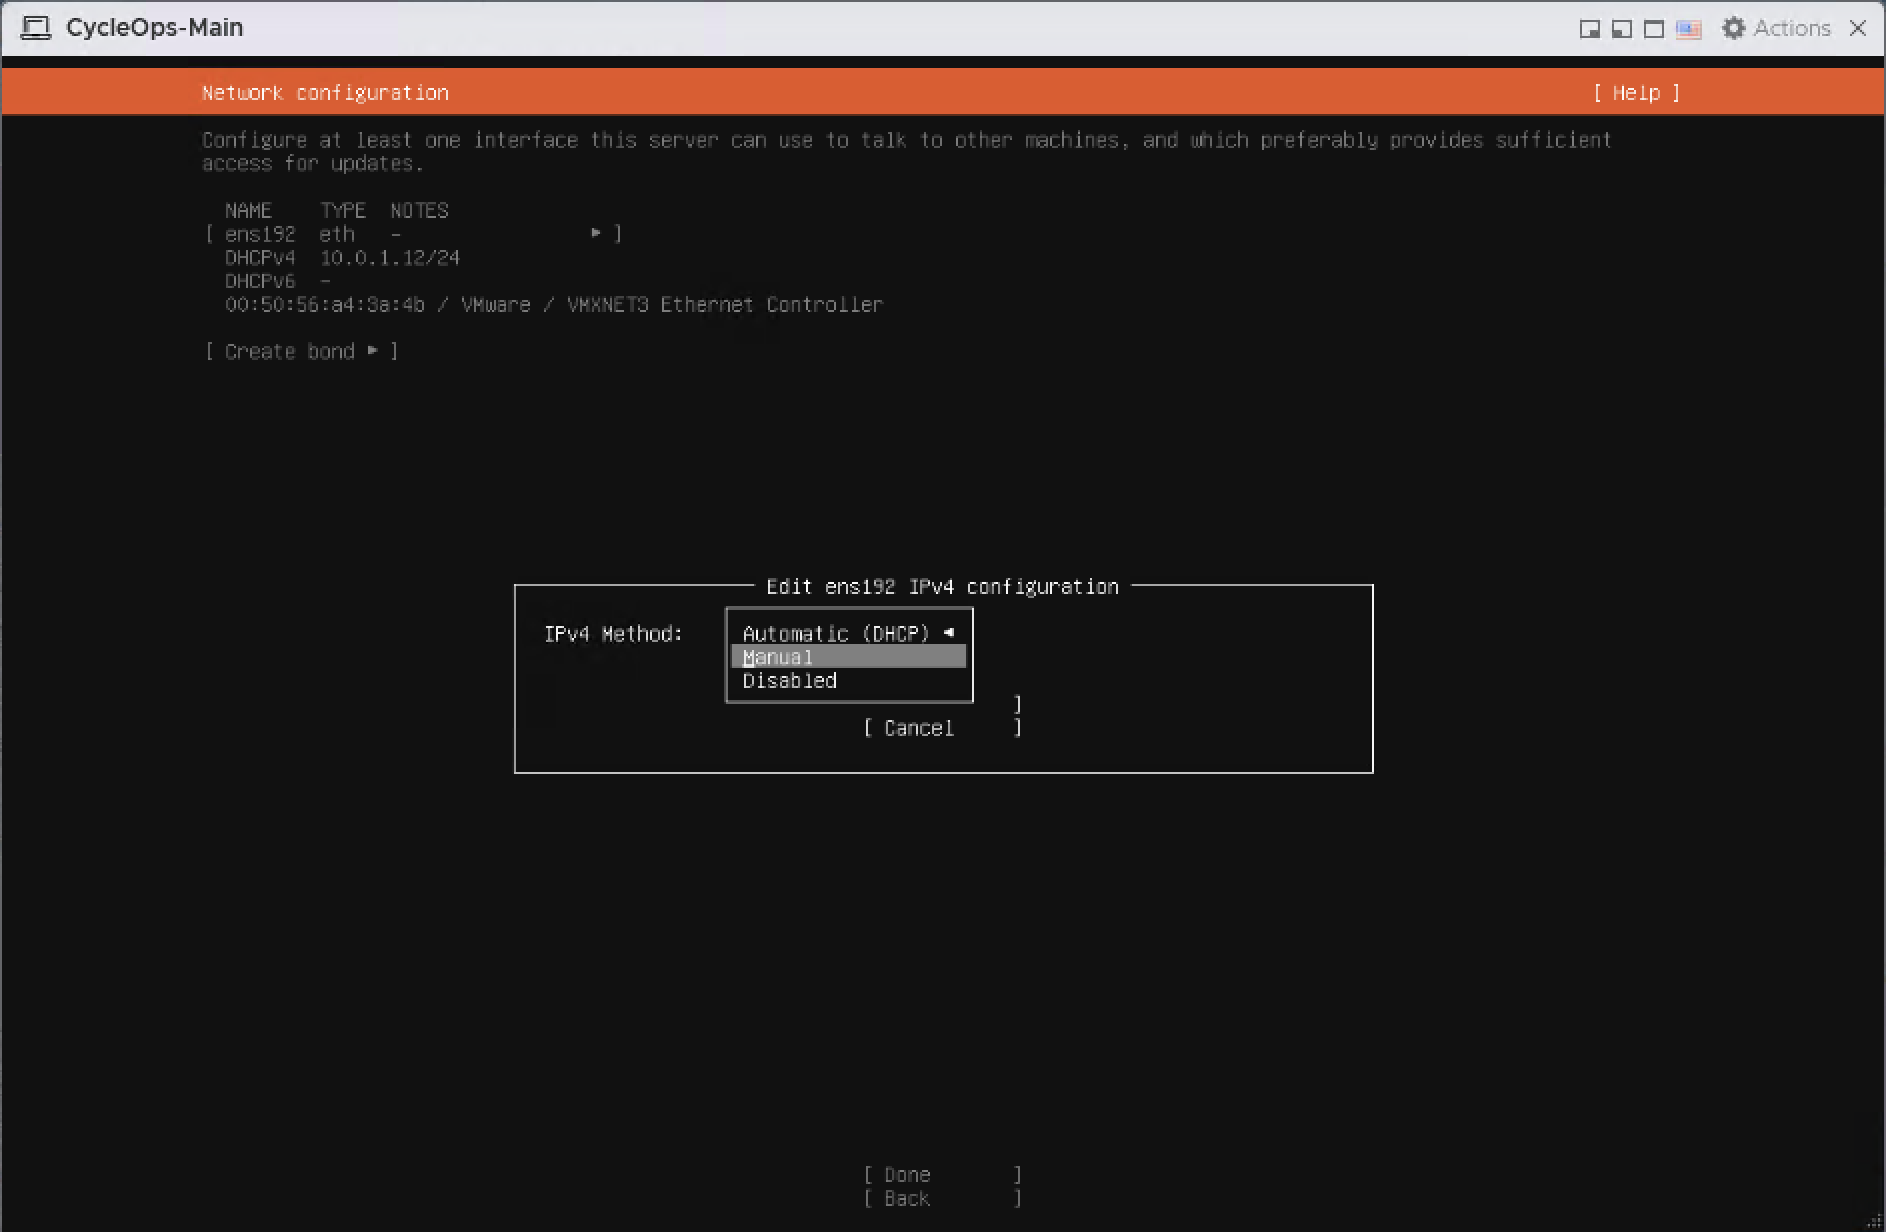
Select Manual as the IPv4 Method.
Manual selected as the IPv4 method
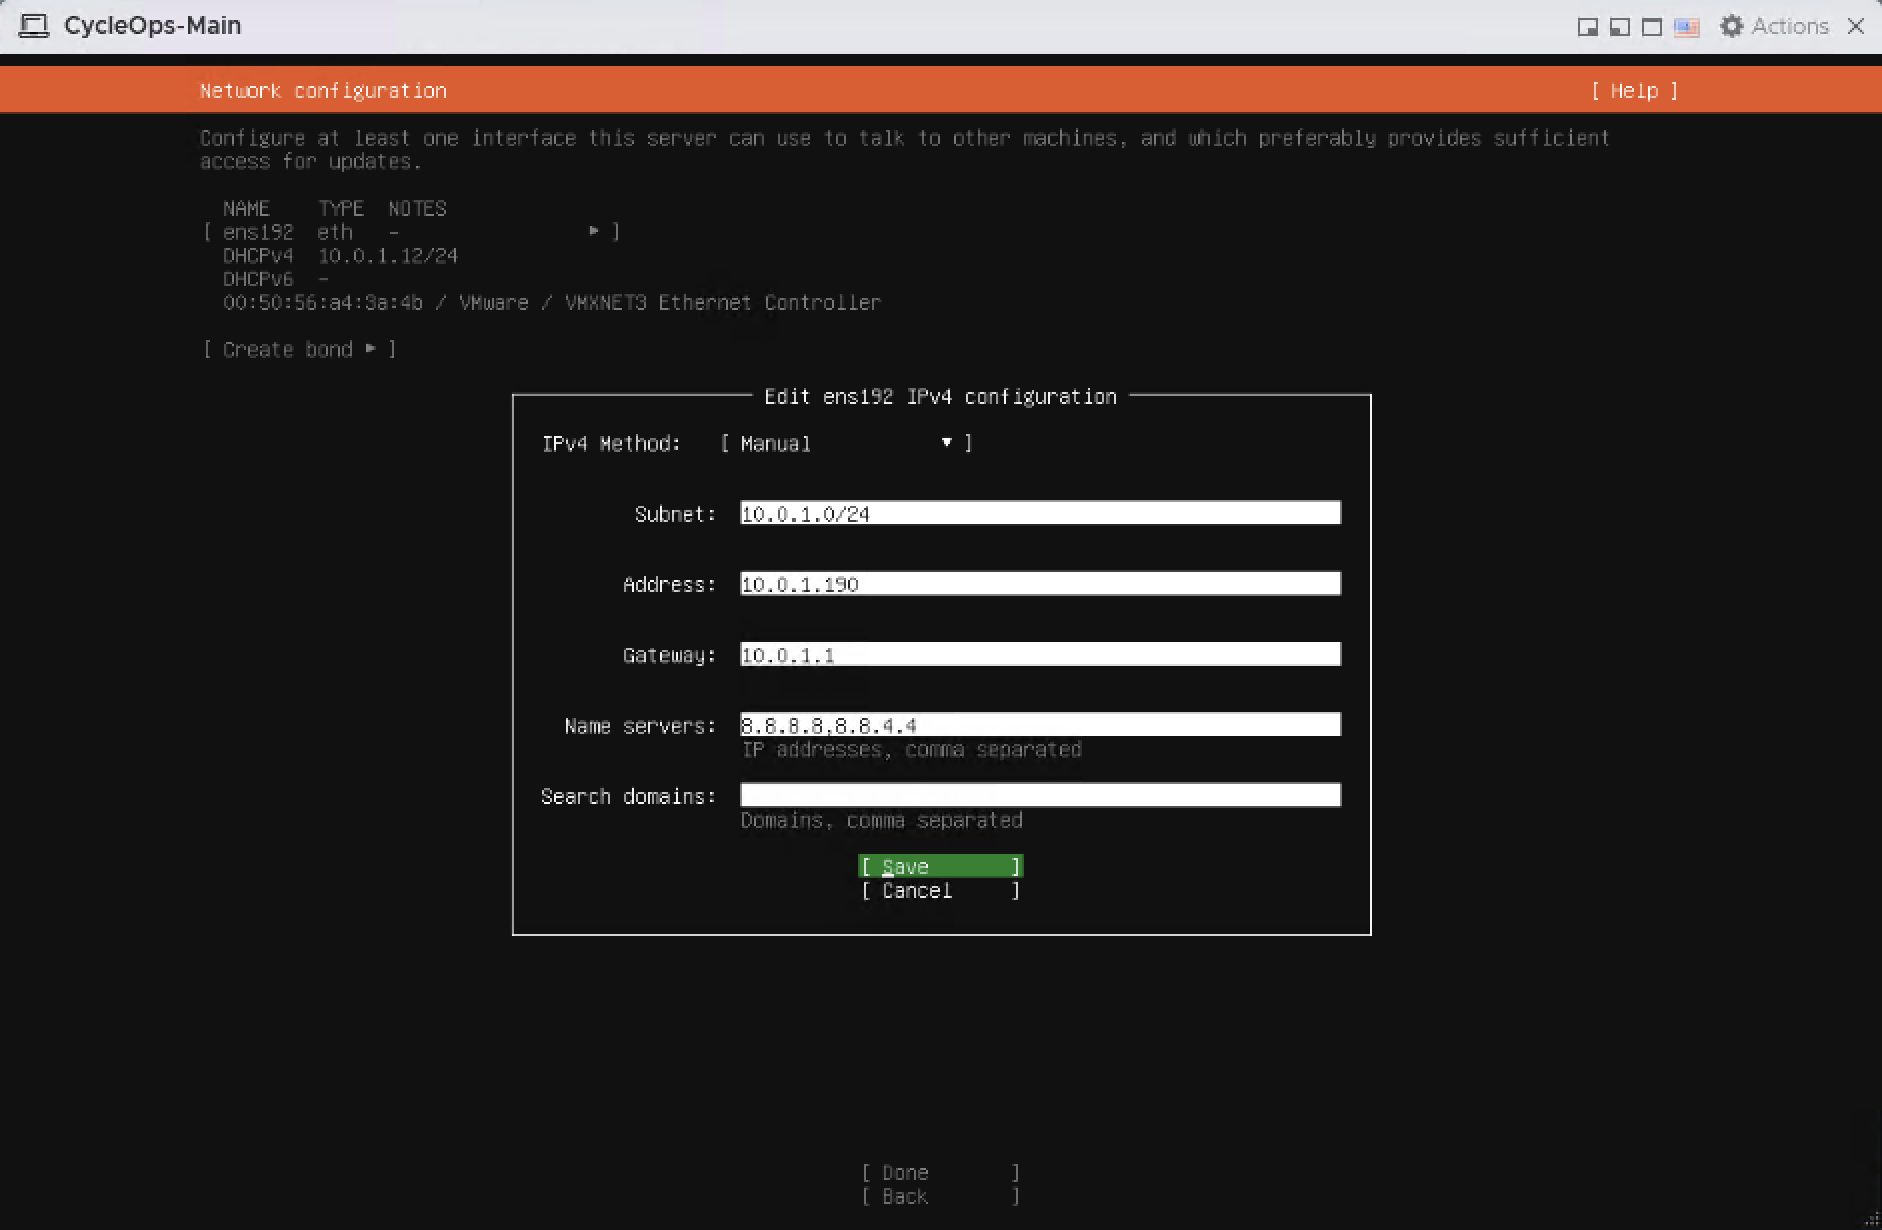
Fill in Subnet, Address, Gateway, and Name servers with your network values. Separate DNS addresses with commas, select Save, then Done.
Static IPv4 values
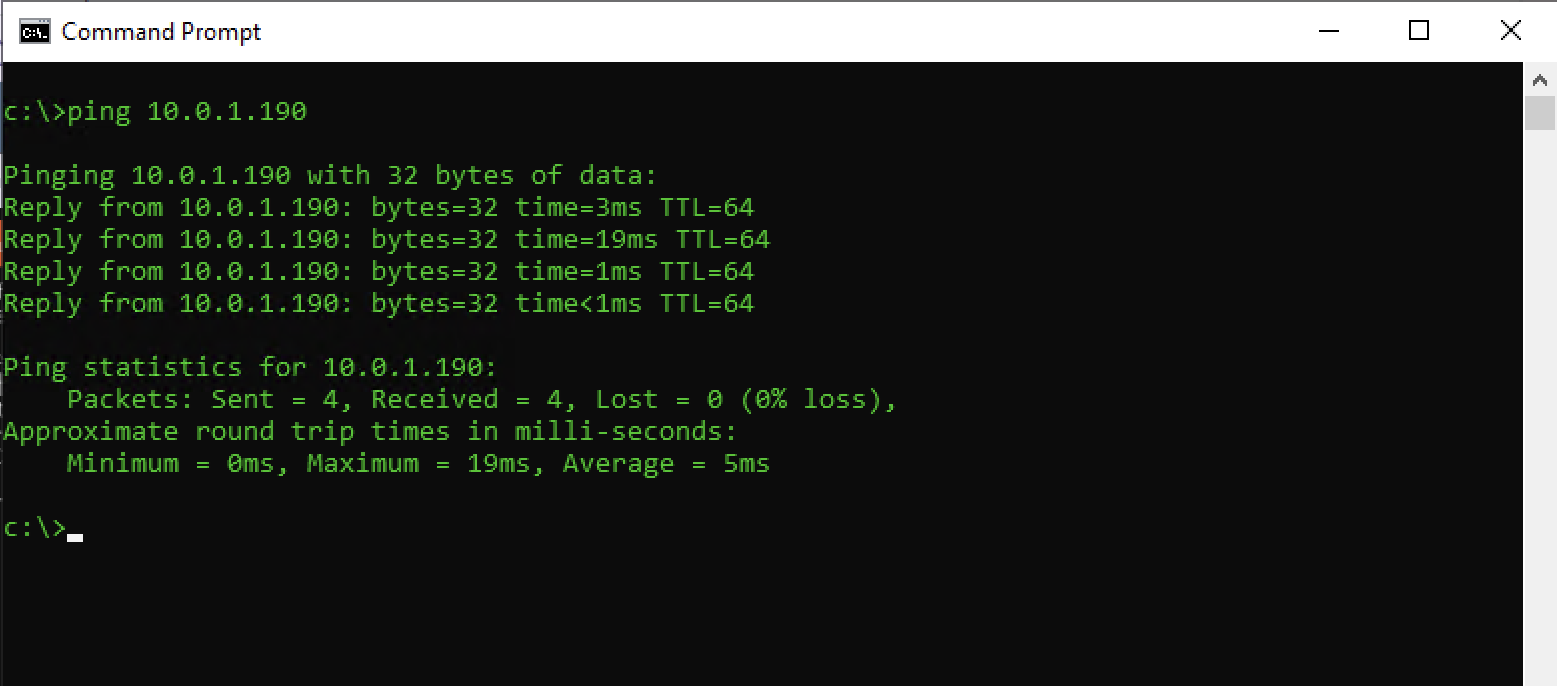
After saving, confirm reachability by pinging the server address from another computer on the network.
Successful ping to the server address
4.5 Proxy and package mirror
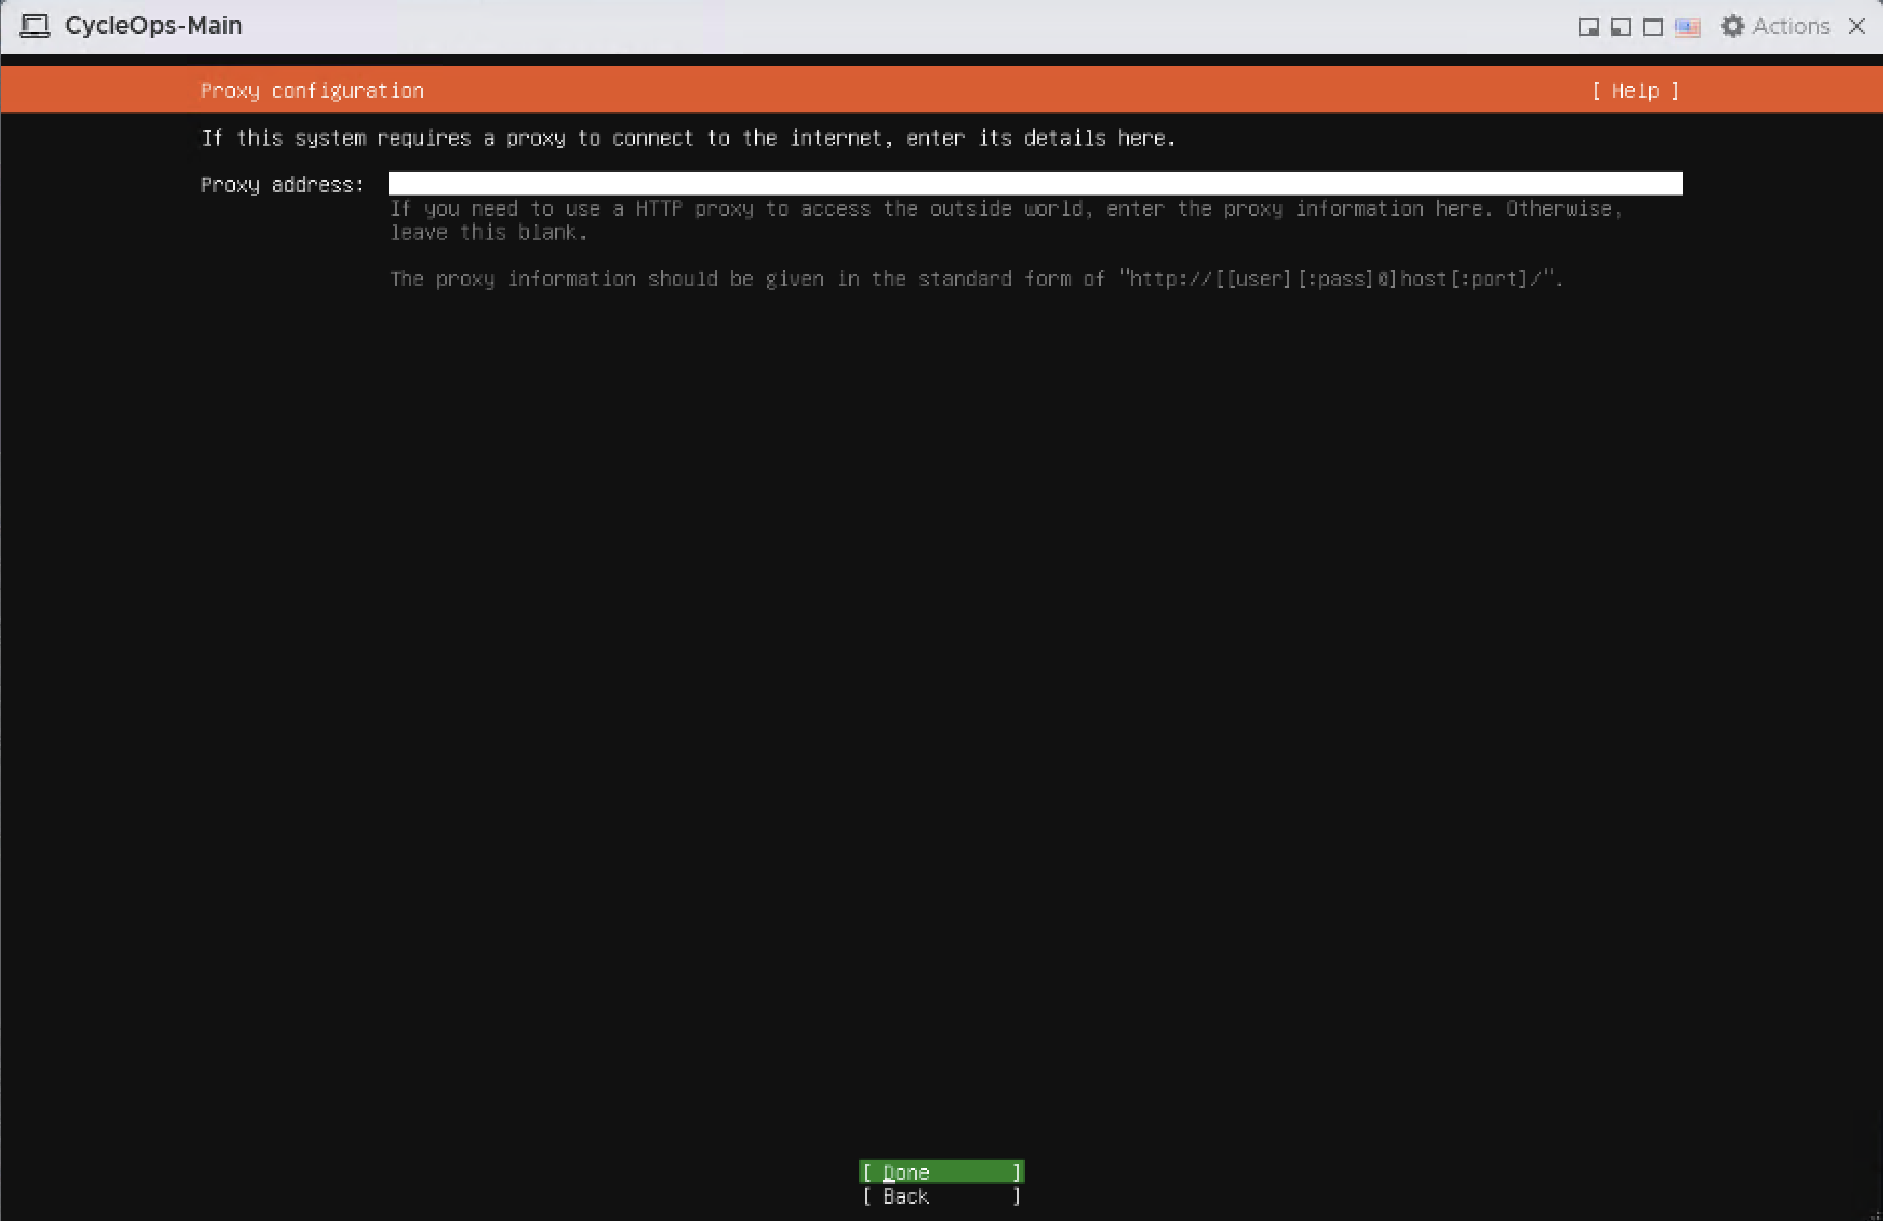
If the server reaches the internet through a proxy, enter it as http://host:port. Otherwise leave the field empty and continue with Done.
Proxy configuration
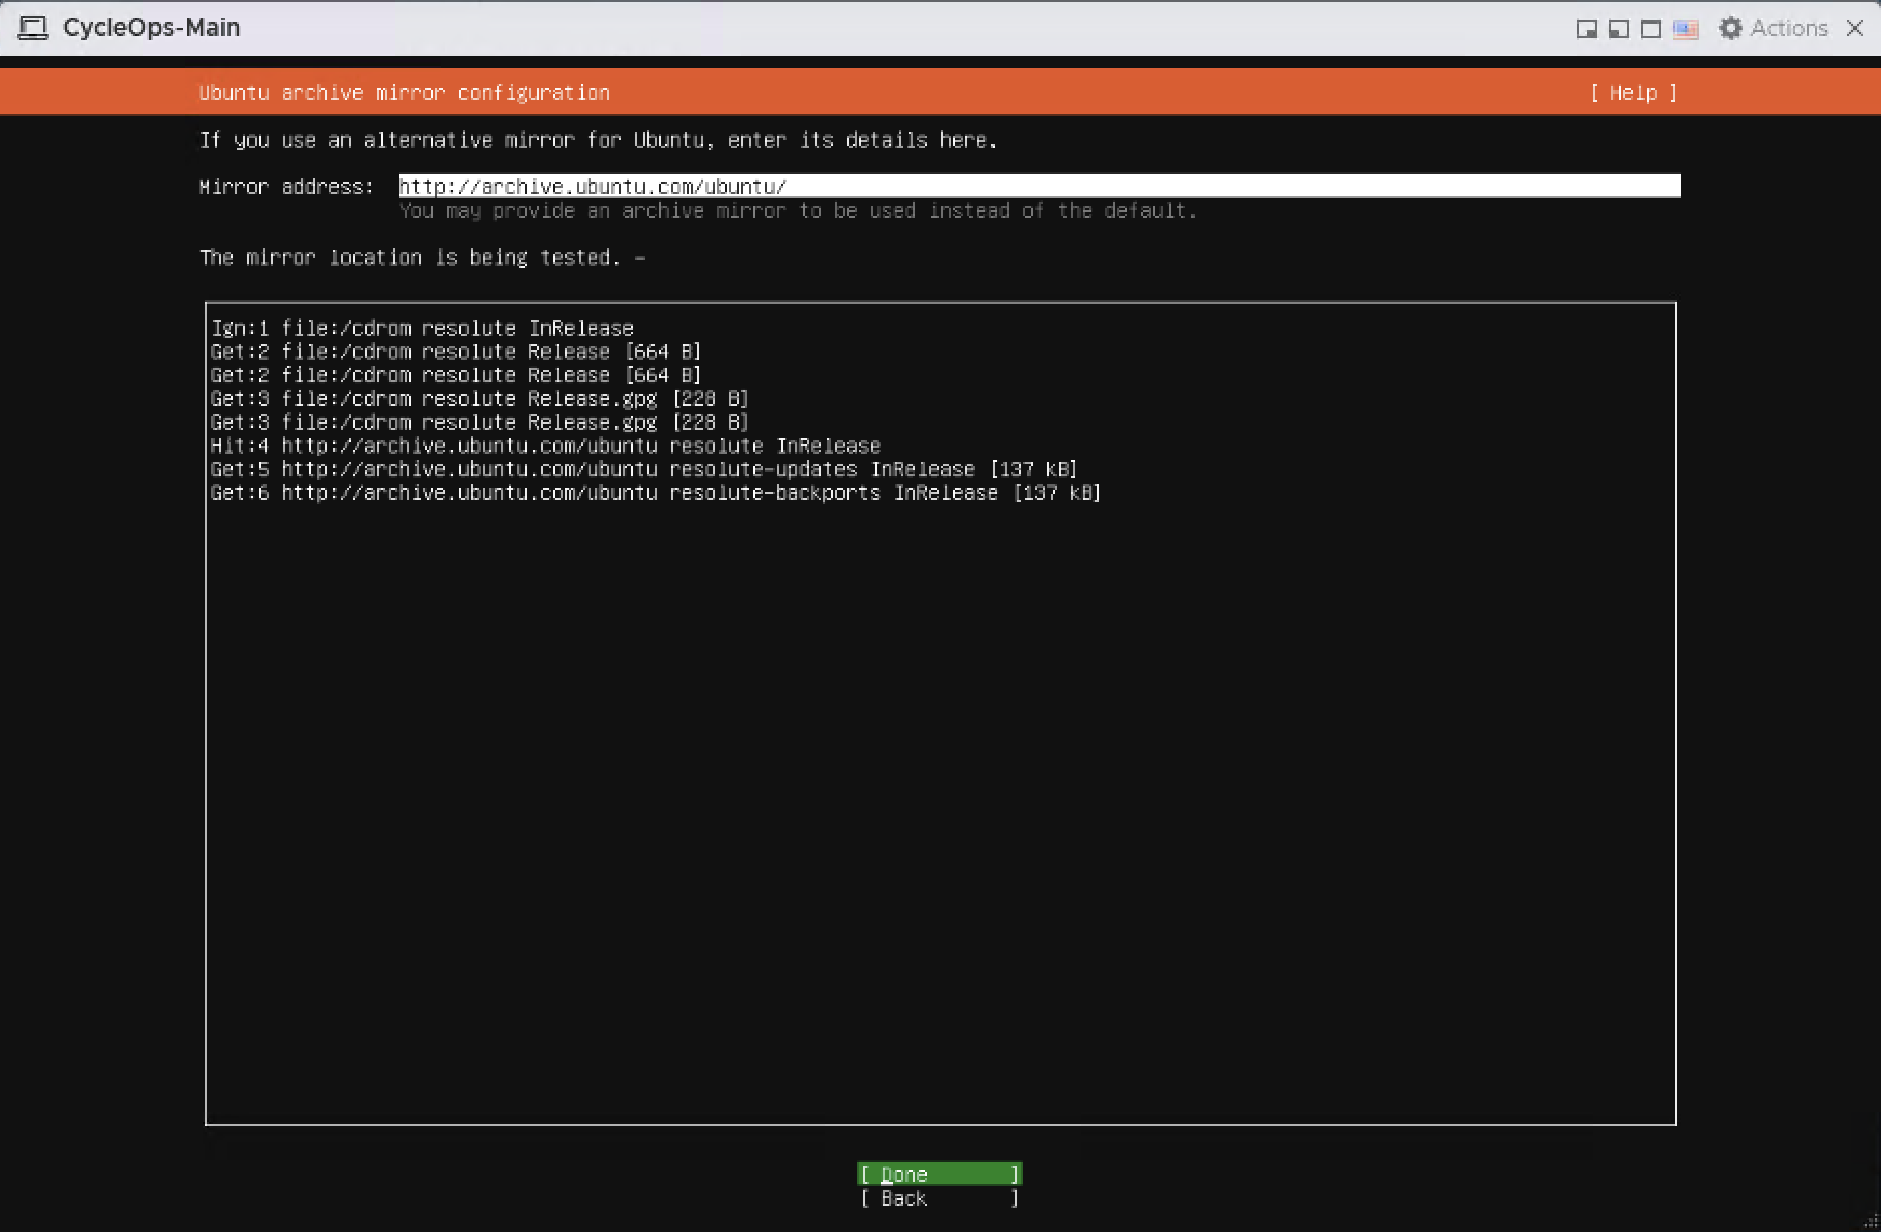
Leave the mirror address at http://archive.ubuntu.com/ubuntu/. When the mirror test completes, continue with Done.
Ubuntu archive mirror configuration
4.6 Select the storage layout
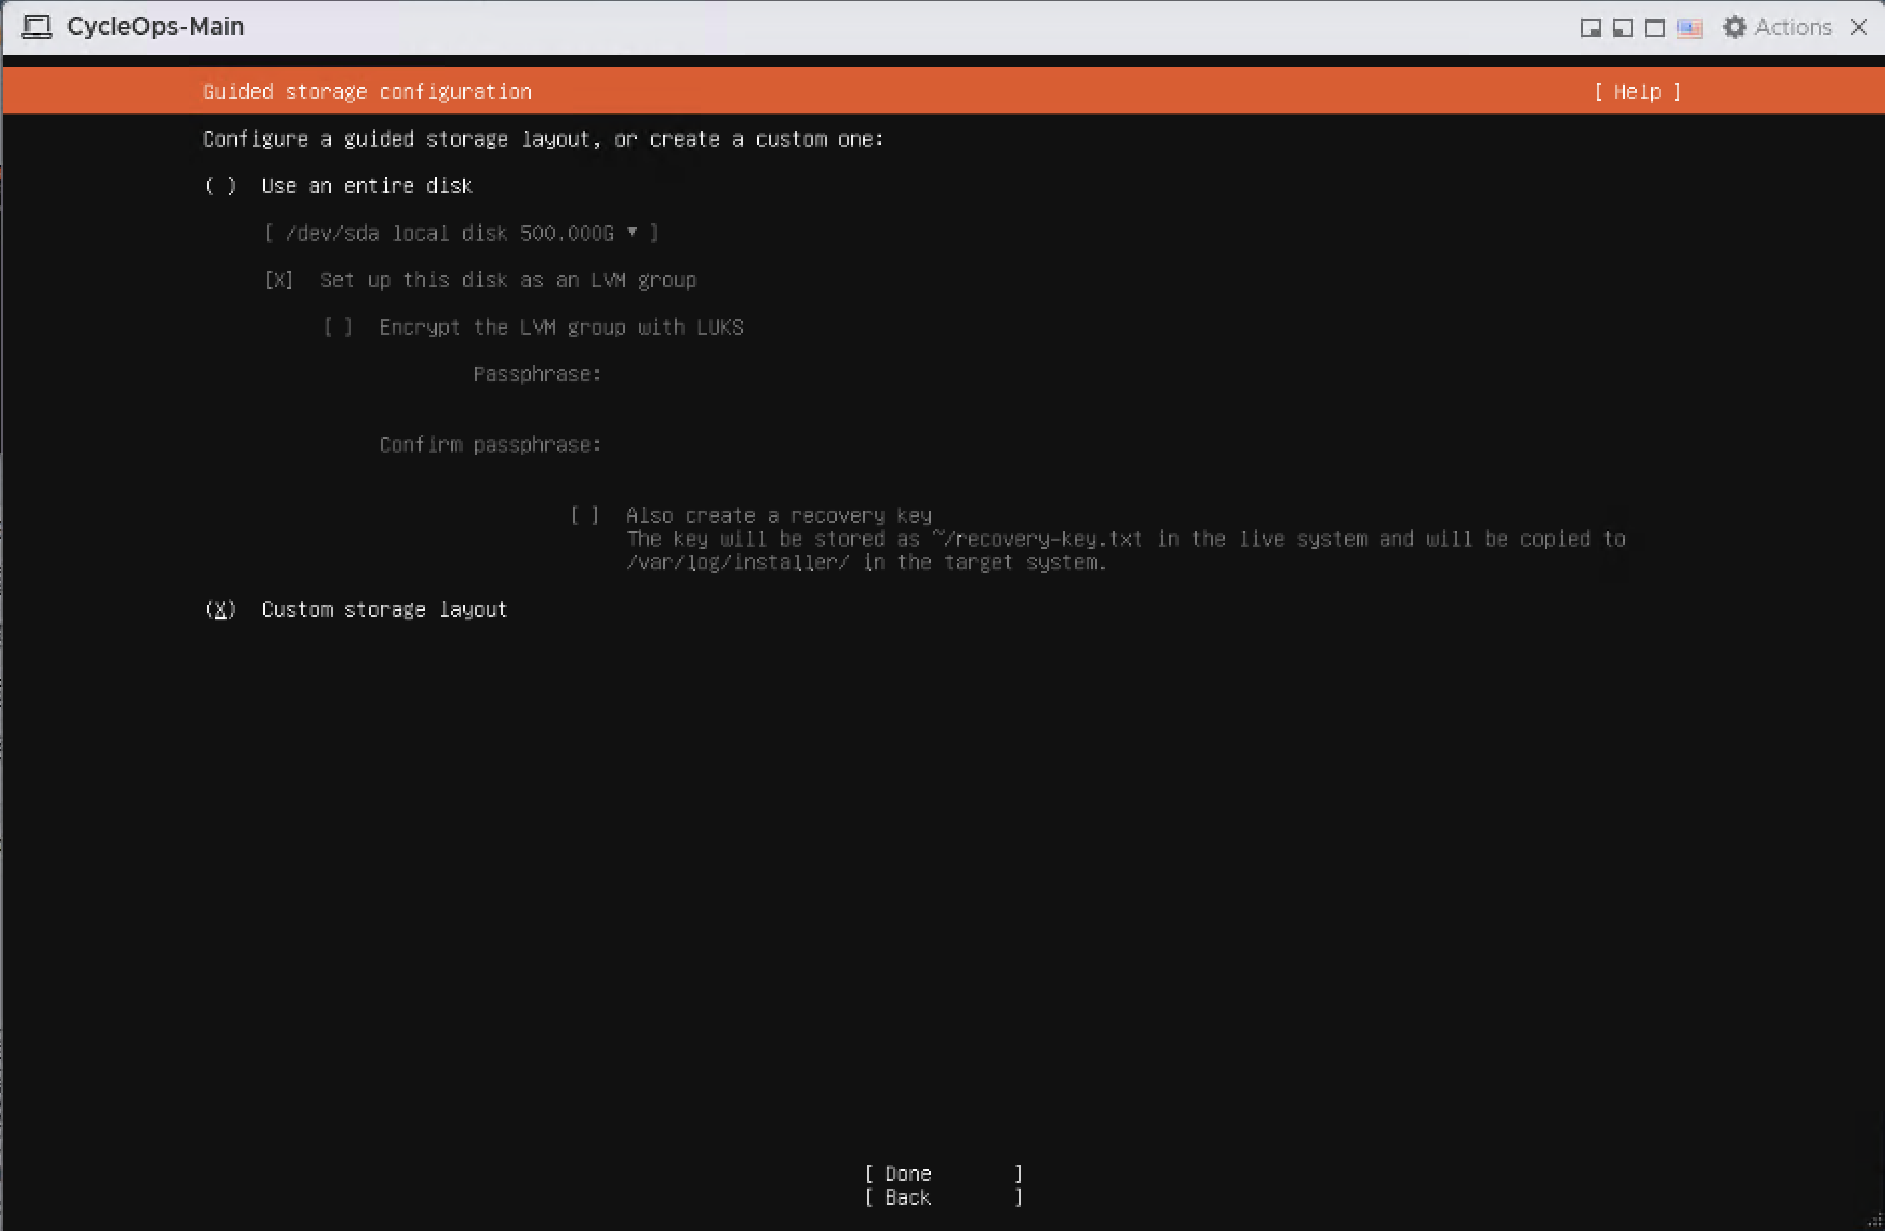
On the Guided storage configuration page, select Custom storage layout and continue with Done.
Custom storage layout selected
4.7 Create the swap partition
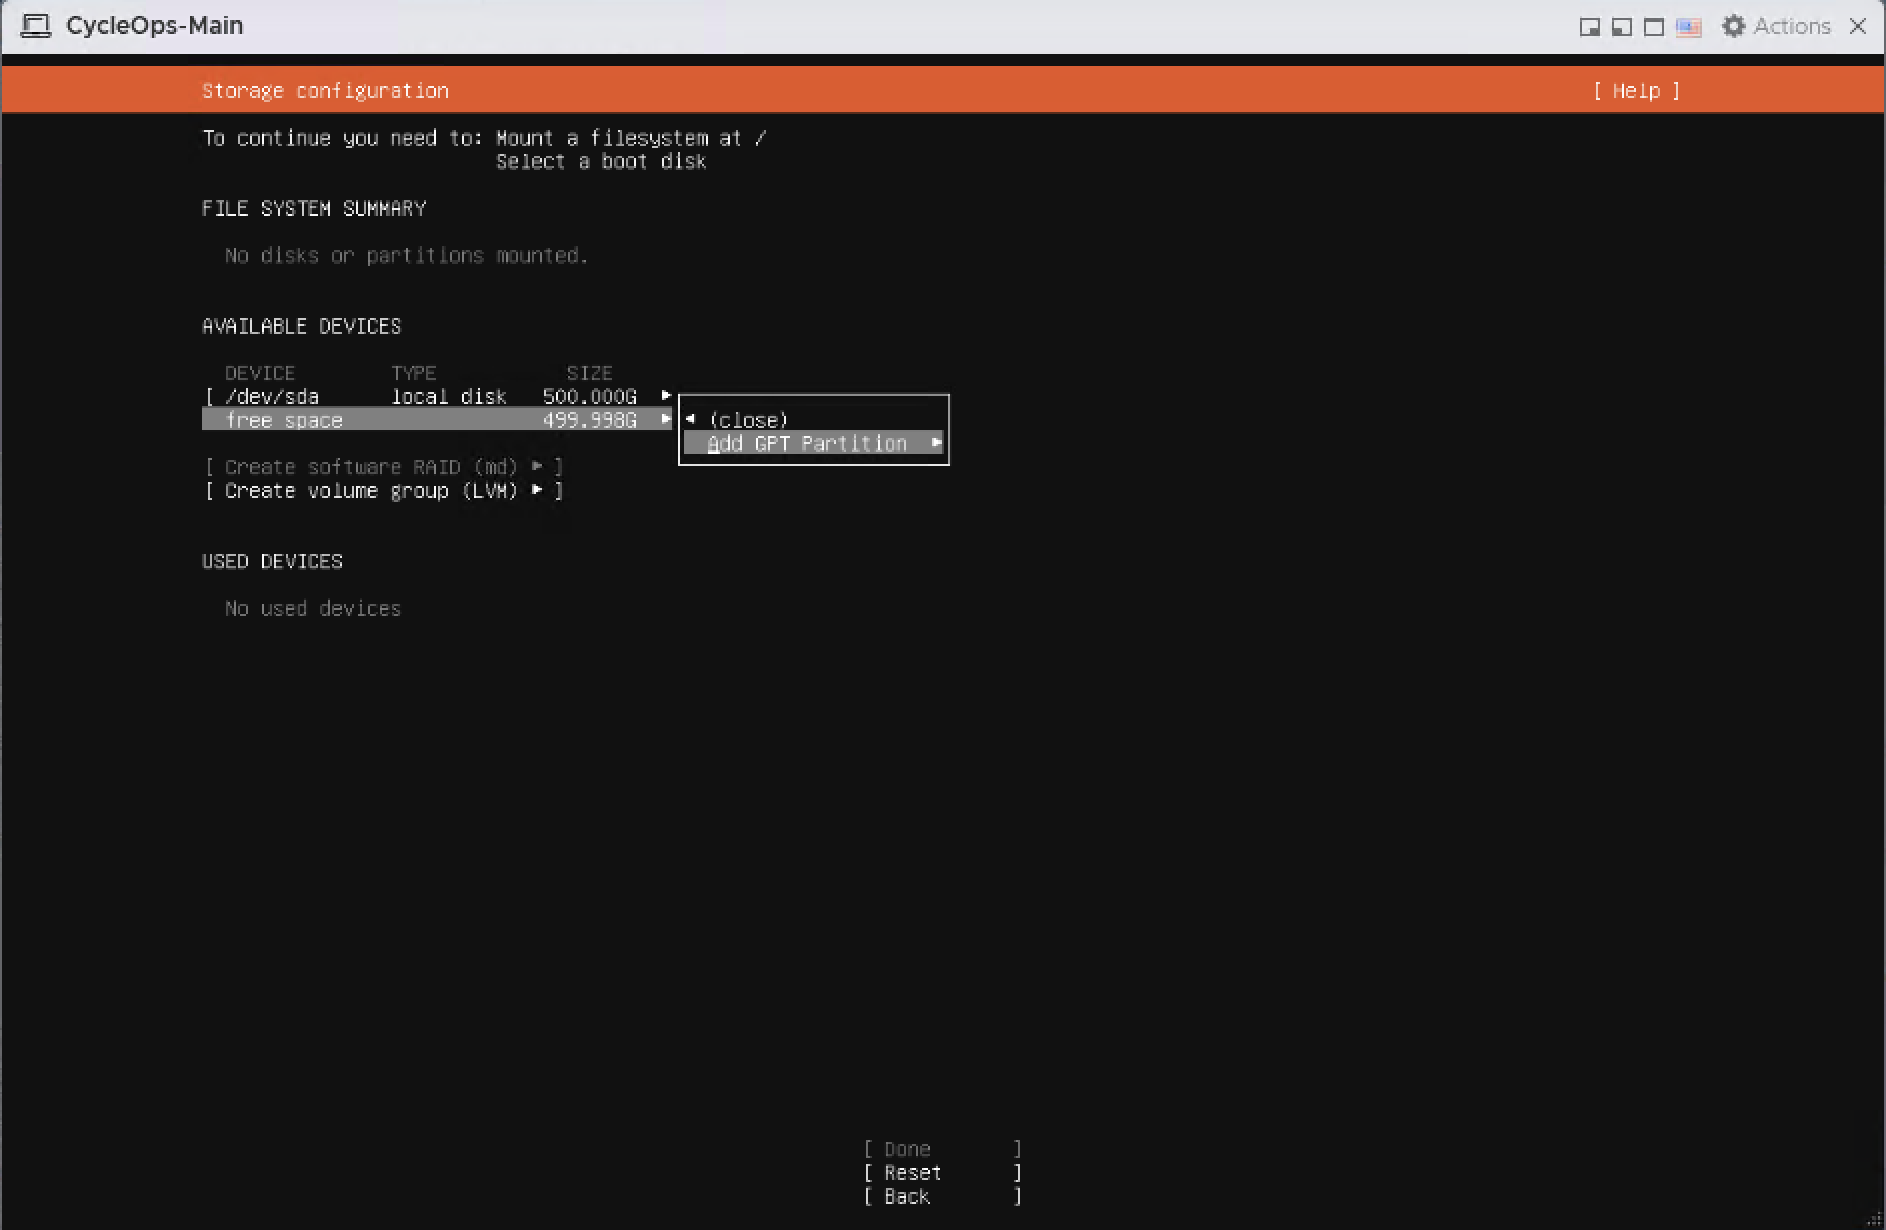
Under AVAILABLE DEVICES, highlight free space, press Enter, and select Add GPT Partition.
Add GPT Partition on free space
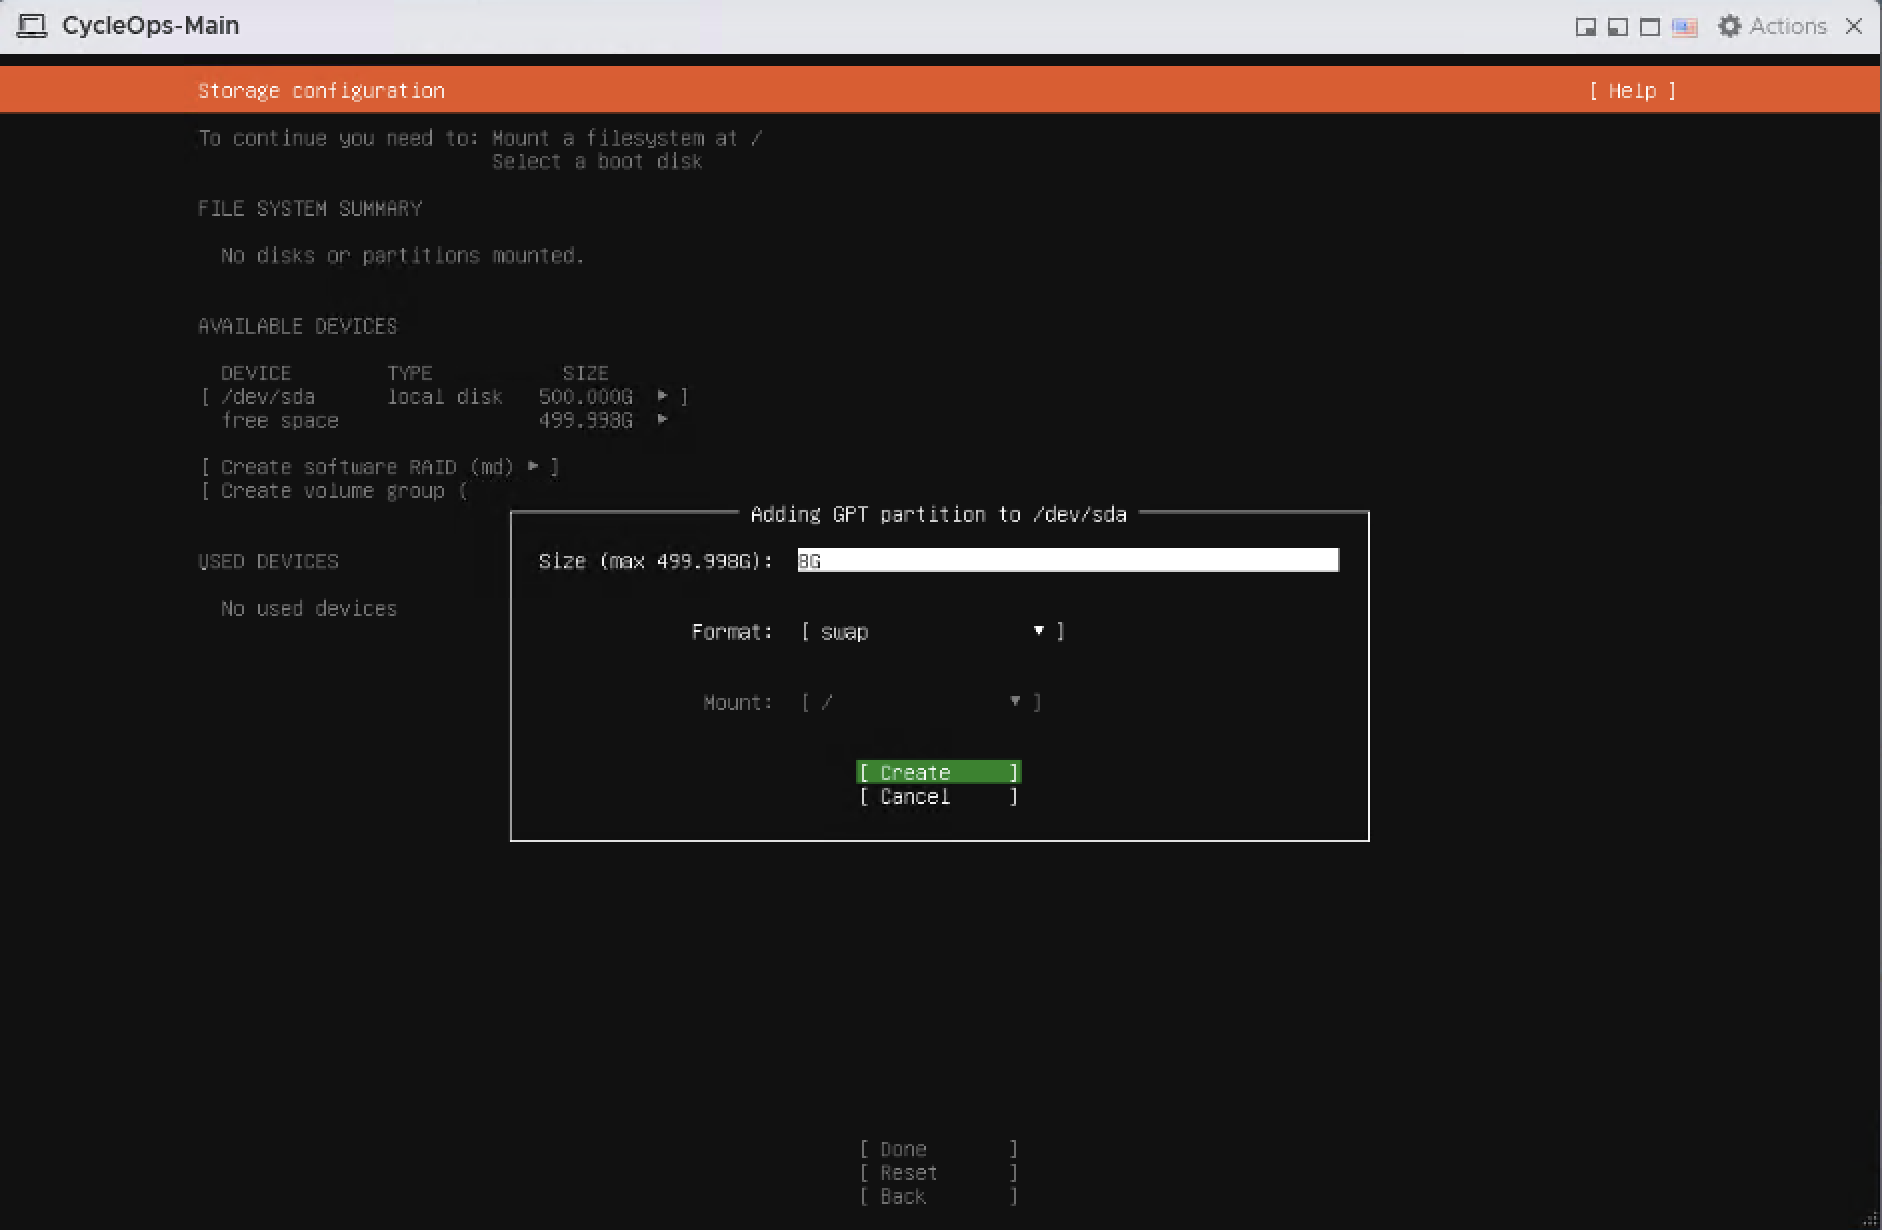
Enter 8G as the size, select swap as the format, and select Create.
Creating the 8G swap partition
4.8 Create the root partition
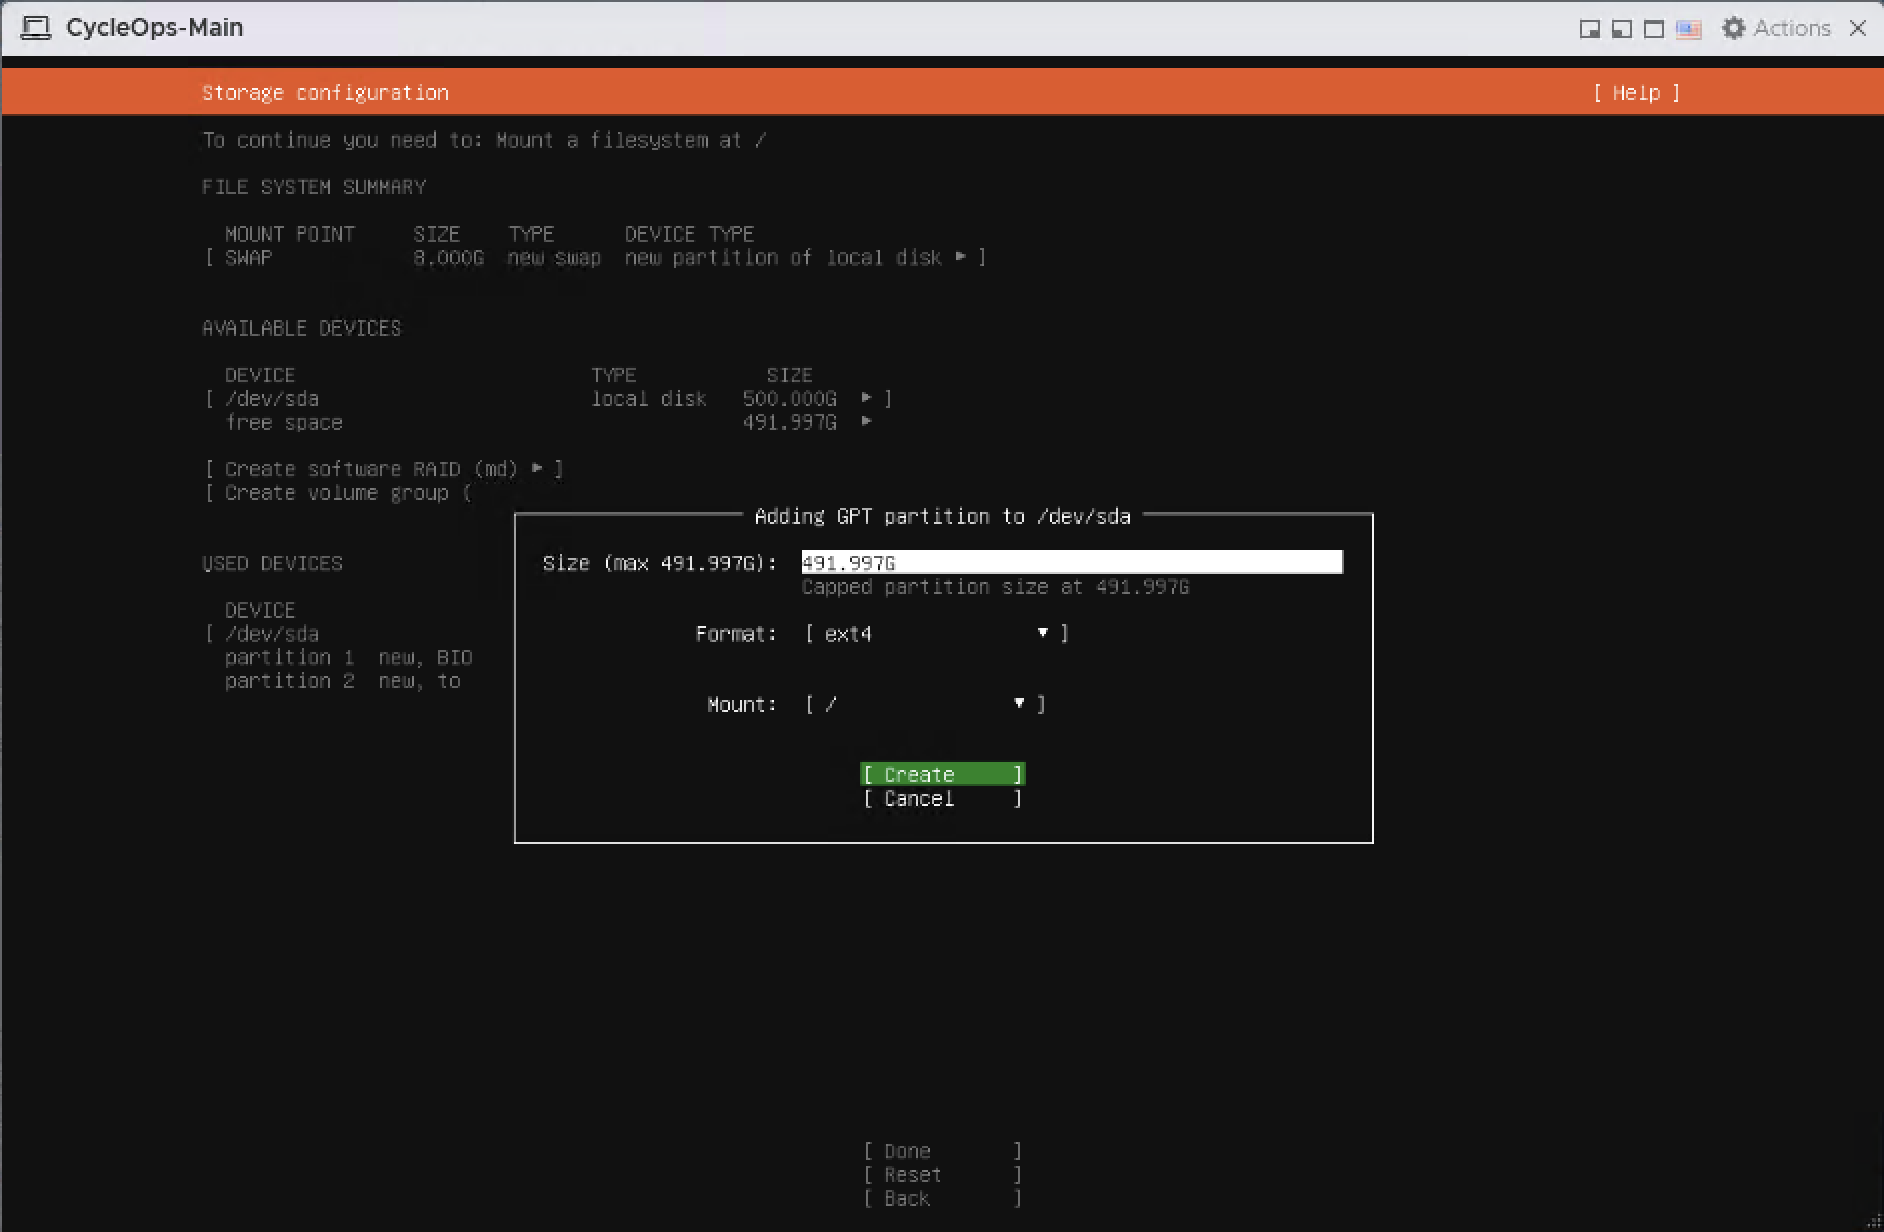
Select Add GPT Partition on free space again. Keep the size at all remaining space, select ext4 as the format and / as the mount point, then select Create.
Creating the ext4 root partition with the remaining space
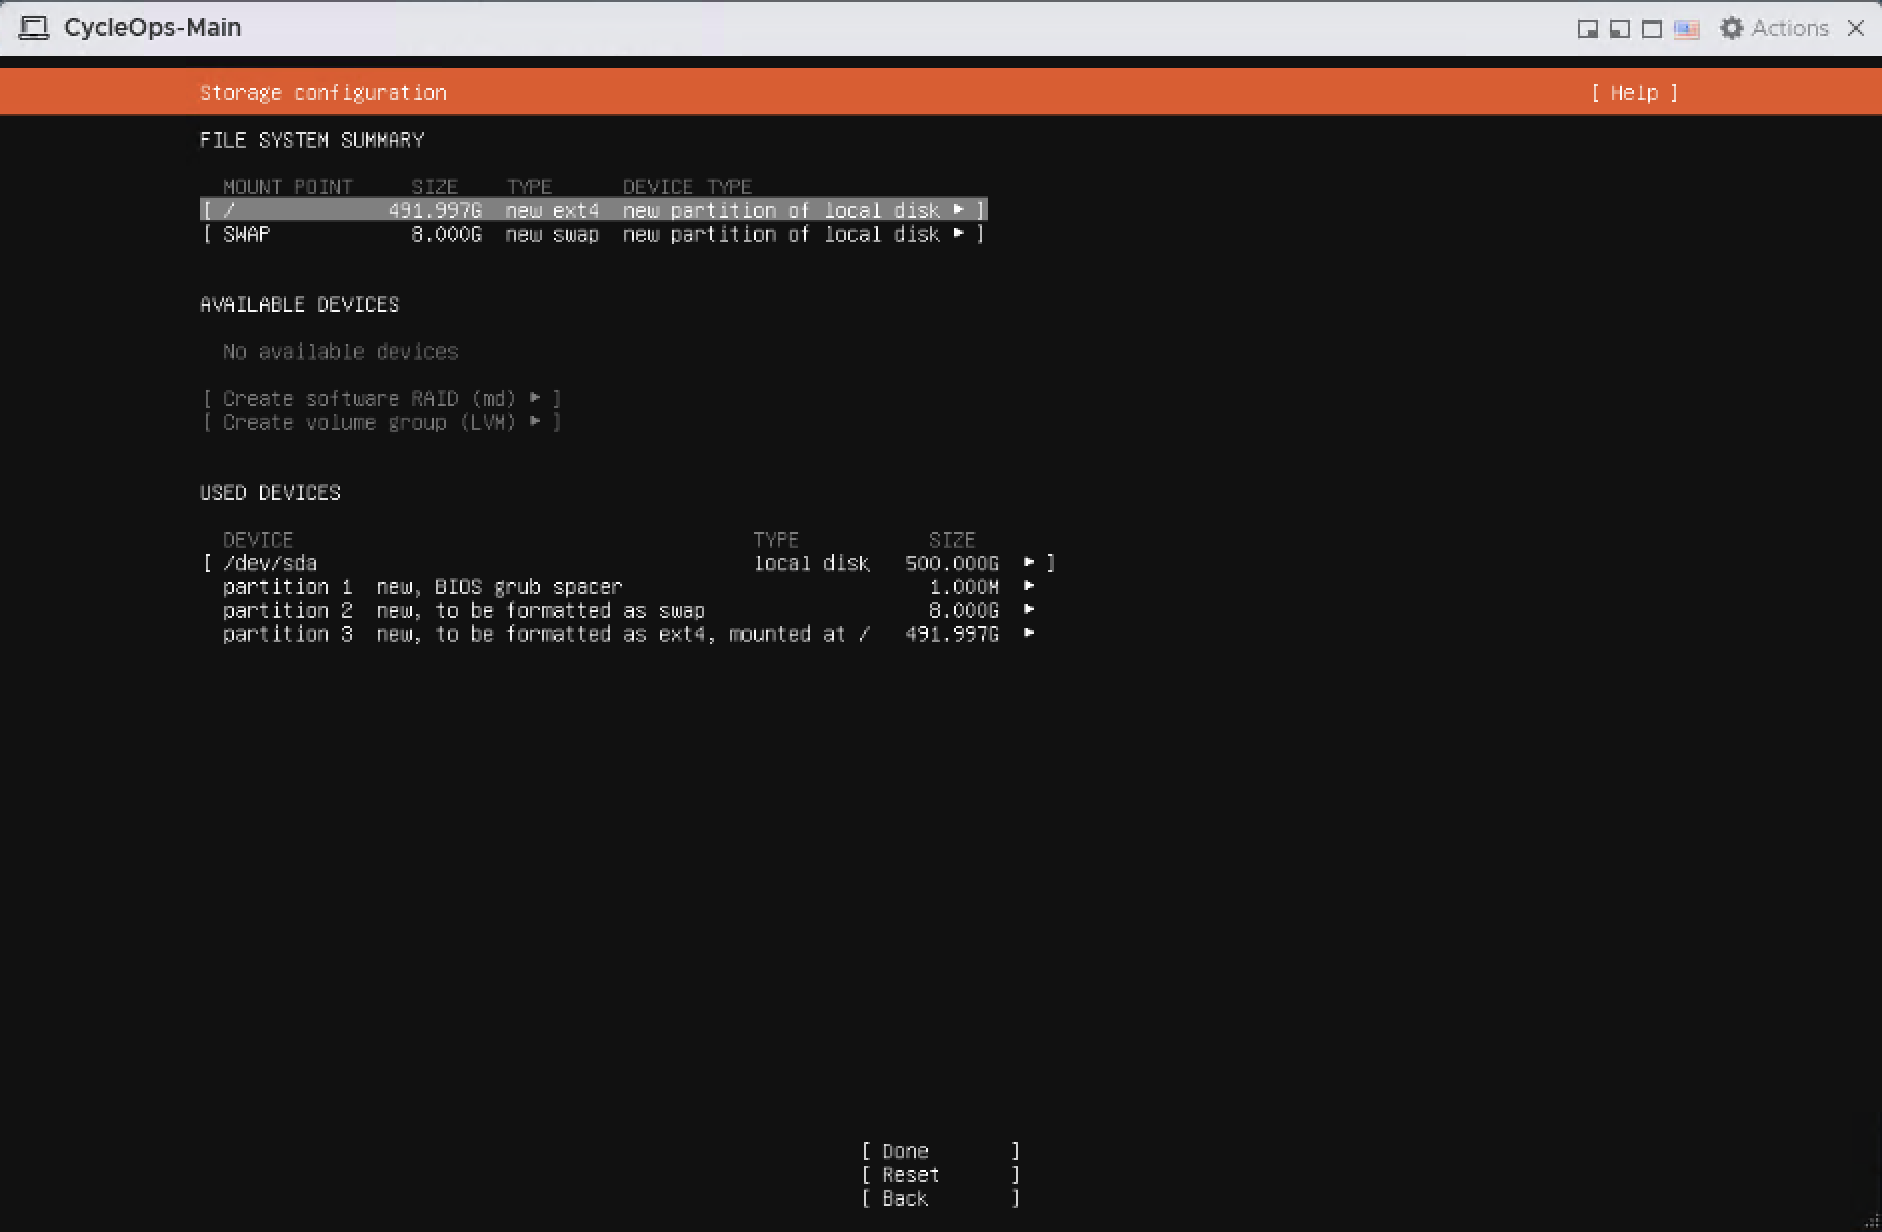
When FILE SYSTEM SUMMARY lists / (ext4) and SWAP (8G), continue with Done.
Final partition summary
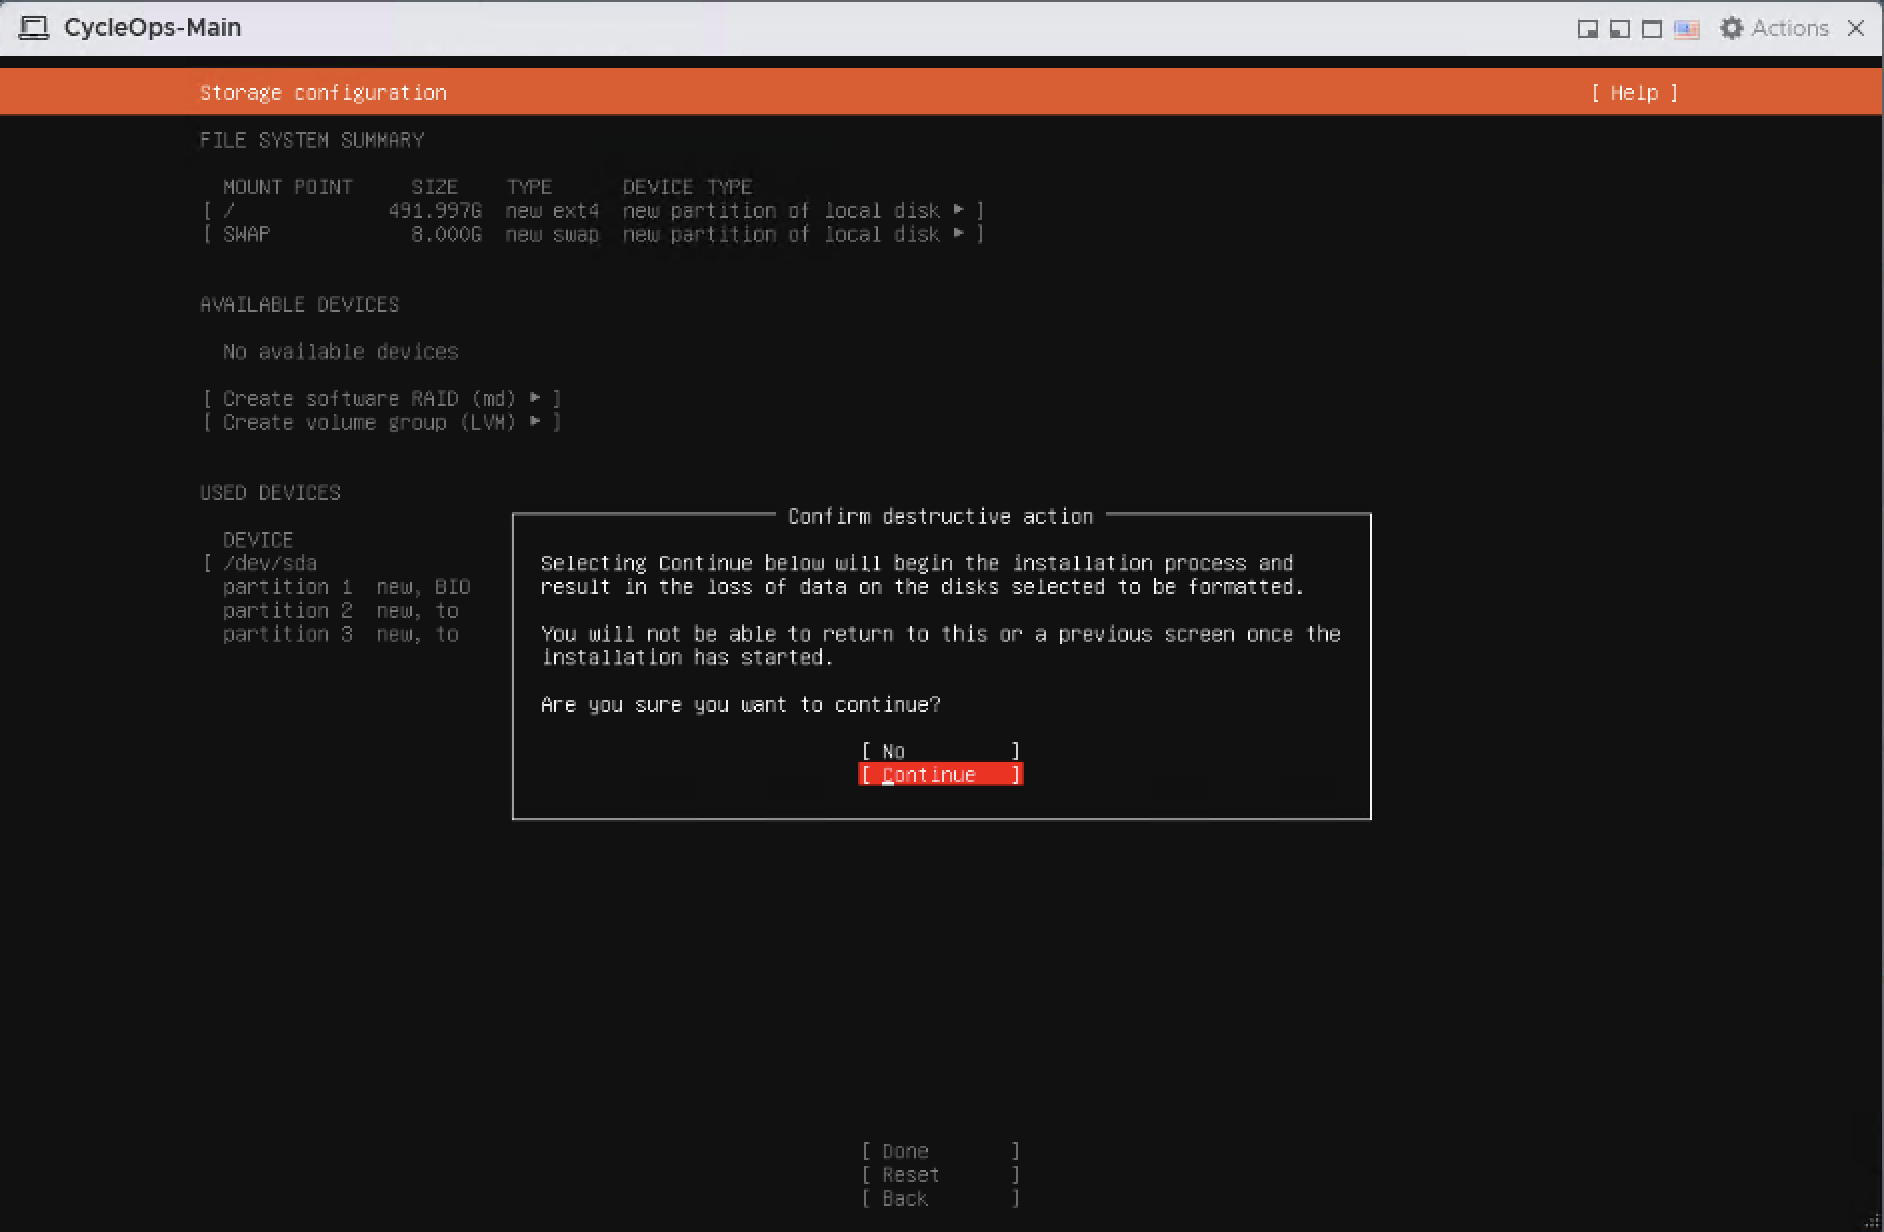
Selecting Continue in the Confirm destructive action dialog formats the disk. You cannot return to earlier pages after this point.
Confirm destructive action dialog
4.9 User and server name
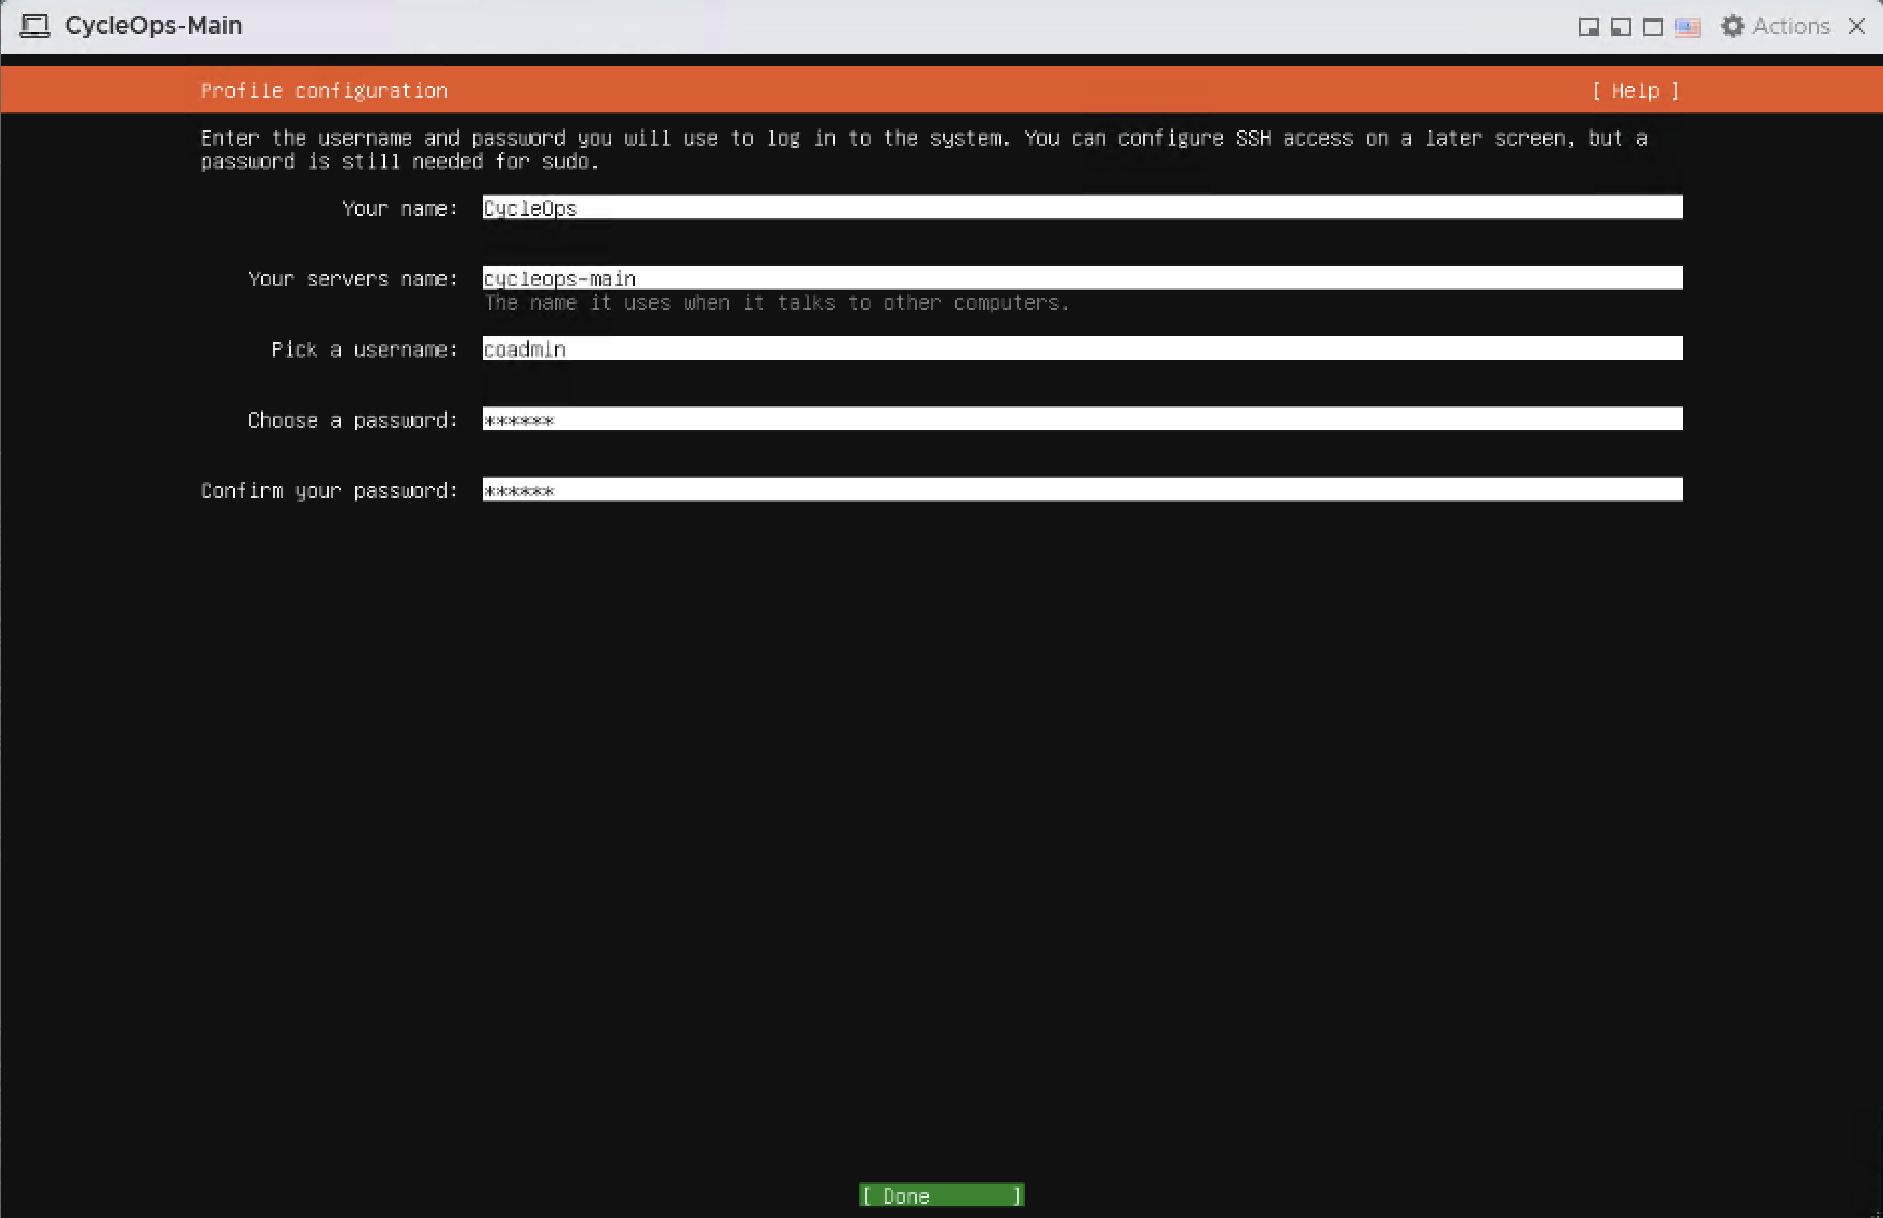
Enter CycleOps as your name, cycleops-main as the server name, and coadmin as the username. Choose a password of at least 12 characters with upper and lower case letters, digits, and symbols, then continue with Done.
Profile configuration
4.10 Ubuntu Pro, SSH, and snaps
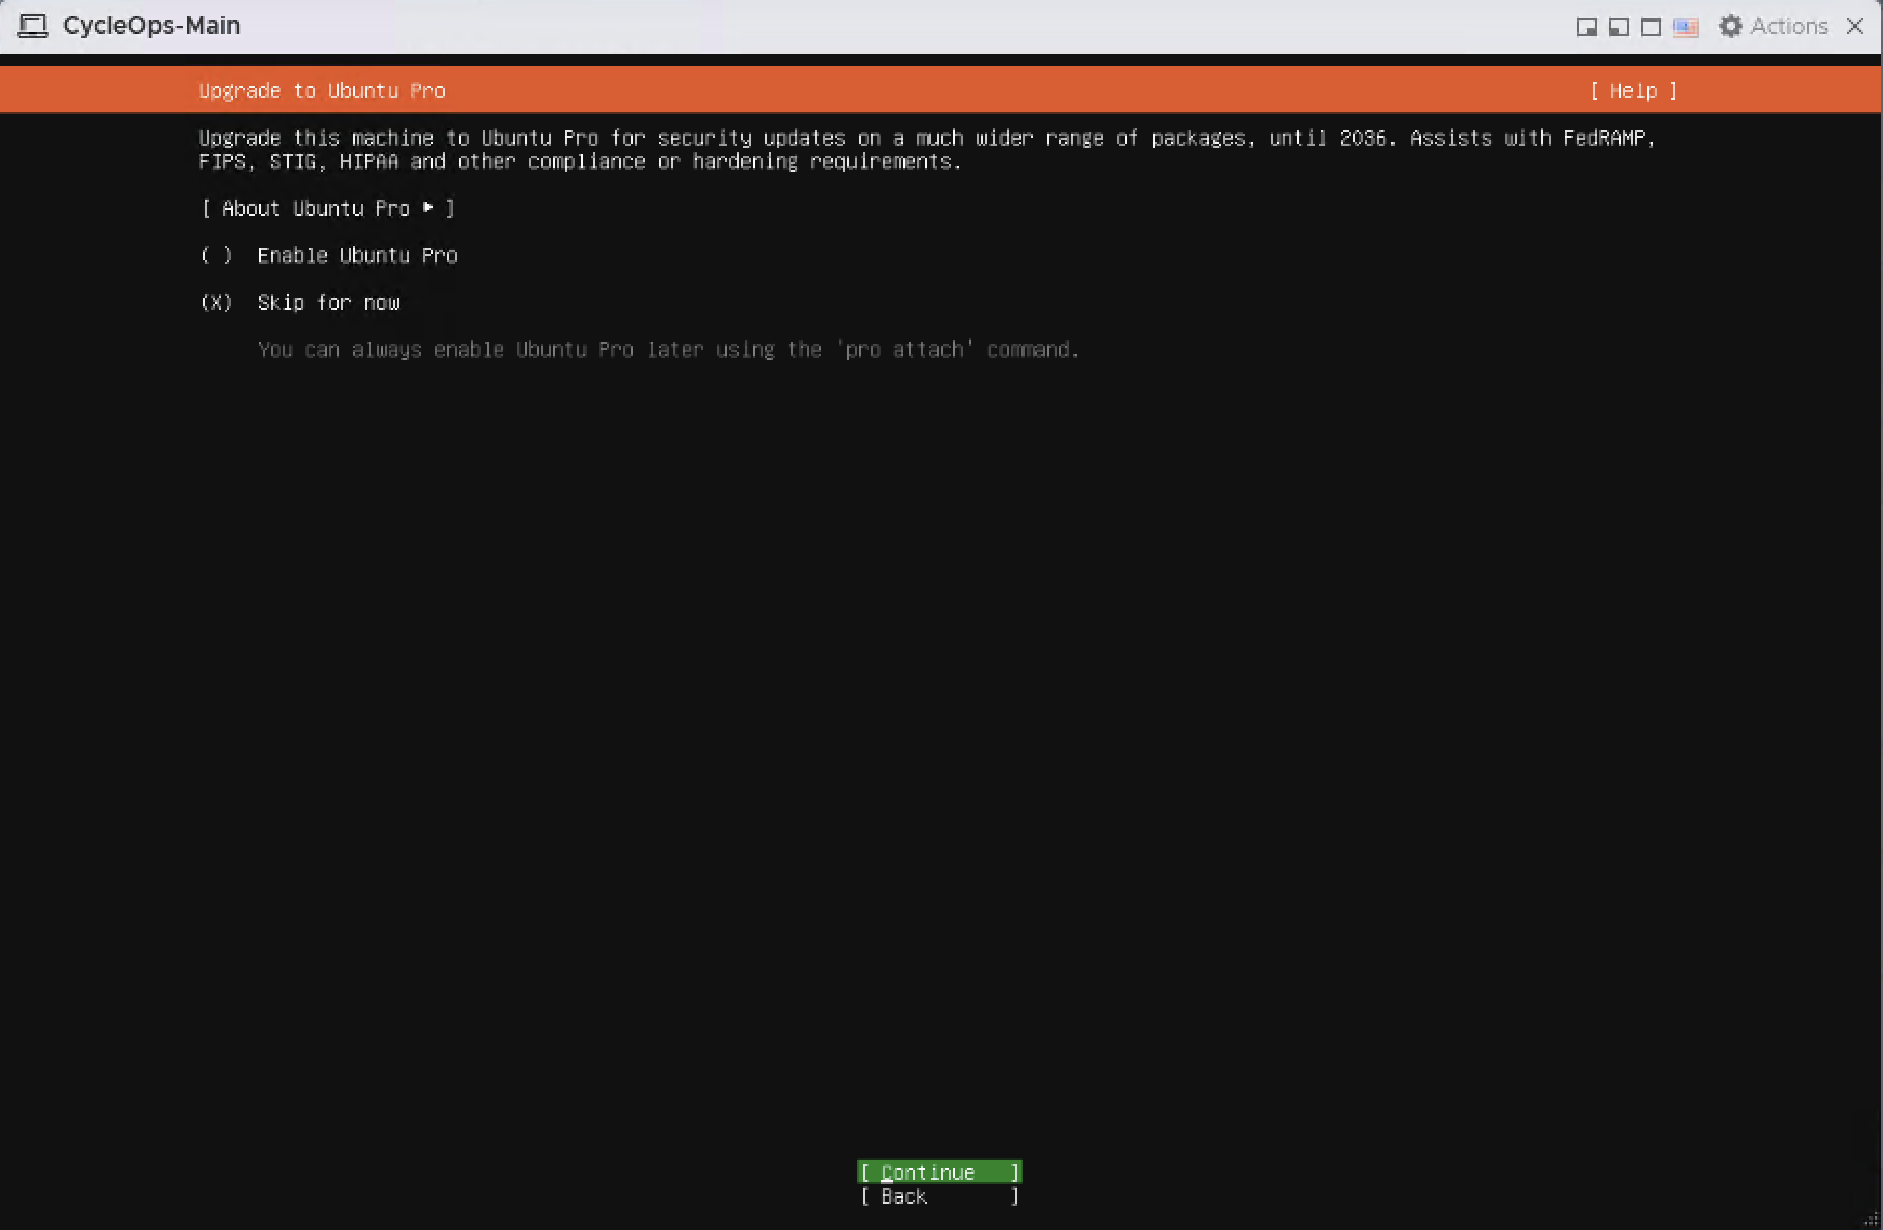
On the Upgrade to Ubuntu Pro page, select Skip for now and Continue.
Upgrade to Ubuntu Pro
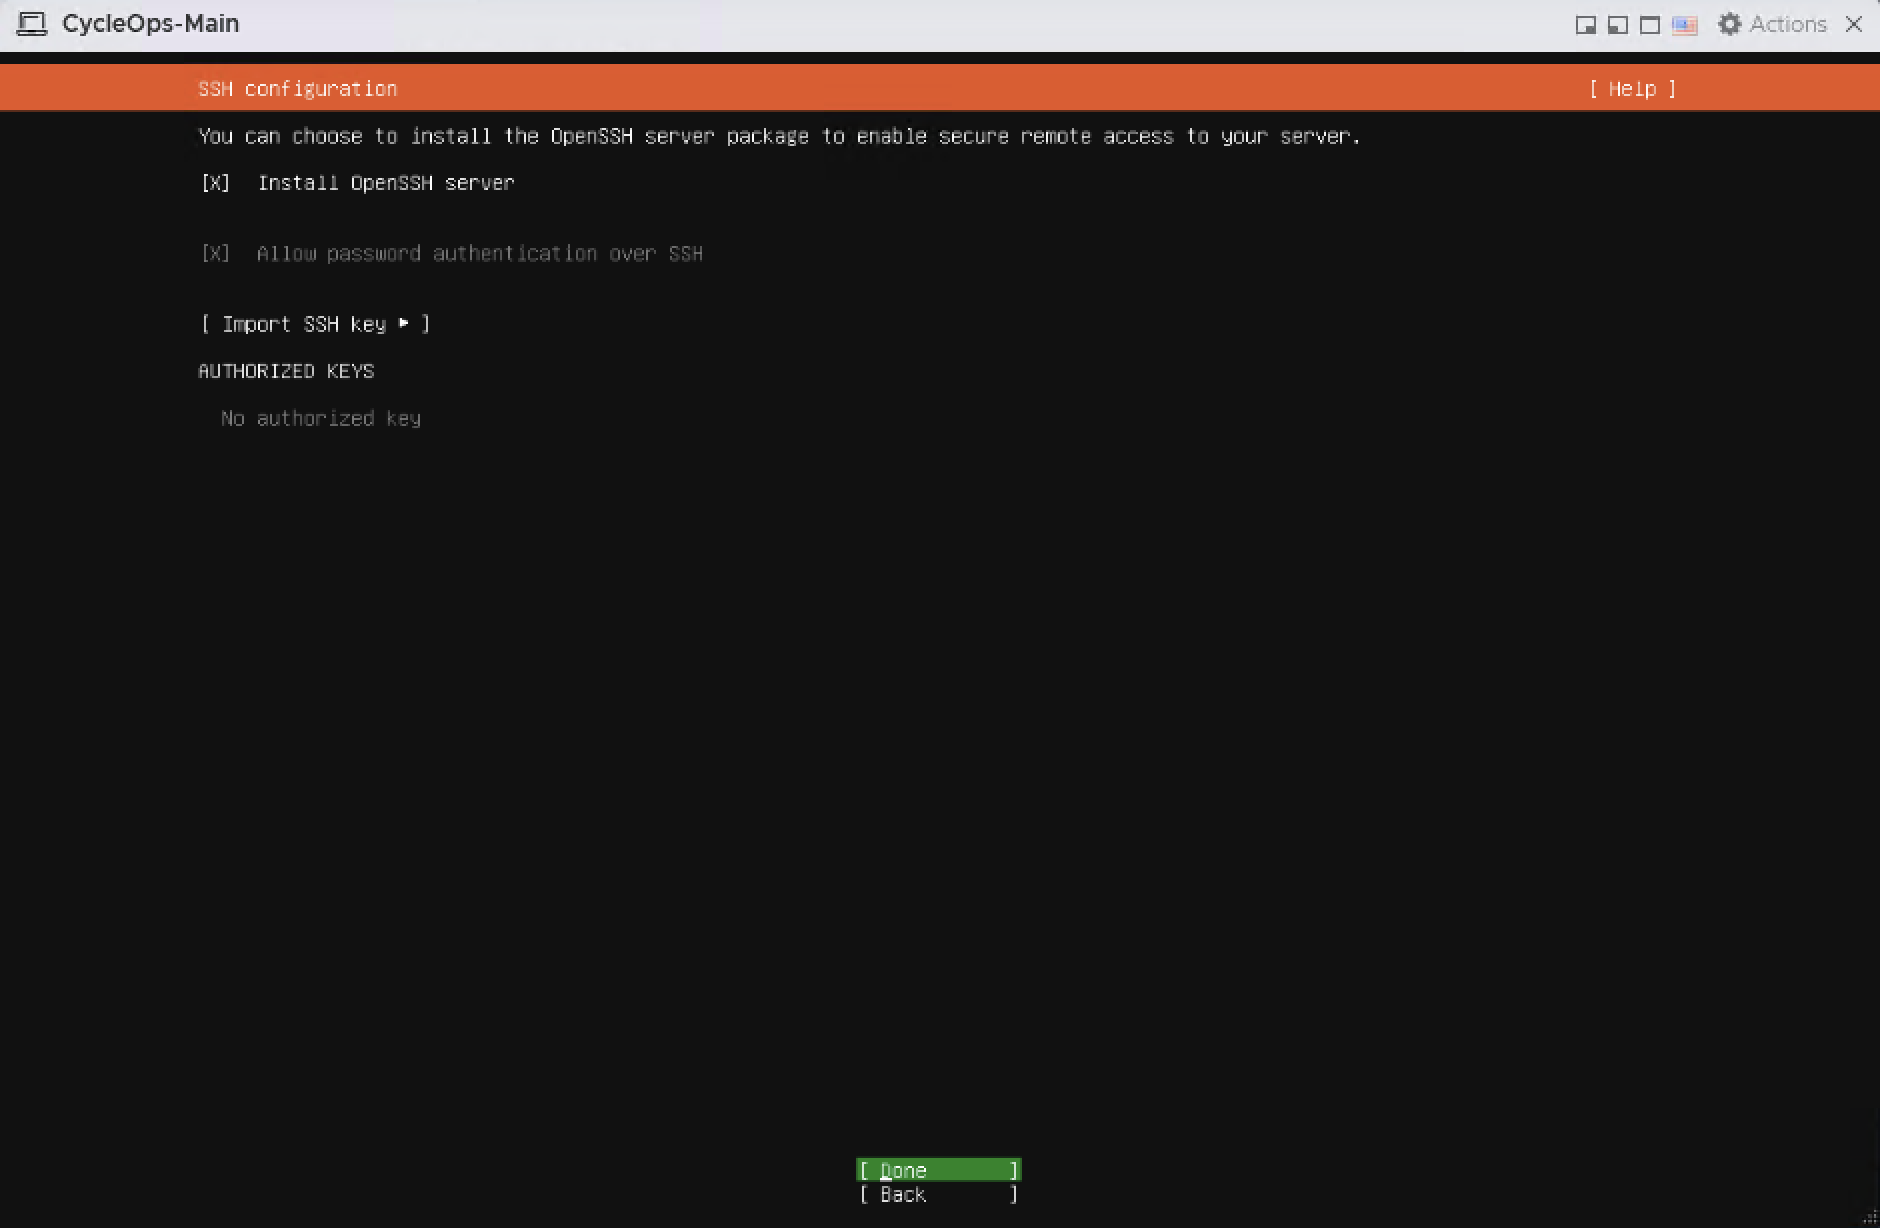
On the SSH configuration page, check Install OpenSSH server and continue with Done.
SSH configuration
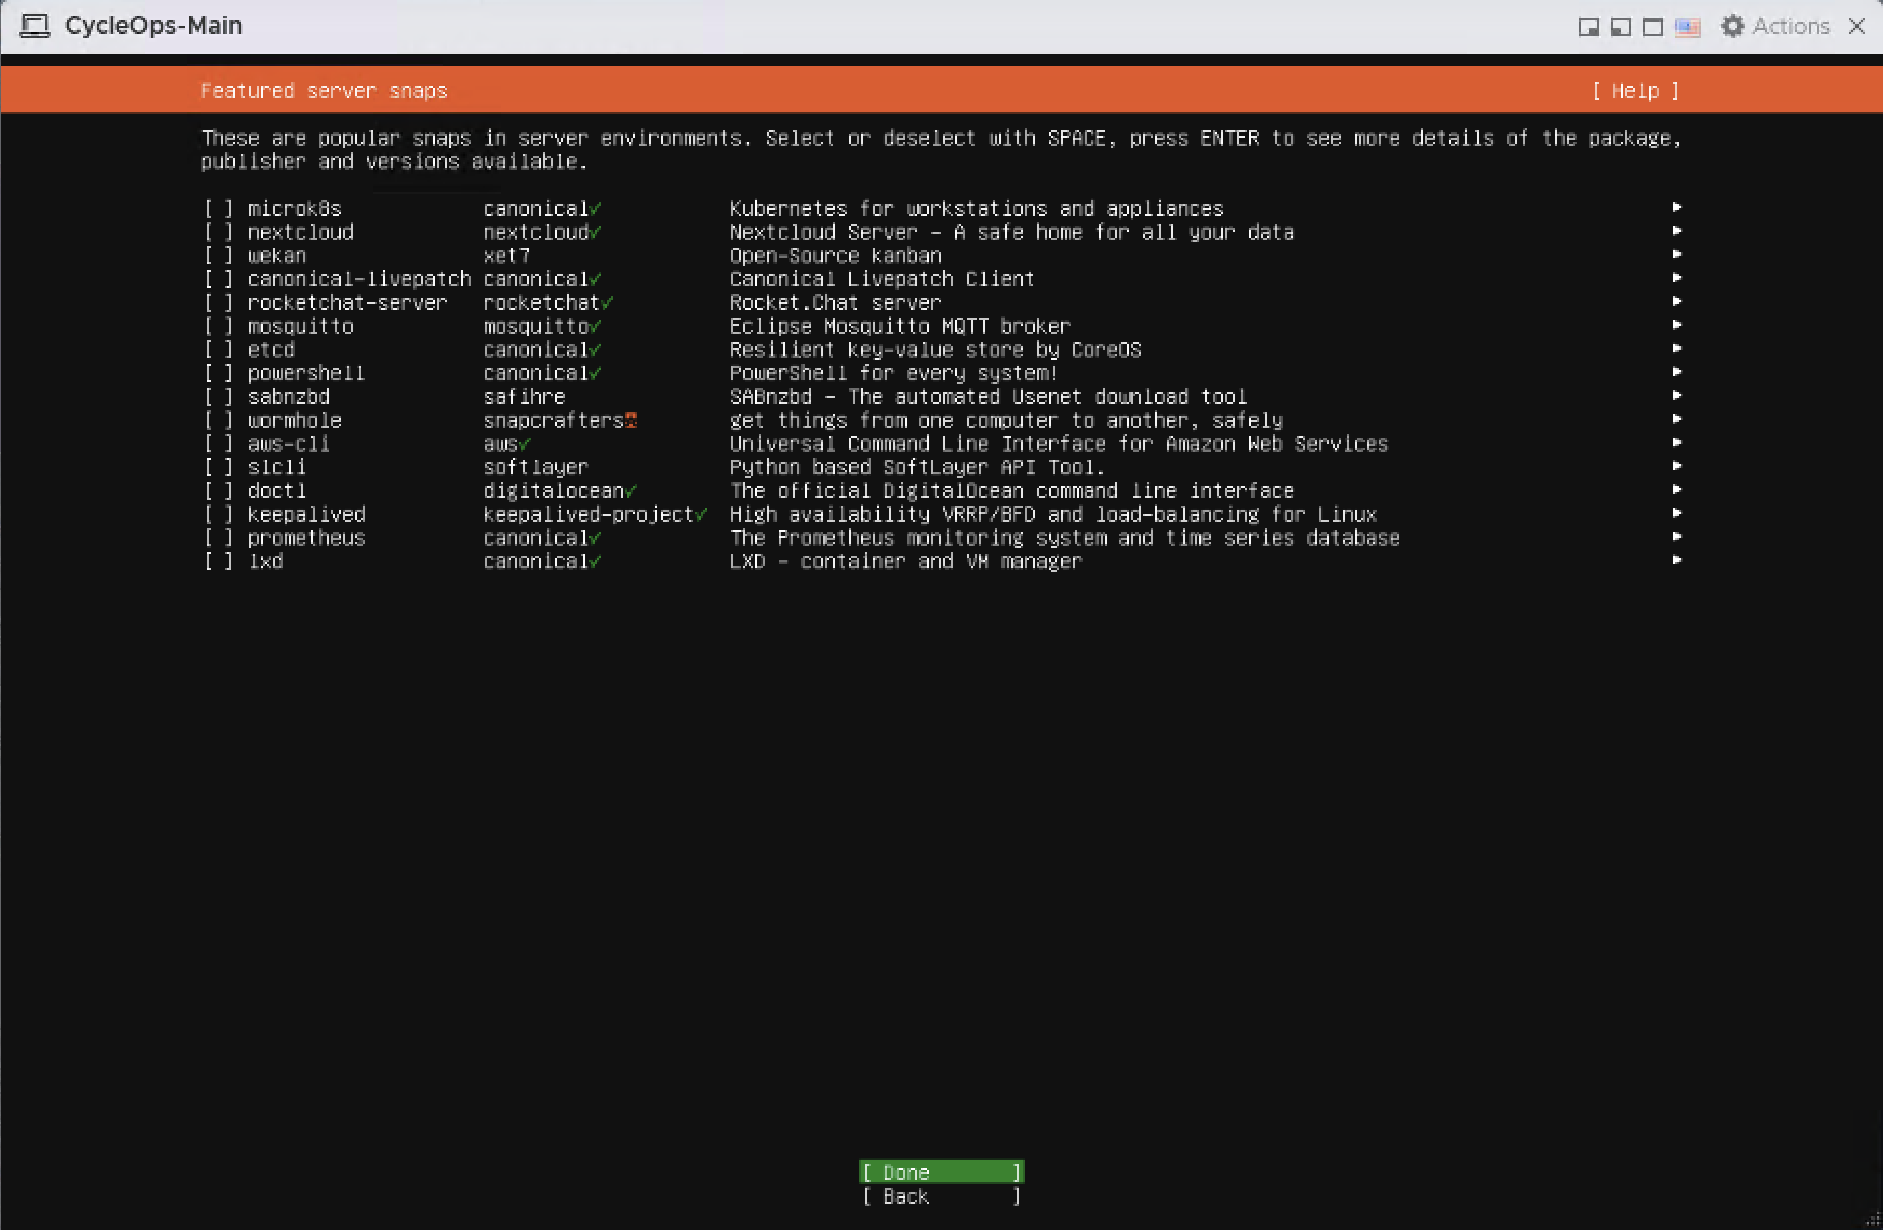
On the Featured server snaps page, continue with Done without selecting anything.
Featured server snaps
4.11 Wait for the installation to finish
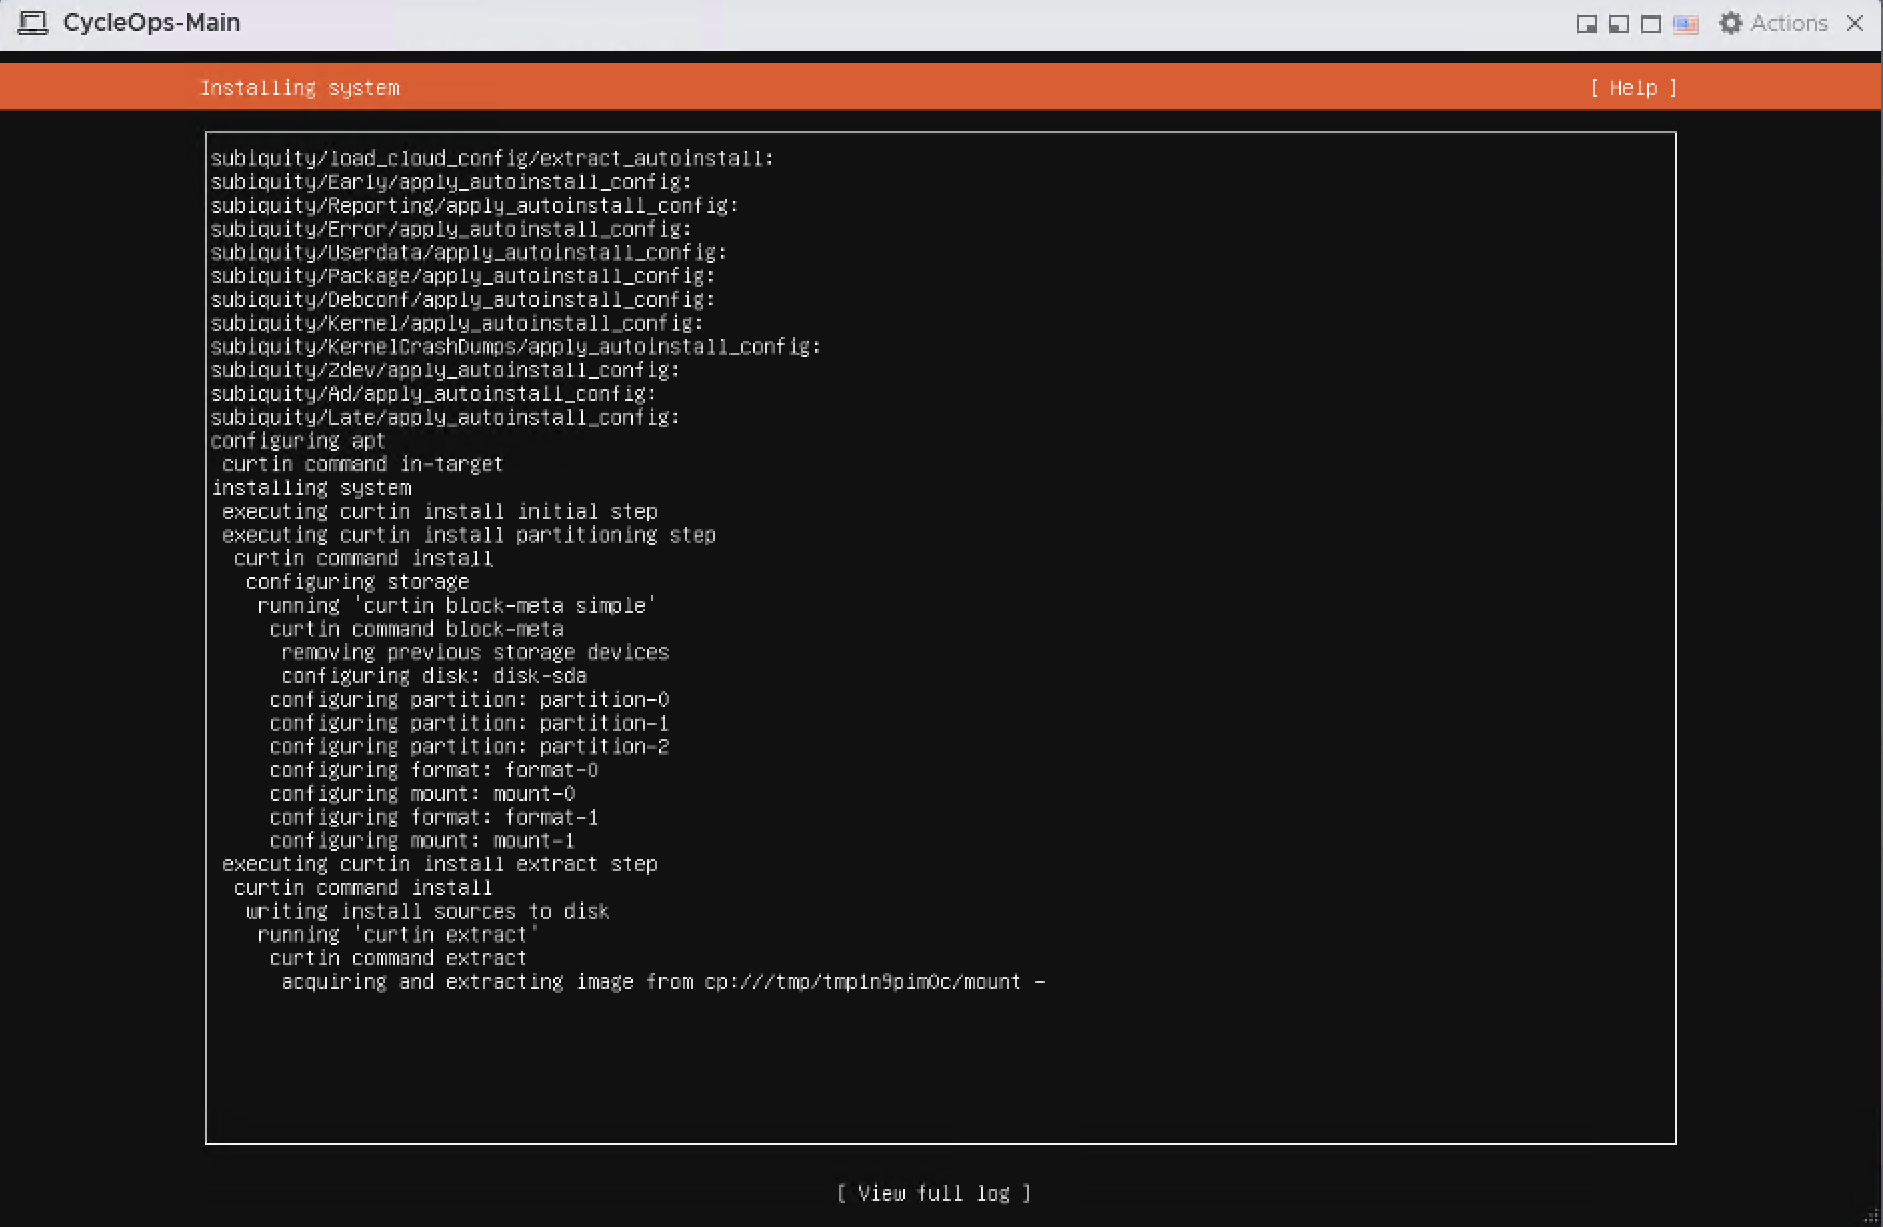
The Installing system page shows progress. Wait until the Reboot Now button appears at the bottom of the page.
Installing systemStep 5
Post-installation
After the installation, reboot the server, detach the image, and bring the system up to date.
5.1 Reboot and detach the image
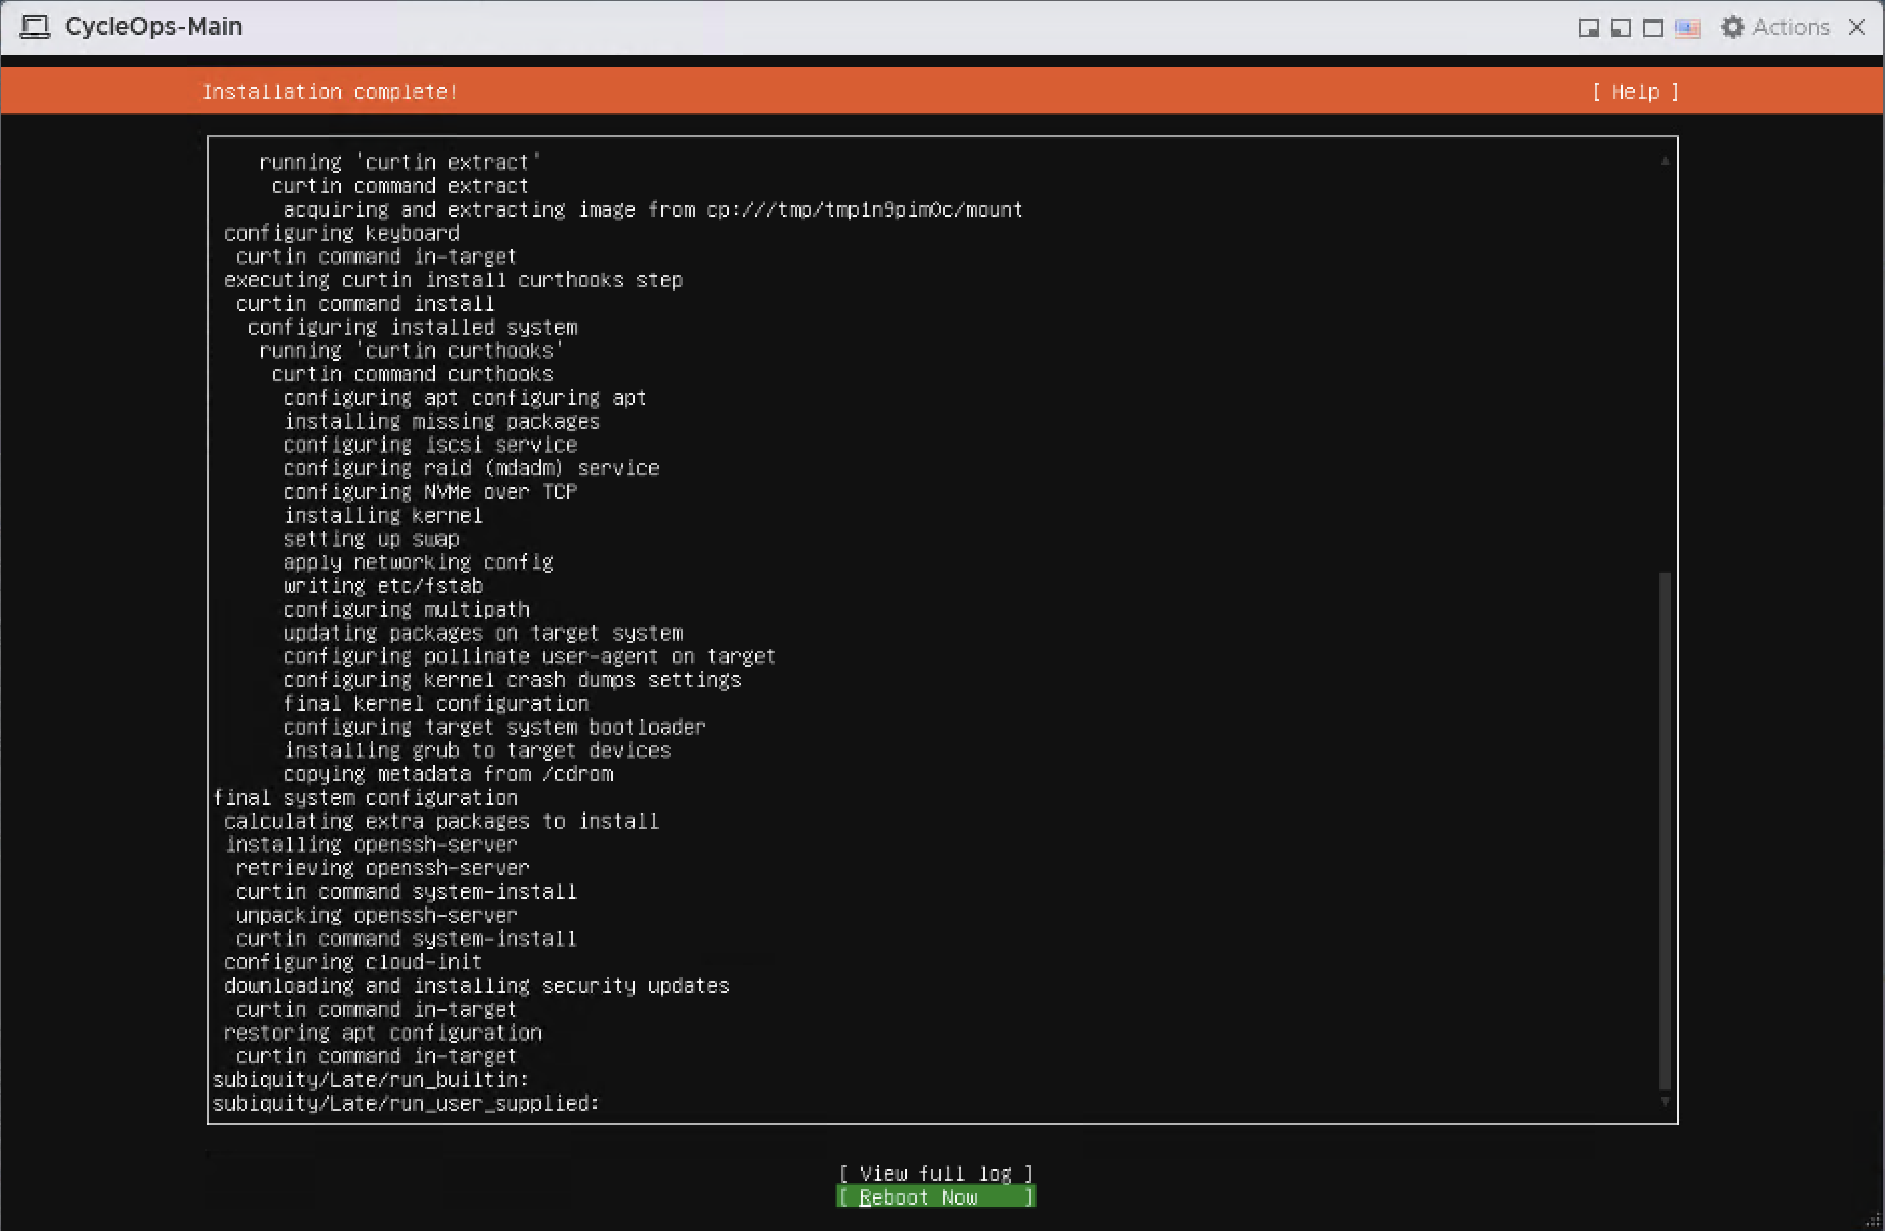
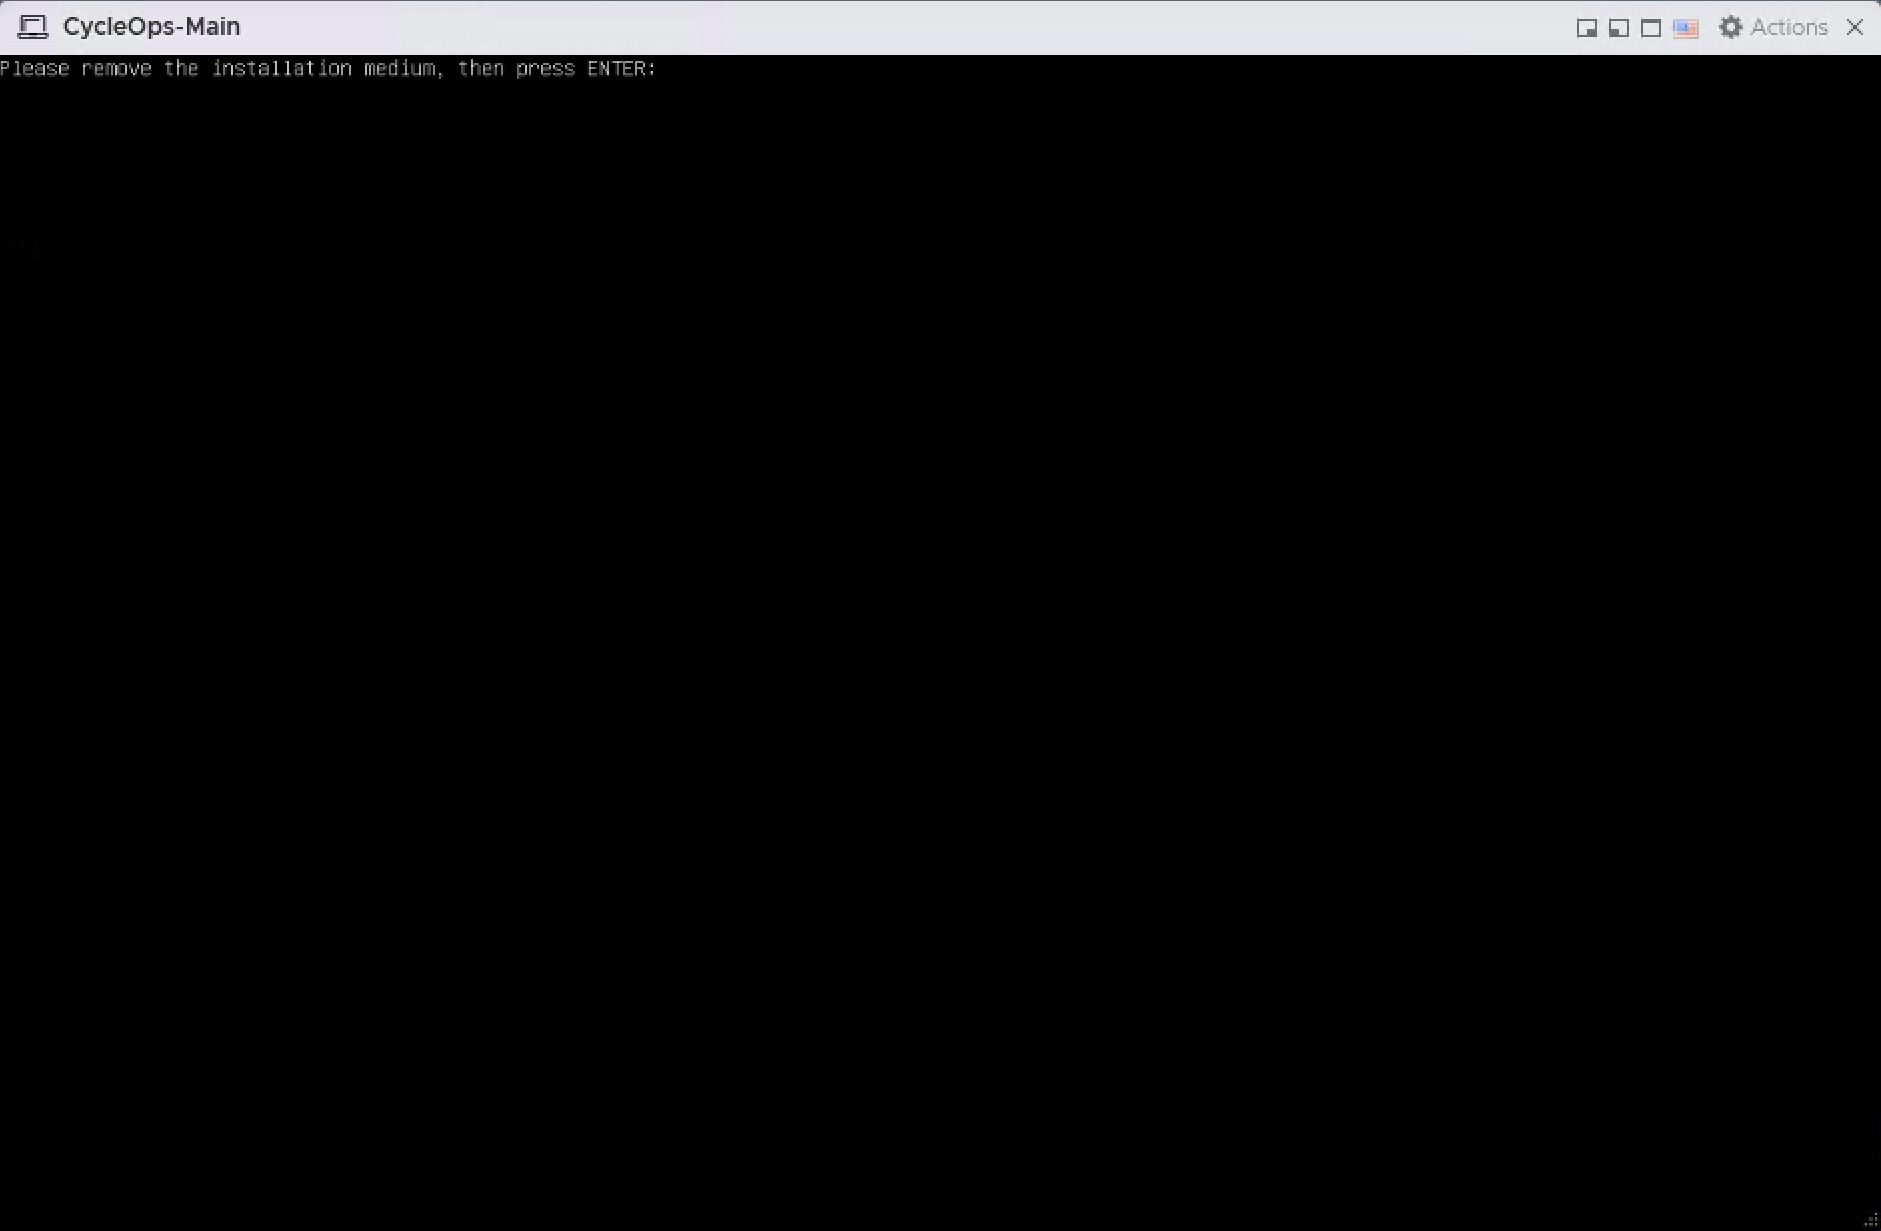
Select Reboot Now. If "Please remove the installation medium, then press ENTER" appears, press Enter.
Reboot Now on the Installation complete pageRemove the installation medium prompt
In ESXi Host Client, open Edit for the virtual machine and uncheck Connect and Connect at power on for CD/DVD Drive 1.
5.2 Connect over SSH
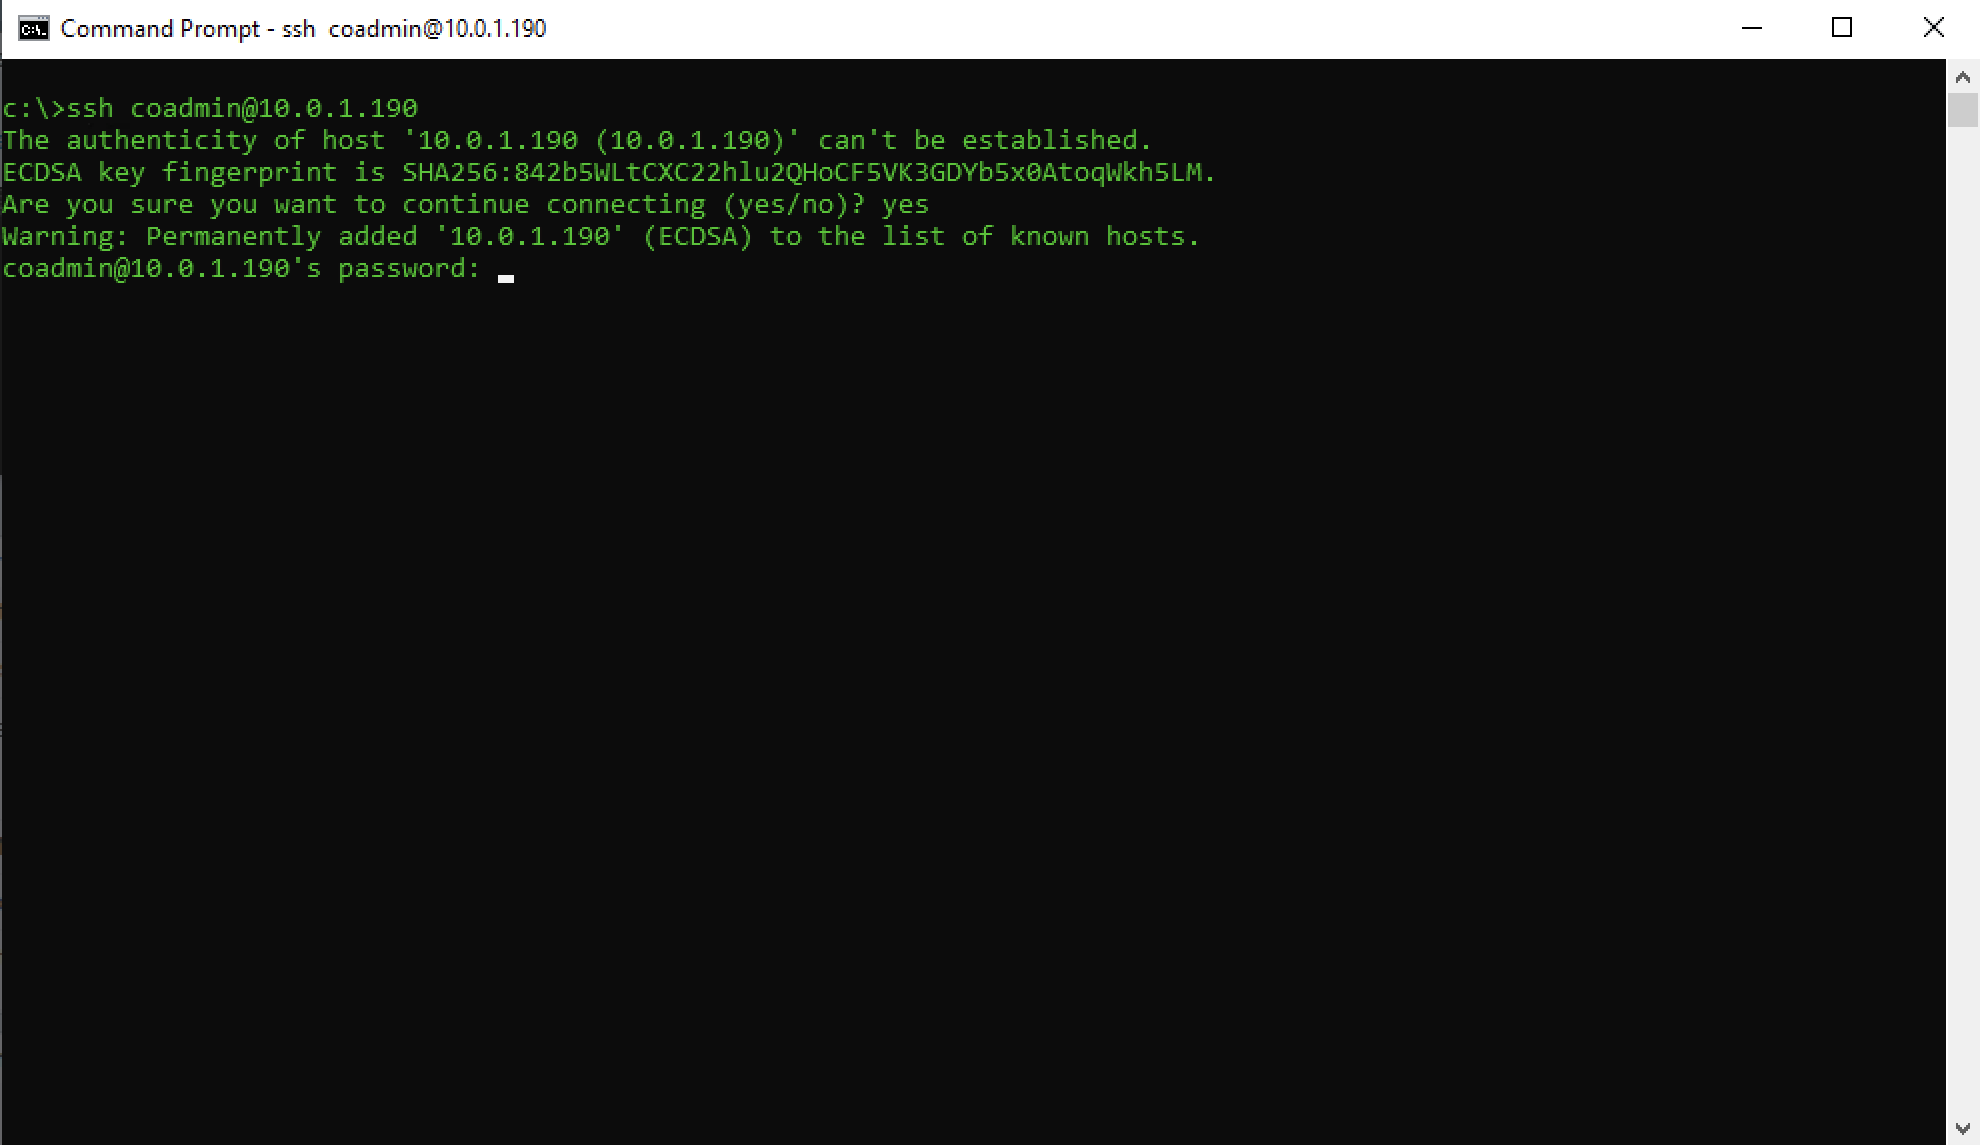
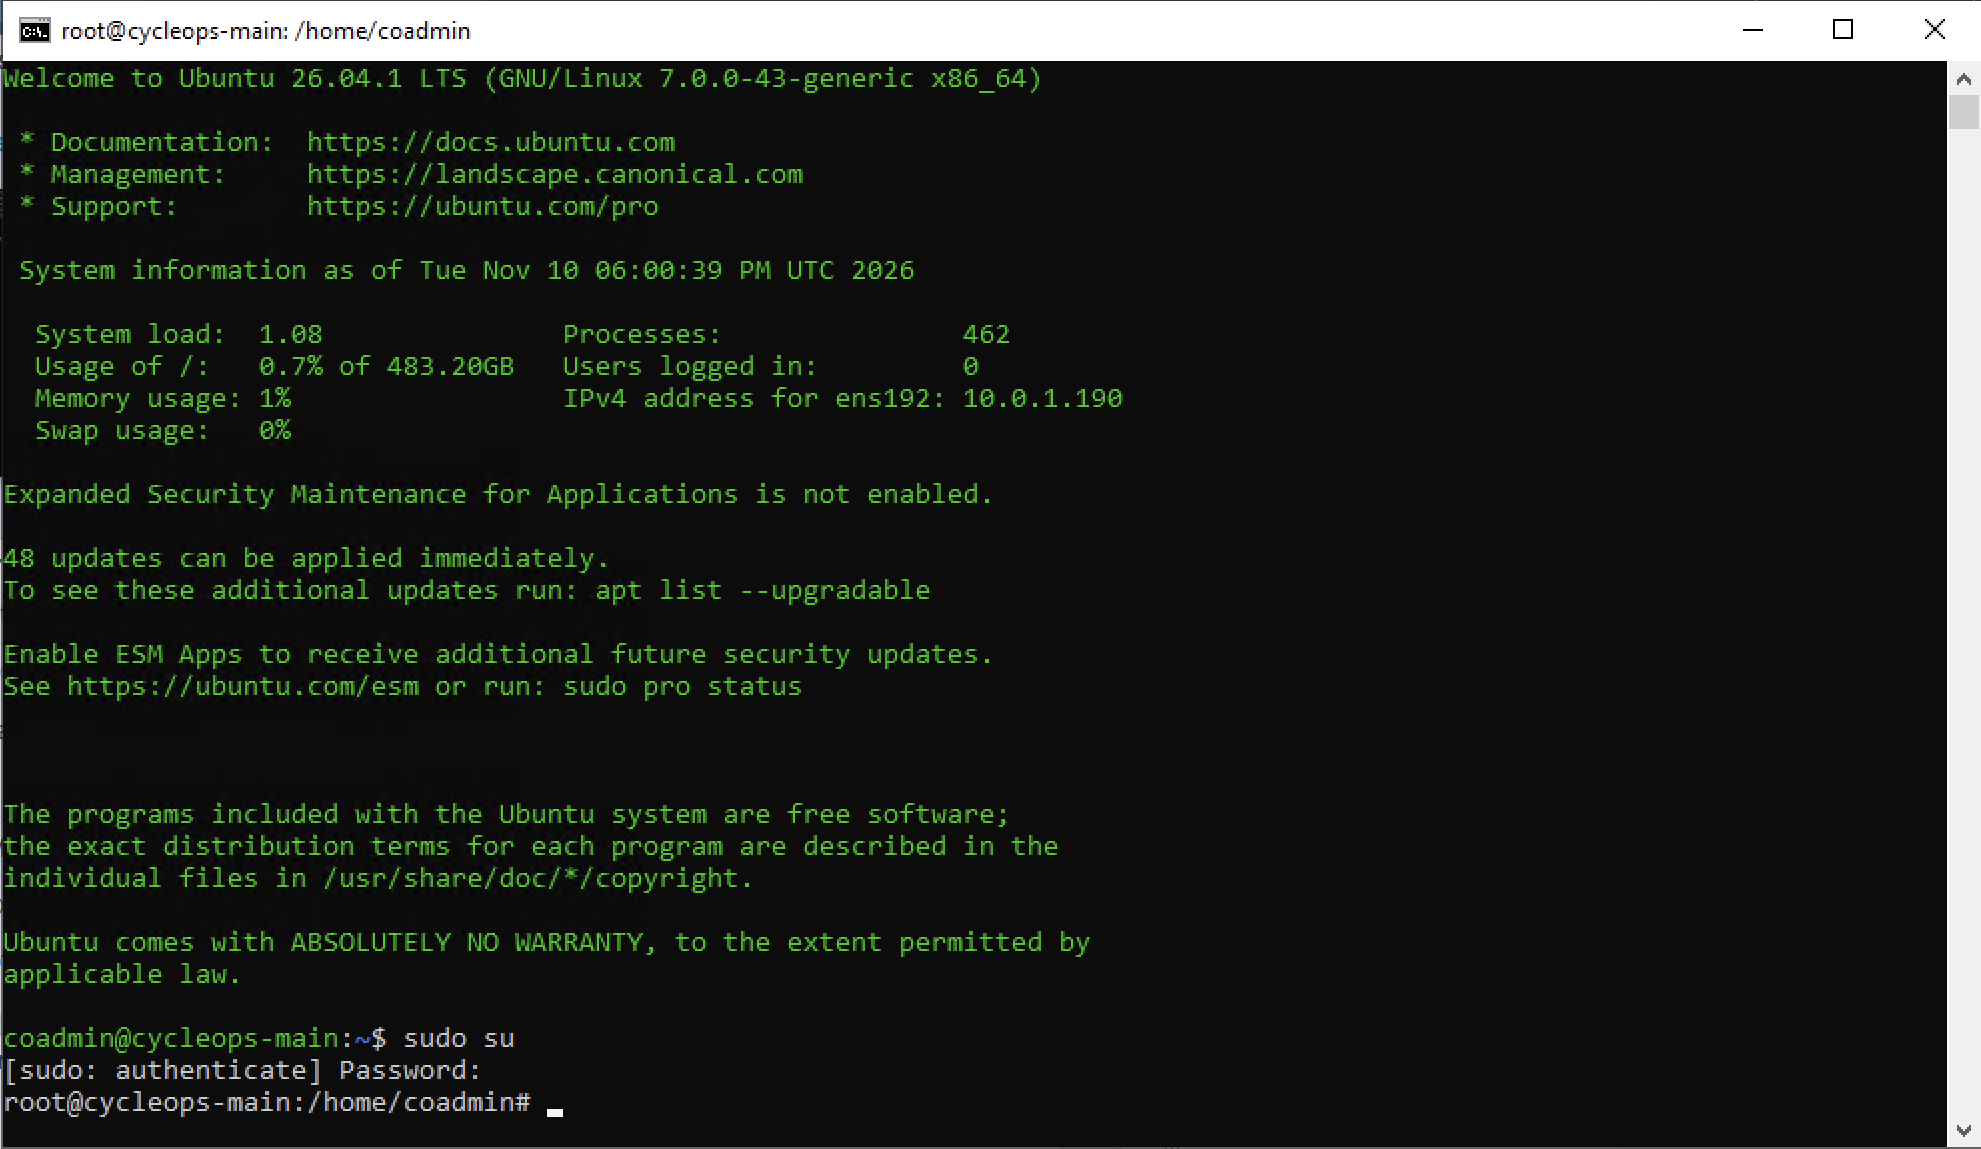
Connect from your management computer. On the first connection, answer yes to the host key prompt and enter the user password.
ssh coadmin@10.0.1.190
First SSH connection and host key confirmationUbuntu 26.04.1 LTS welcome screen after sign-in
5.3 Update packages
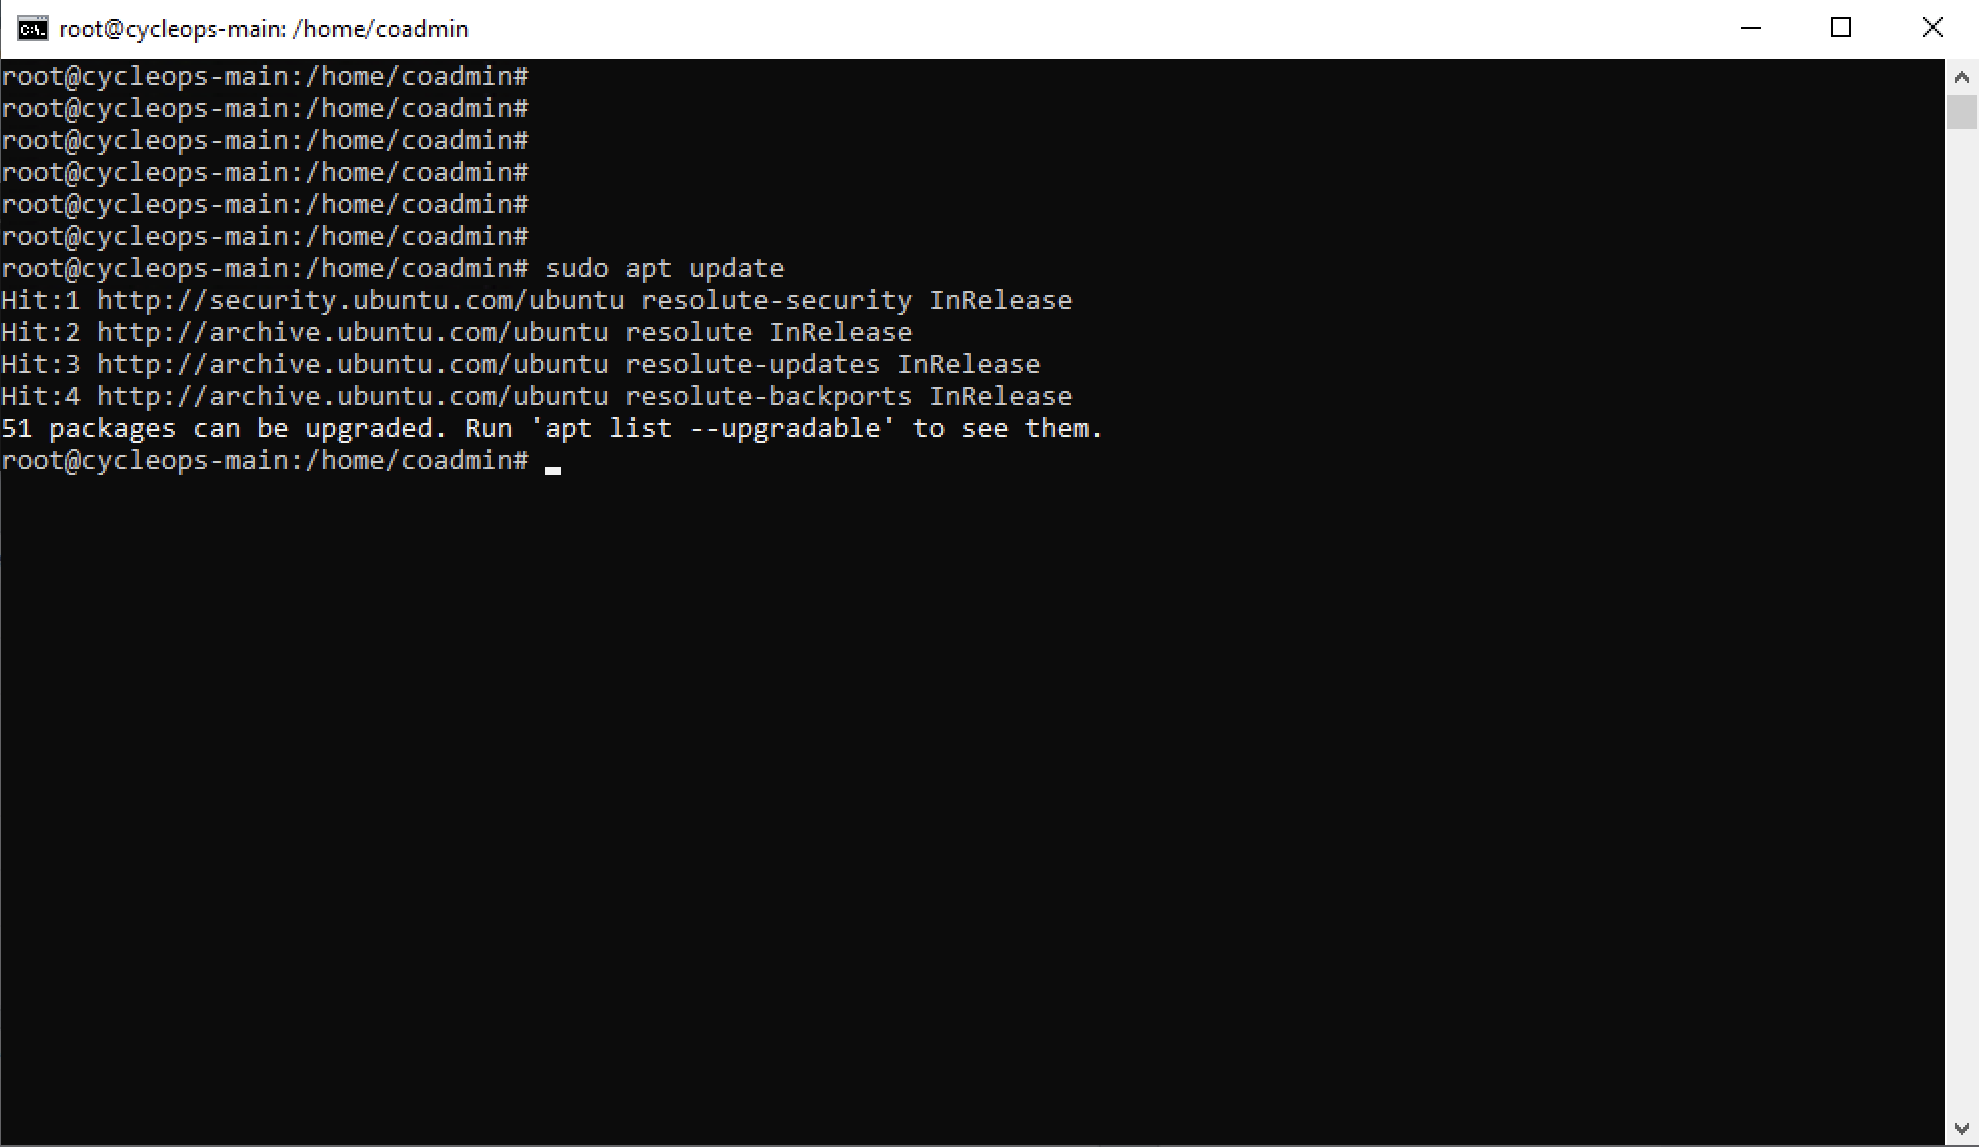
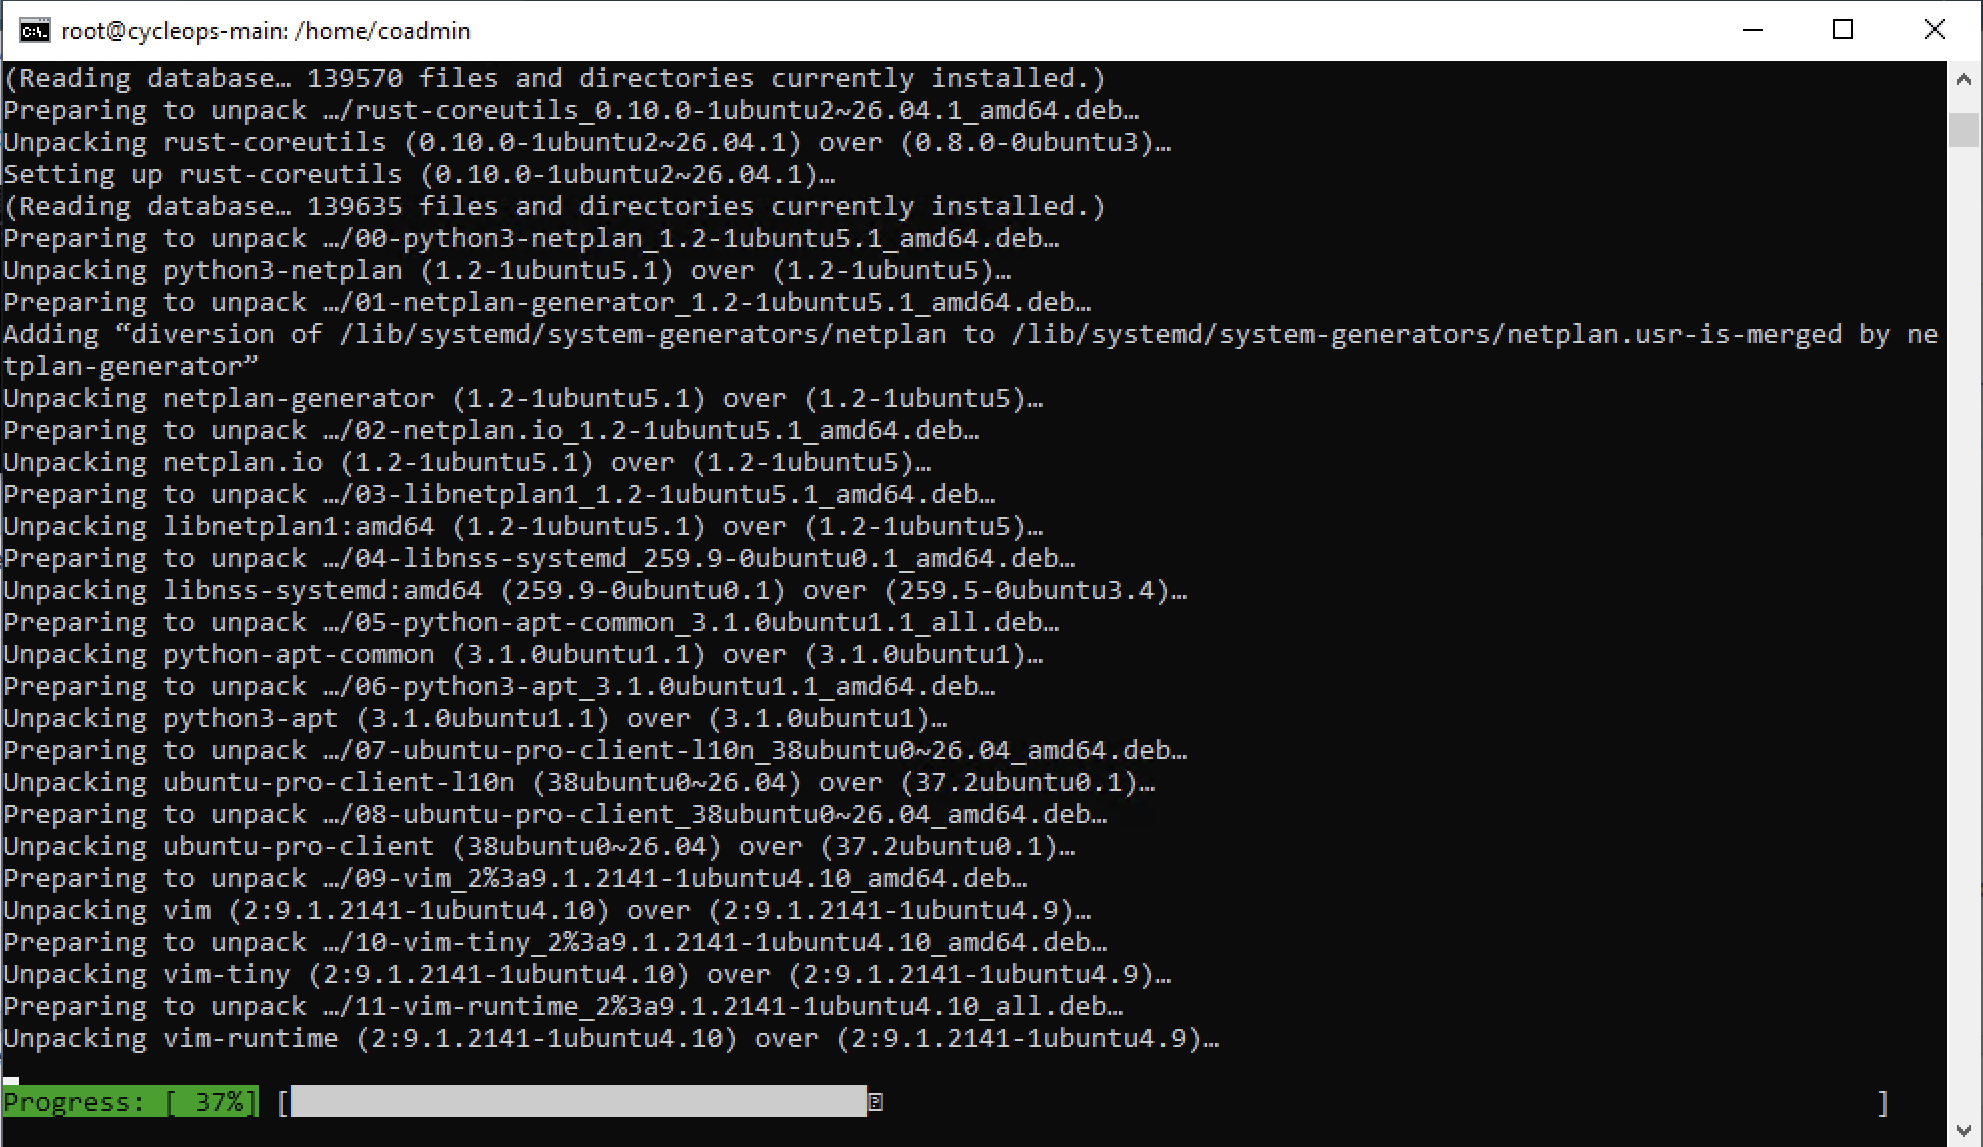
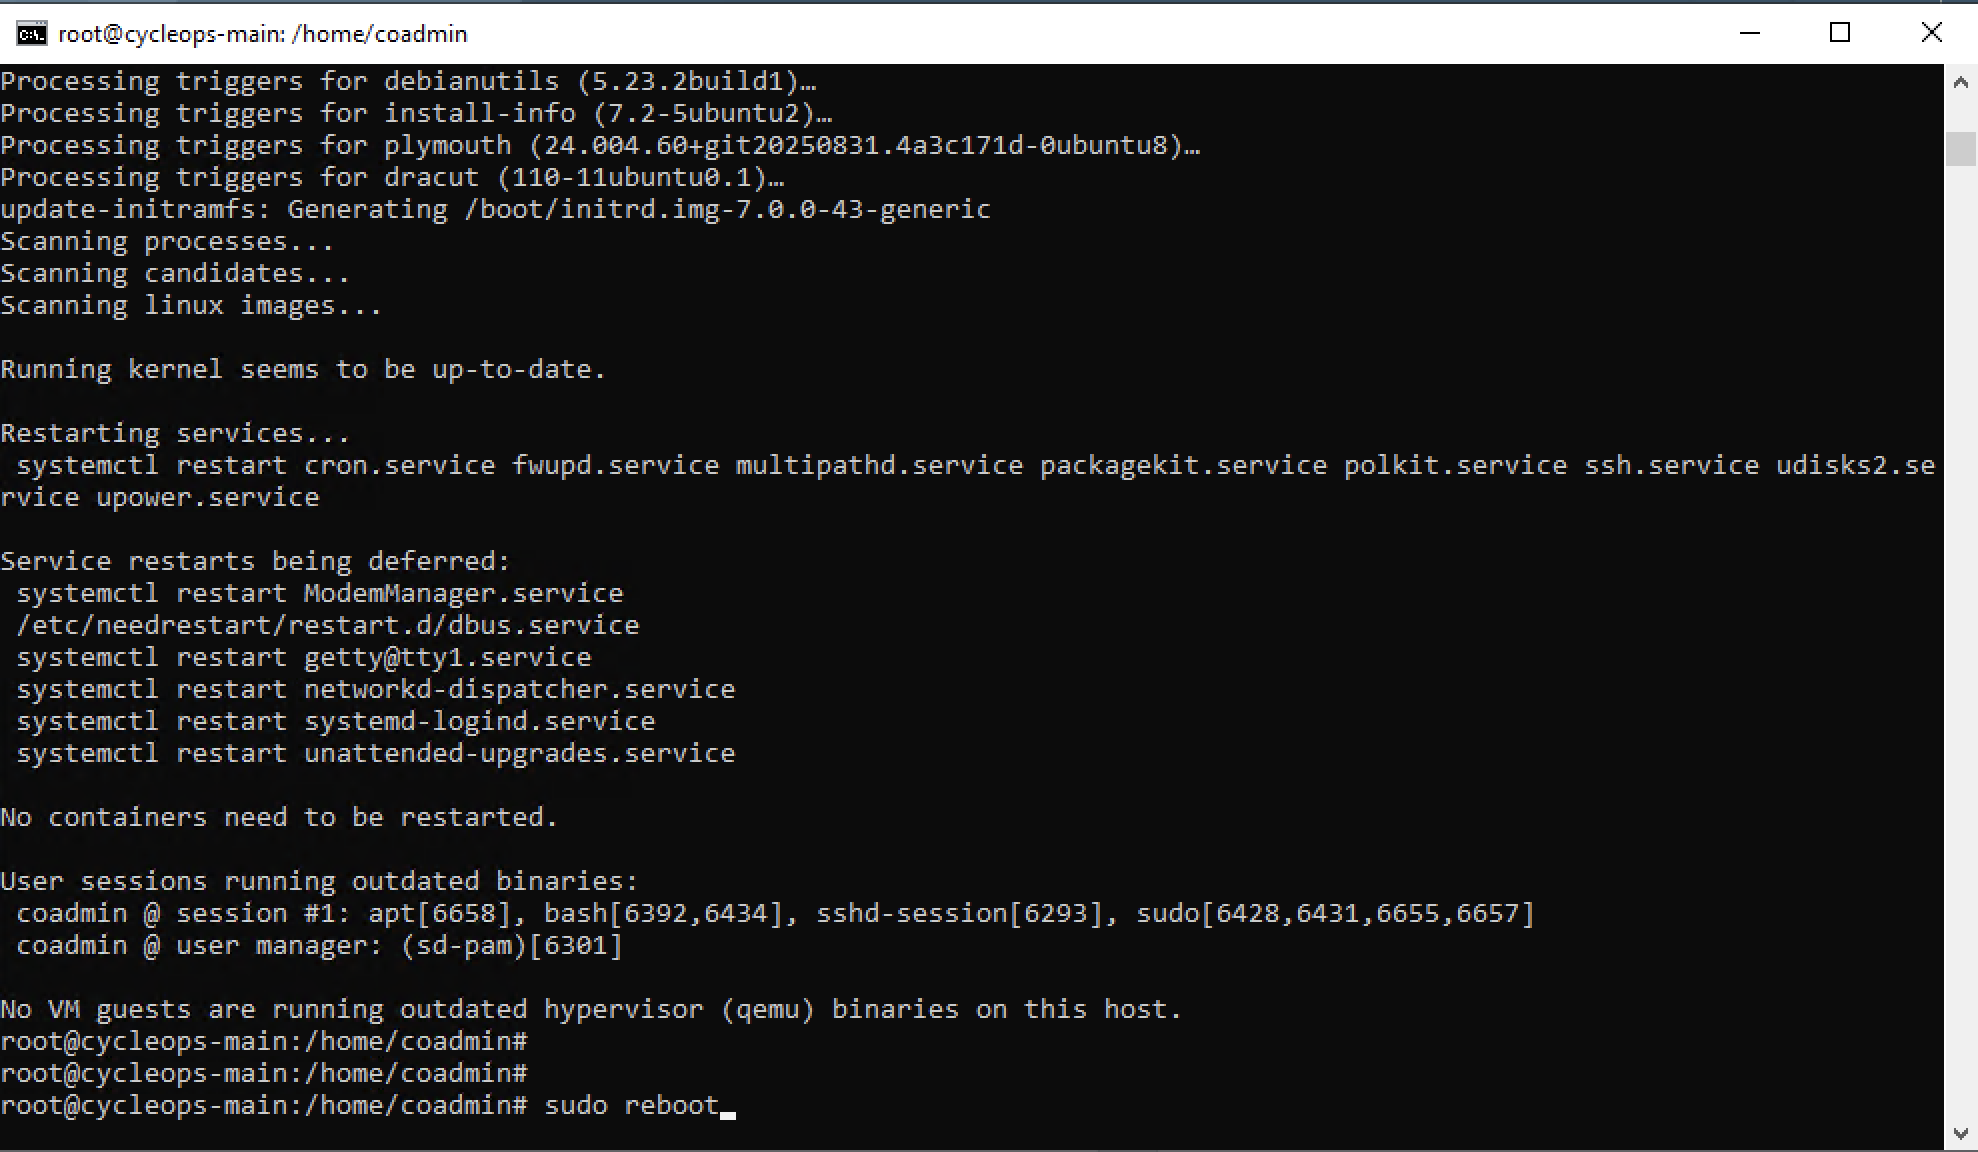
Update the package lists, upgrade all packages, and reboot.
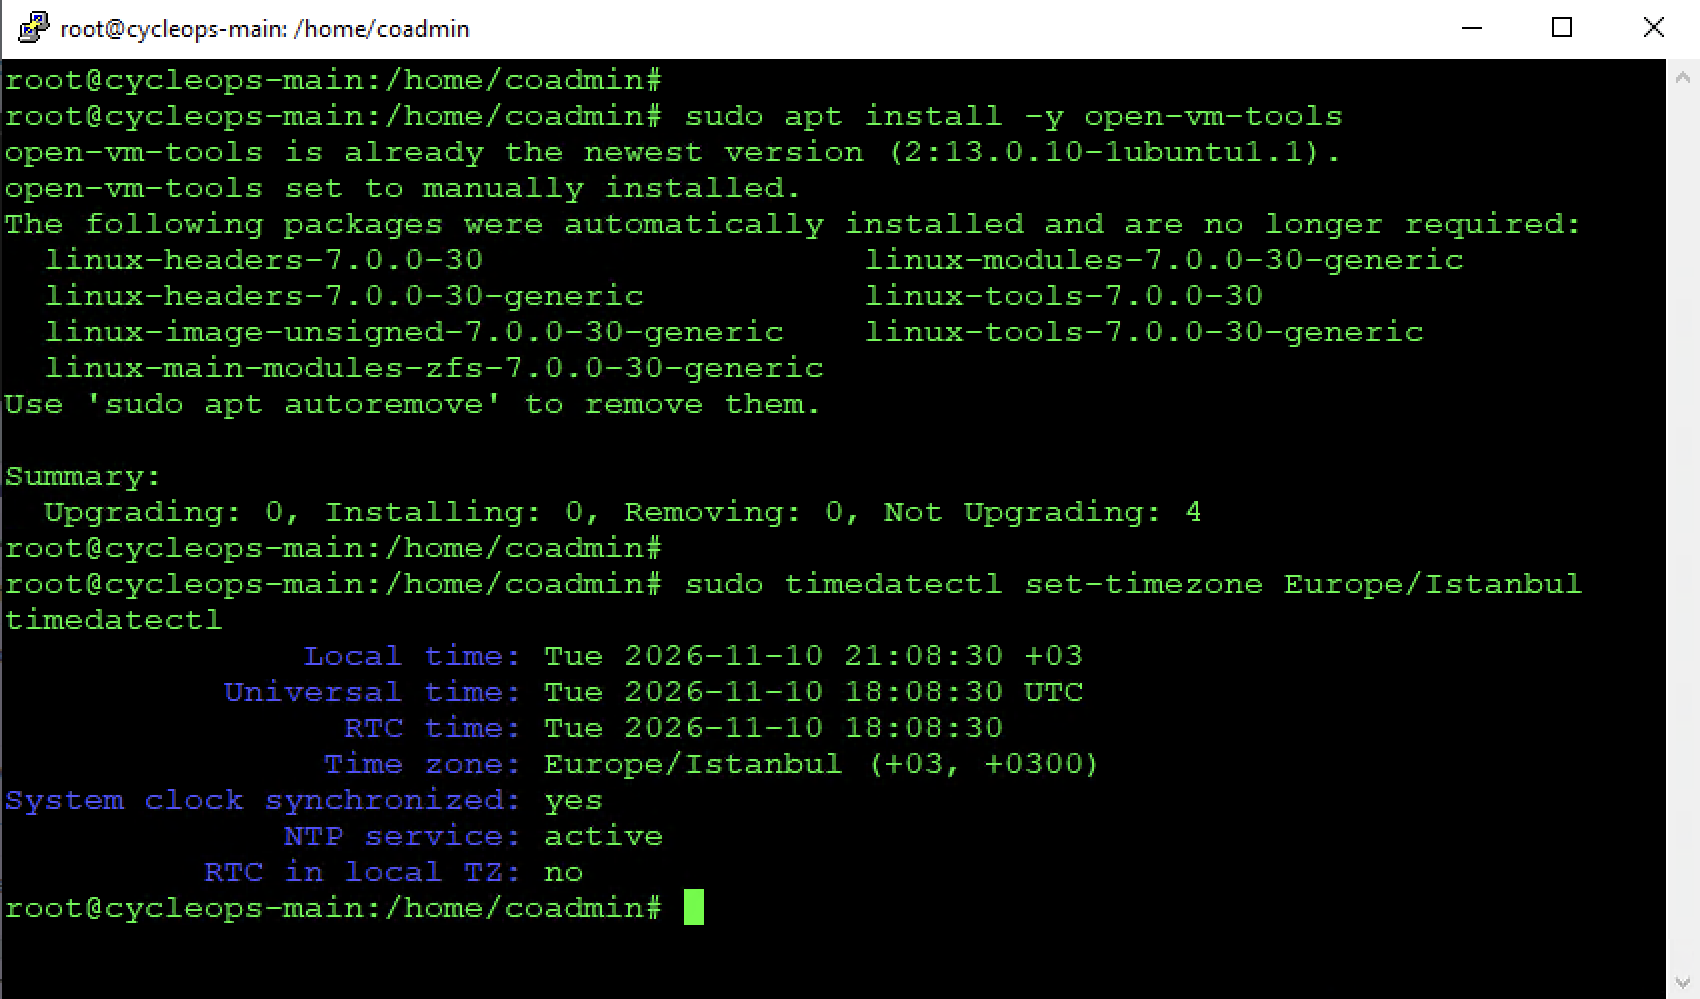
The timedatectl output should show System clock synchronized: yes.
open-vm-tools check and timedatectl outputStep 6
Verification checklist
The server is ready for CycleOps when all six checks return the expected result.
Check
Command
Expected result
OS release
lsb_release -d
Ubuntu 26.04.1 LTS
Hostname
hostnamectl hostname
cycleops-main
IP address
ip -4 addr show ens192
The static address you assigned
CPU and memory
nproc; free -h
Your sized vCPU count and memory, 8 GiB swap
Disk
df -h /
ext4 root close to your disk size minus 8 GB
Internet and DNS
ping -c 3 archive.ubuntu.com
Replies received, no packet loss
Step 7
Install CycleOps
CycleOps is installed with a single script, firstinstall.sh. The script asks its questions, downloads and verifies the installation package, and starts the installation; no other commands are typed by hand.
7.1 What you need
The CycleOps team provides the following three items:
Item
Purpose
Used in
firstinstall.sh
The script that runs the installation
7.3
Package token
Downloads the installation package
7.5, stage 5/7 of the script
Image token
Downloads the application images
7.6, stage 7/7 of the script
The two tokens are not interchangeable.
7.2 Check internet access
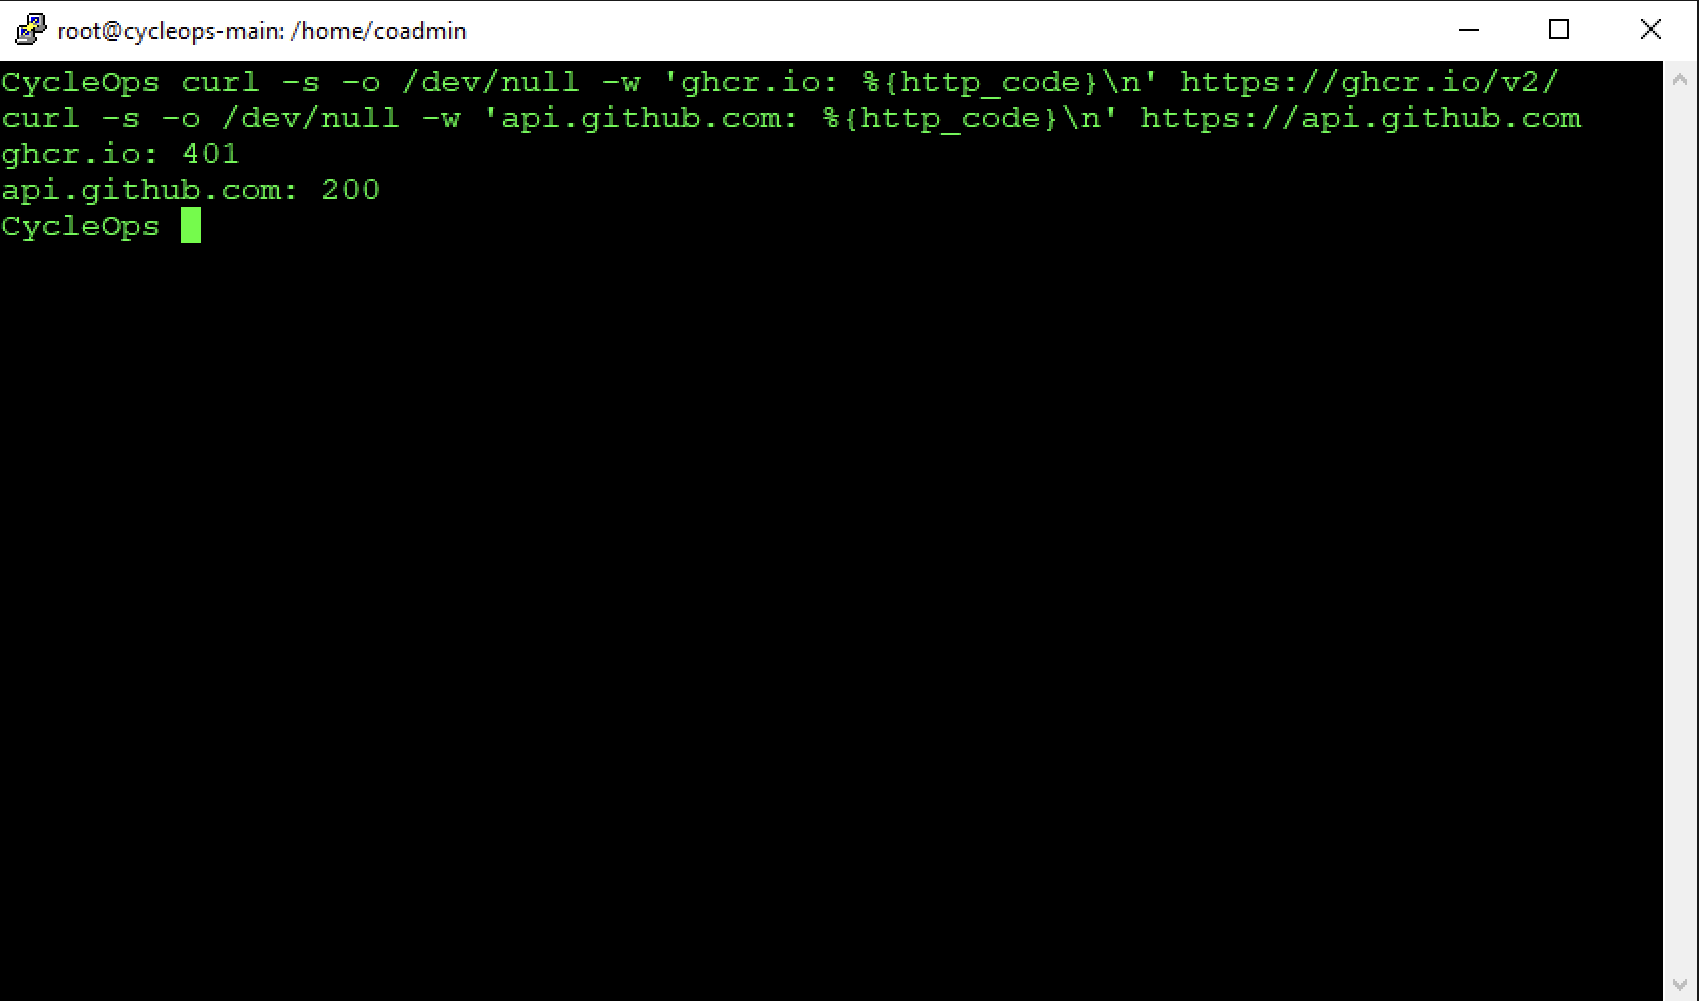
Connect to the server over SSH as coadmin and run these two commands:
The expected output is ghcr.io: 401 and api.github.com: 200. The 401 is not an error; it shows that the address was reached. If you see 000 or 403, a firewall or proxy is blocking access, and the installation cannot start until that is resolved.
Access check returning 401 and 200
7.3 Copy the installer and start it
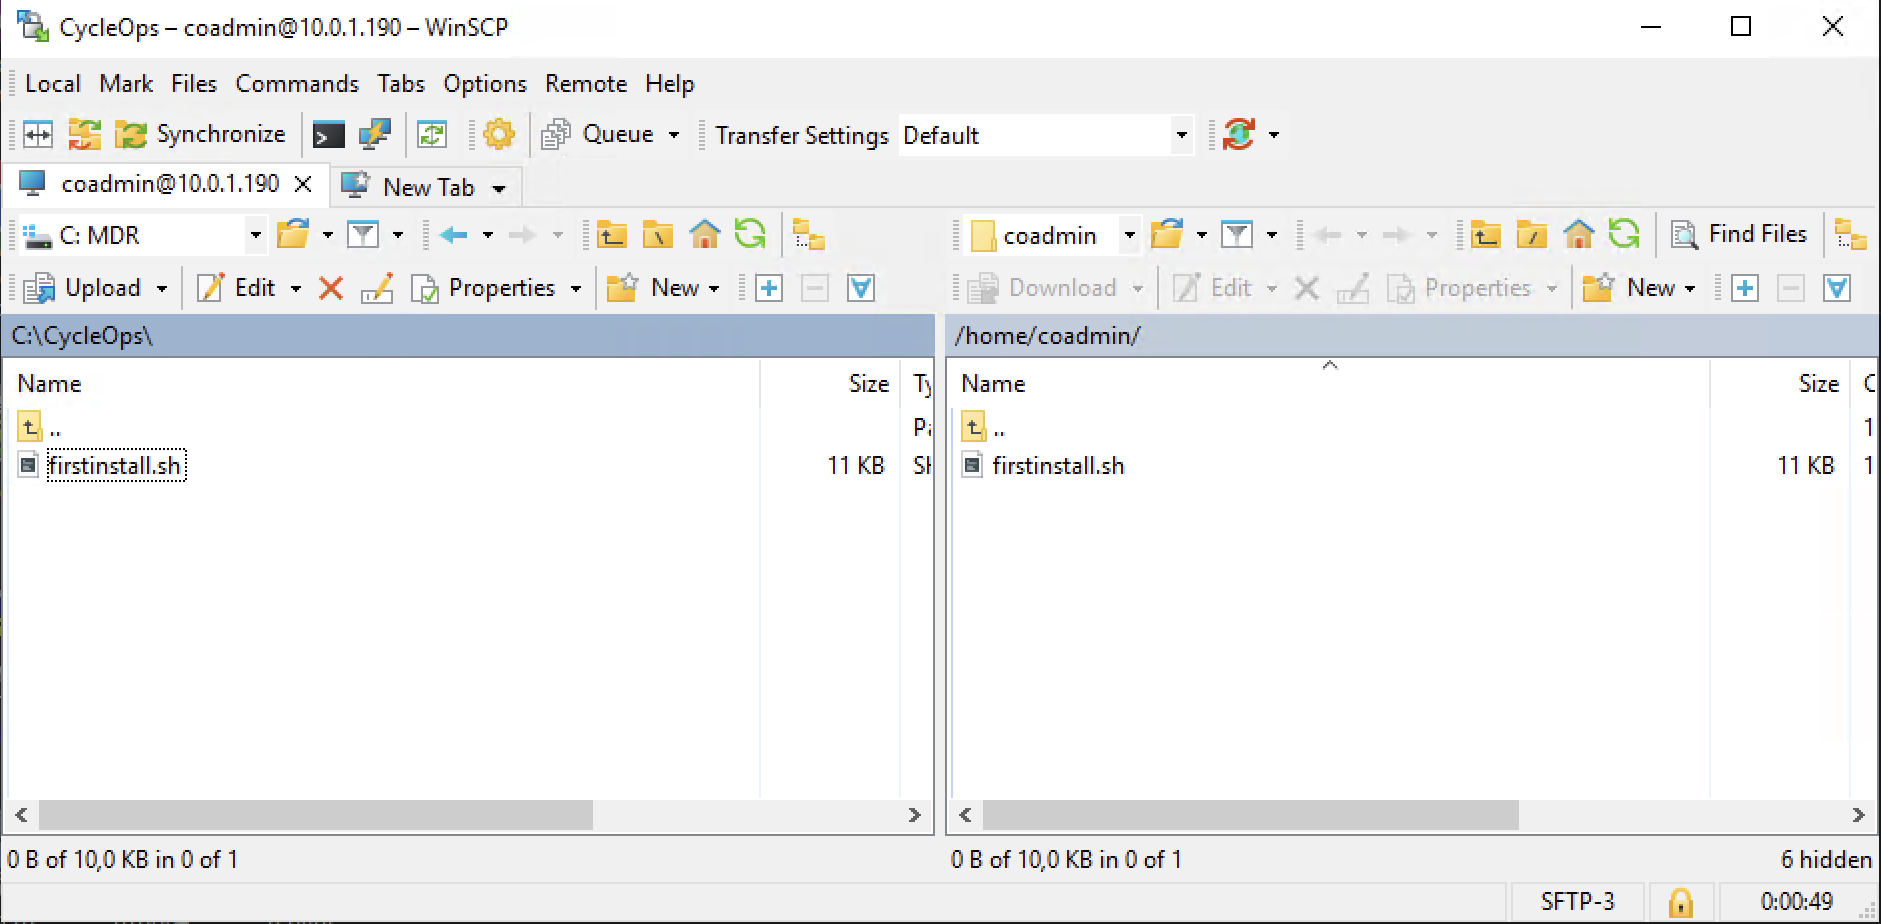
On your management computer, run this from the folder that contains firstinstall.sh. Any SFTP client, such as WinSCP, works as well.
scp firstinstall.sh coadmin@10.0.1.190:/tmp/
Alternative: copying firstinstall.sh with WinSCP
Then start the installation on the server:
sudo bash /tmp/firstinstall.sh
The installer currently prints its messages in Turkish. The terminal output in this section is shown translated to English, in the same order as it appears on screen.
The script runs its pre-checks first. The operating system, RAM, disk, and internet access lines must all show [OK].
Cycleops — clean installation
This script asks the questions, downloads the package and starts the installation.

==> 1/7  Pre-checks
  [OK] OS: Ubuntu 26.04.1 LTS
  [OK] curl · python3 · tar
  [OK] RAM: 30 GB
  [OK] disk: 456 GB free
  [OK] ghcr.io access (HTTP 401 = reached)
  [OK] api.github.com access
7.4 Answer the questions
The script asks the following questions in order. The value in square brackets is the default; pressing Enter accepts it.
Prompt
Answer
IP address of this server
Enter; the server address is pre-filled
Domain name
Your domain name if you have one, otherwise Enter
Admin e-mail
E-mail address of the administrator account
DMZ portal server IP
Leave empty and press Enter
Certificate mode
Enter (self-signed)
Distribution repository
Enter
Version tag to install
The version provided by the CycleOps team
Continue?
Enter if the summary is correct
==> 2/7  Installation details
  IP address of this server [10.0.1.190]:
  Domain name (if none, Enter -> the IP is used) [10.0.1.190]:
  Admin e-mail [admin@example.com]:
  DMZ portal server IP (leave empty if the portal will be installed later):
  Certificate mode (self-signed / custom) [self-signed]:
==> 3/7  Version
  Distribution repository [default]:
  Version tag to install: <version tag>
  [OK] target: <version tag>

  Summary
    server IP   : 10.0.1.190
    domain name : 10.0.1.190
    admin       : admin@example.com
    DMZ portal  : <none, to be added later>
    certificate : self-signed
    version     : <version tag>

  Continue? (y/n) [y]:
7.5 Enter the package token
At the "GitHub token" prompt, paste the package token. What you type is not shown on screen; this is normal. The script downloads the package and prints a "sha256 verified" line.
A "no release" error means the wrong token was entered; usually the image token was pasted at this prompt.
==> 5/7  Download the package
  The distribution token is required.
  NOT the GHCR pull token — that token cannot see this repository.
  GitHub token (not shown on screen):
  downloading: cycleops-dist-<version>.tar.gz
  downloading: cycleops-dist-<version>.tar.gz.sha256
  ✓ cycleops-dist-<version>.tar.gz: sha256 verified
  [OK] package ready: /tmp/cycleops-dist-<version>.tar.gz
==> 6/7  Extract the package
  [OK] /opt/cycleops (70 files)
==> 7/7  Installation starts
  The installer will shortly ask for the GHCR token (read:packages).
  This is a DIFFERENT token from the one you just entered.
7.6 Enter the image token
Shortly after the installation starts, a "GHCR token" prompt appears. Paste the image token here. Docker is installed, the application images are downloaded and the services are started; this takes a few minutes depending on your connection.
==> OS detection...
==>   Ubuntu 26.04.1 LTS — done
==> Required tools...
==>   curl · python3 · openssl · ss · tar — done
==> Resource checks...
==> Port 80/443 check...
==> Docker installation (official get.docker.com script)...
==> Installation directory ready: /opt/cycleops
==> .env created (from .env.example)
==> Generating secrets...
7.7 Save the administrator password and Vault keys
When the installation finishes, two pieces of information are displayed: the administrator password under Admin account and 5 Vault recovery keys. Save both to a password manager immediately; they are not shown again after the screen is closed.
Access:   https://10.0.1.190/  (self-signed cert: the browser will show a warning)
Domain:   10.0.1.190

Admin account:
  Email:     admin@example.com
  Password:  ****************
  ↑ Save this password now — it will not be shown again.
  You must change it at first sign-in.

Vault recovery keys (unseal keys):
  ********************************************
  ********************************************
  ********************************************
  ********************************************
  ********************************************
  ↑ Save these to your password manager NOW.
  3 of the 5 shares are enough to unseal.
  IF YOU LOSE THEM, everything in Vault becomes permanently unreadable:
  PAM passwords, AD/M365/vCenter/Veeam integration secrets.
  There is NO recovery path, backup key or back door.
If the Vault recovery keys are lost, all secrets stored in the system, such as integration passwords, become permanently unreadable.
If the installation stops with an error, it can be resumed from where it stopped once the problem is fixed:
The FAIL count on the last line of the output must be 0.
Example output (messages translated to English). A healthy installation ends with 0 FAIL:
Cycleops doctor — install integrity check

Stack:
  [✓] Docker daemon
  [✓] Compose services running (29/29)

TLS:
  [✓] Internal (agent) certificate
  [✓] Certificate directory ownership

Vault:
  [✓] Vault unsealed

Agent mTLS:
  [!] Agent CA
      1/1 agents have no certificate — check the AGENT VERSIONS first (< 2.79 never sends the field)

Secrets (.env):
  [✓] .env CHANGEME placeholders cleared
  [✓] Prod boot guard envs set

Migrations:
  [✓] Alembic at head (0454_snmp_iface_vlans)

Smoke:
  [✓] HTTPS /api/v1/auth/mode

Bind-mount:
  [✓] gateway updater bridge
  [✓] gateway write permissions
  [✓] worker write permissions

Summary: 12 PASS  1 WARN  0 FAIL
Each failed check prints its own fix on the line below it. If gateway write permissions fails with not writable: /var/cycleops/vault-backups, note that this path is inside the gateway container and is backed by a Docker volume; a directory of the same name on the host is not used. Set the ownership and mode on the volume, then run the health check again:
A WARN line does not block the installation. The Agent CA warning refers to agents that have no certificate yet; check the agent version first, as agents older than 2.79 do not report this field.
Then open https://10.0.1.190 (your server address) in a browser. A browser security warning is expected with a self-signed certificate. Sign in with the admin e-mail and the password you saved in 7.7, and change the password on first sign-in.
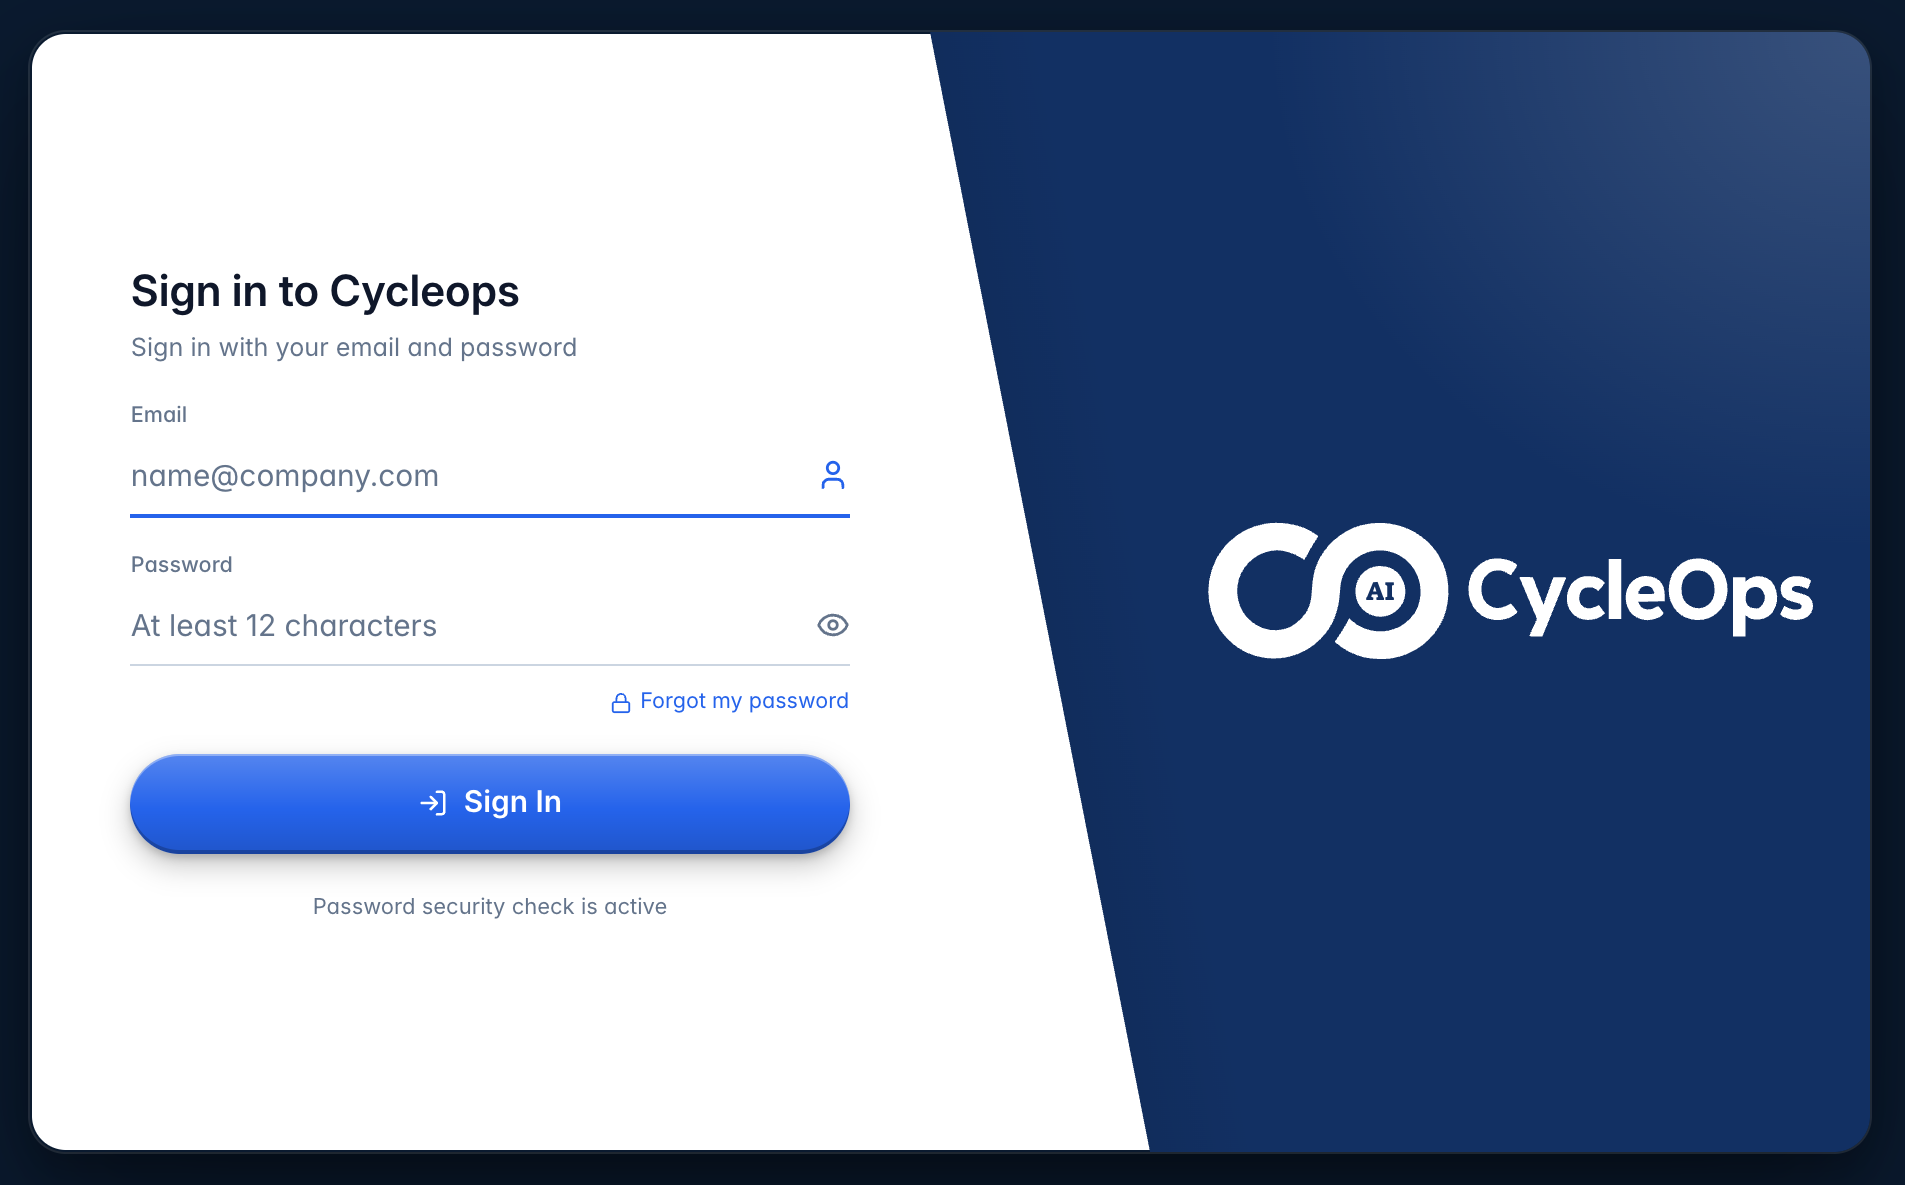
CycleOps sign-in page
Installation complete. Once the health check reports 0 FAIL and you can sign in, the CycleOps main server is ready to use.